|
|
Post by Blaine on Feb 9, 2019 15:46:14 GMT -7
So it begins. The plan is to restore an Atari 2600jr console to shiny clean working condition with added on composite output. The easy part will be the working condition part, it is in working condition, I just have to NOT break it ! The case is rough, I doubt I can get it looking new, but hopefully I can get it back good condition. The composite modification parts have arrived. I'll need to solder a few components to a PCB and then install it into the case. In case you haven't read the earlier post about my 2600jr, here is a look at. 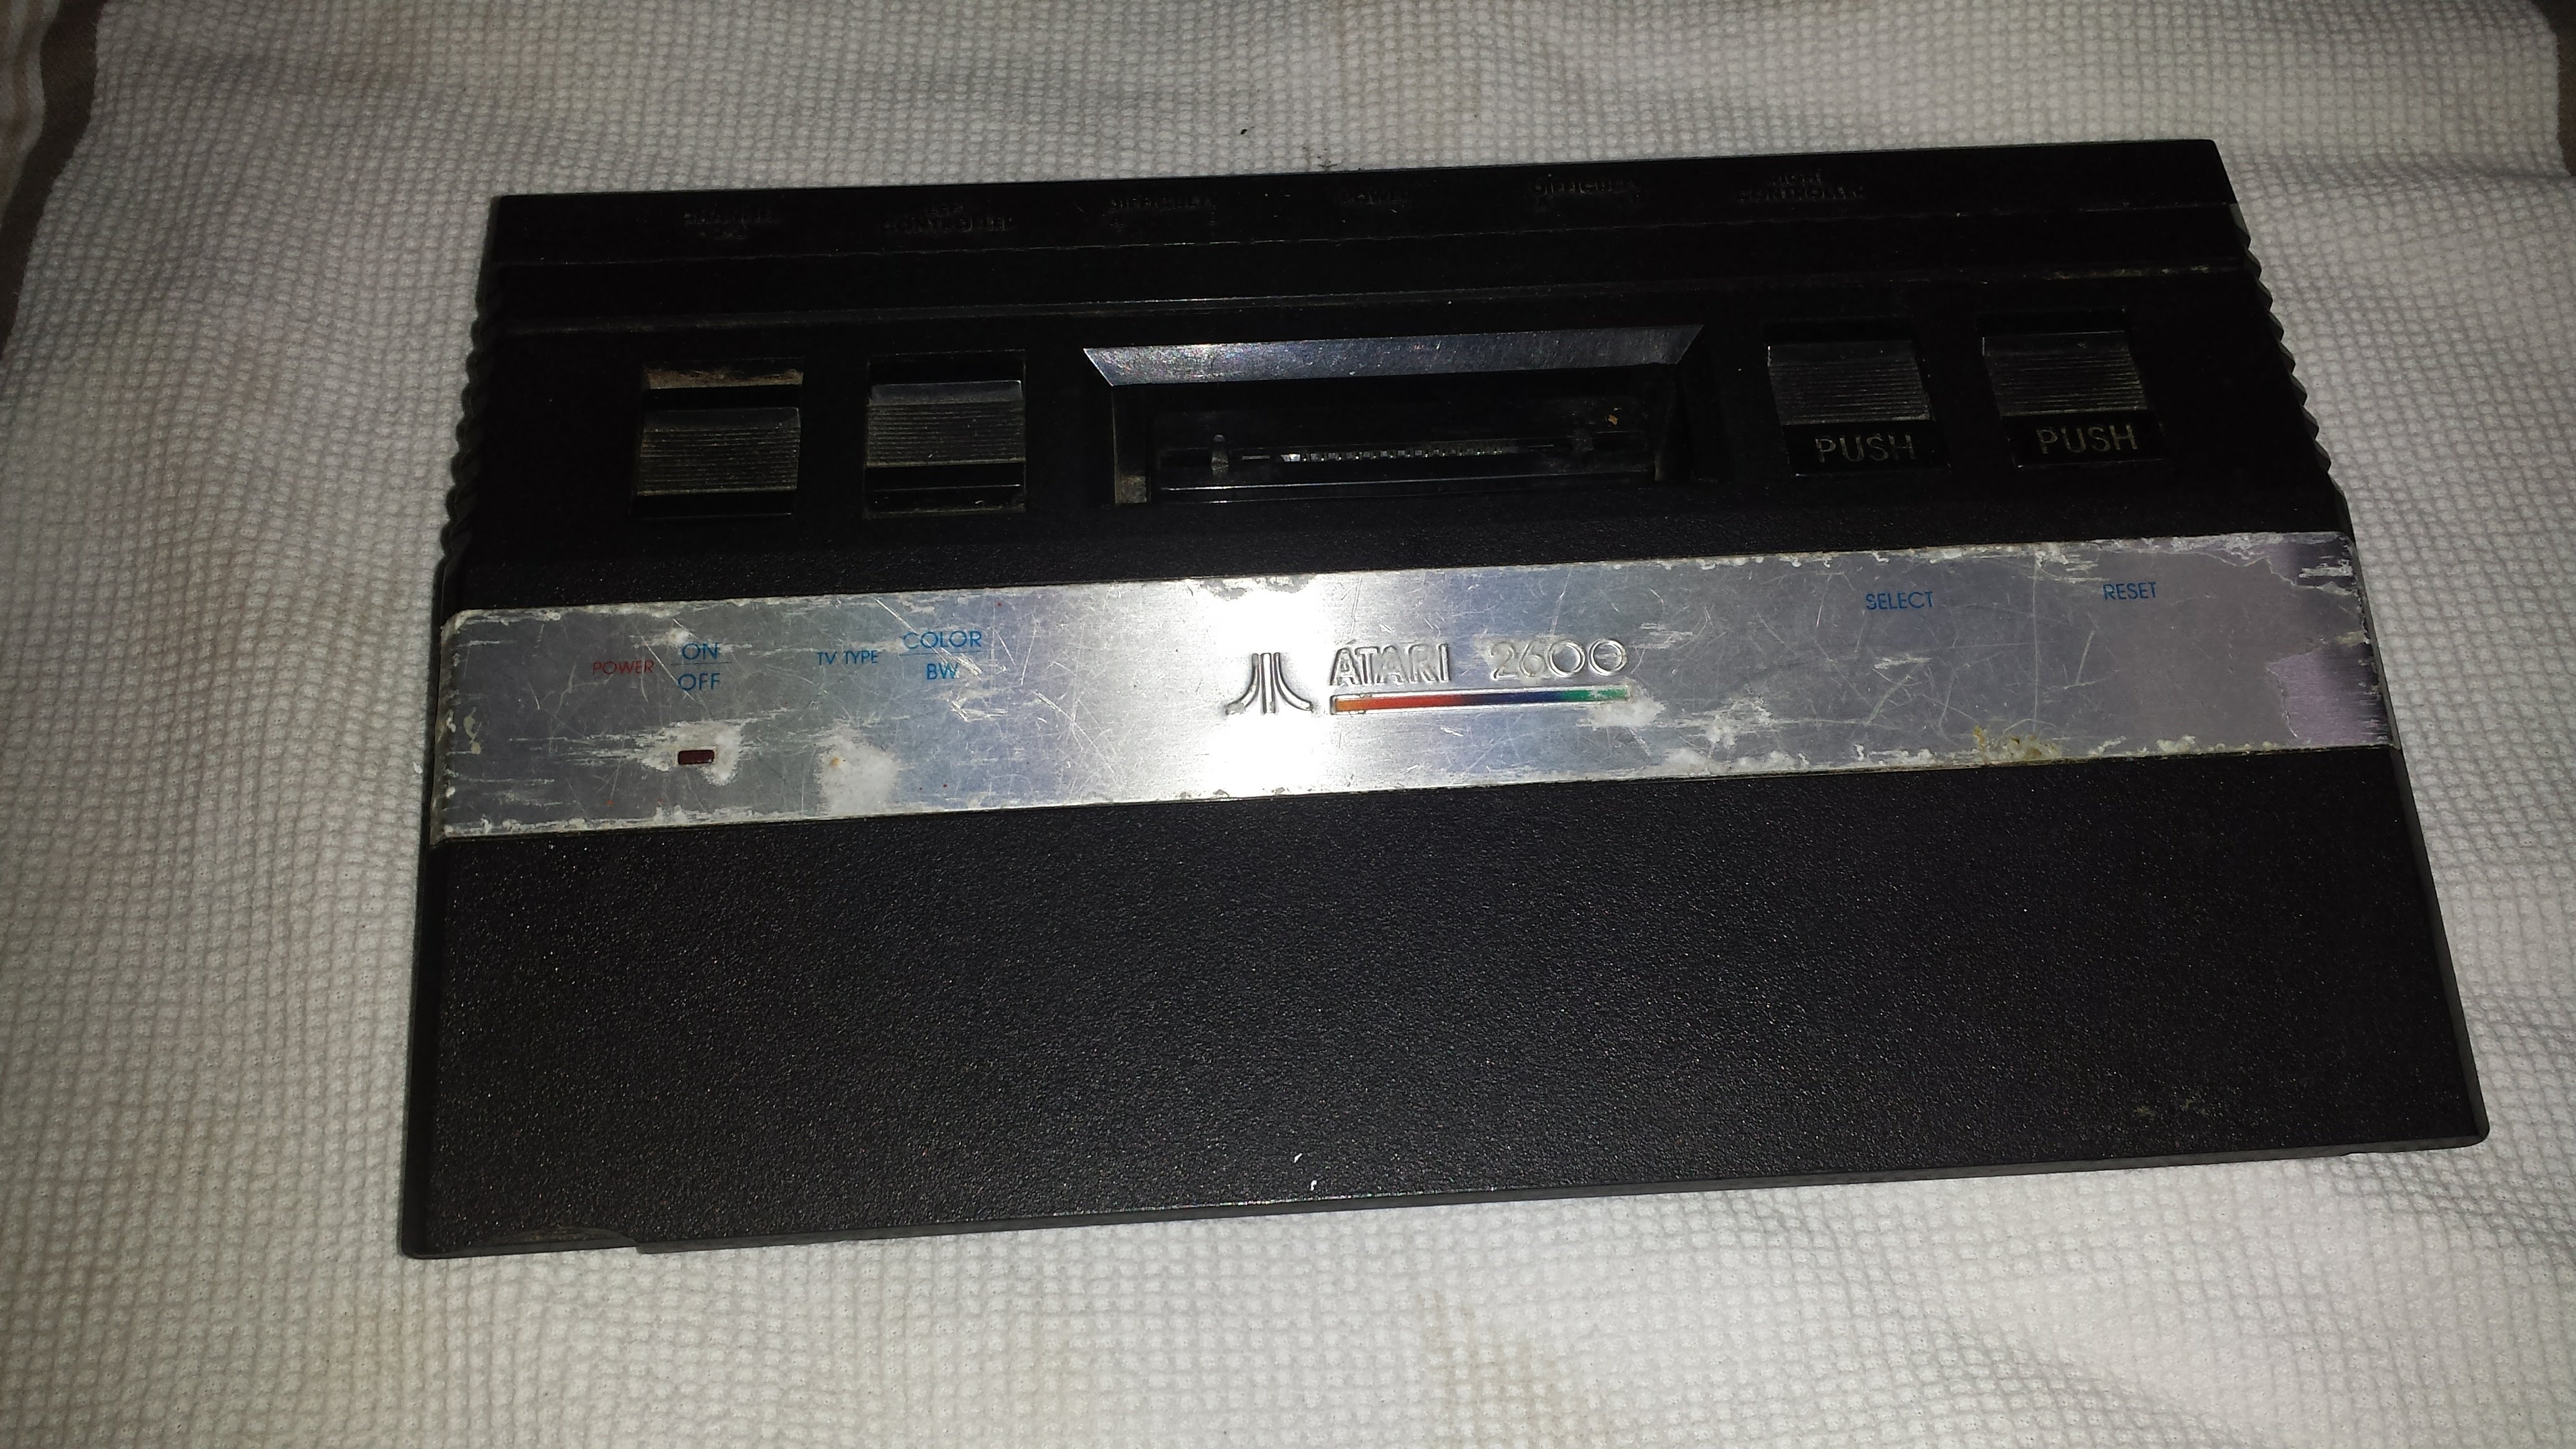 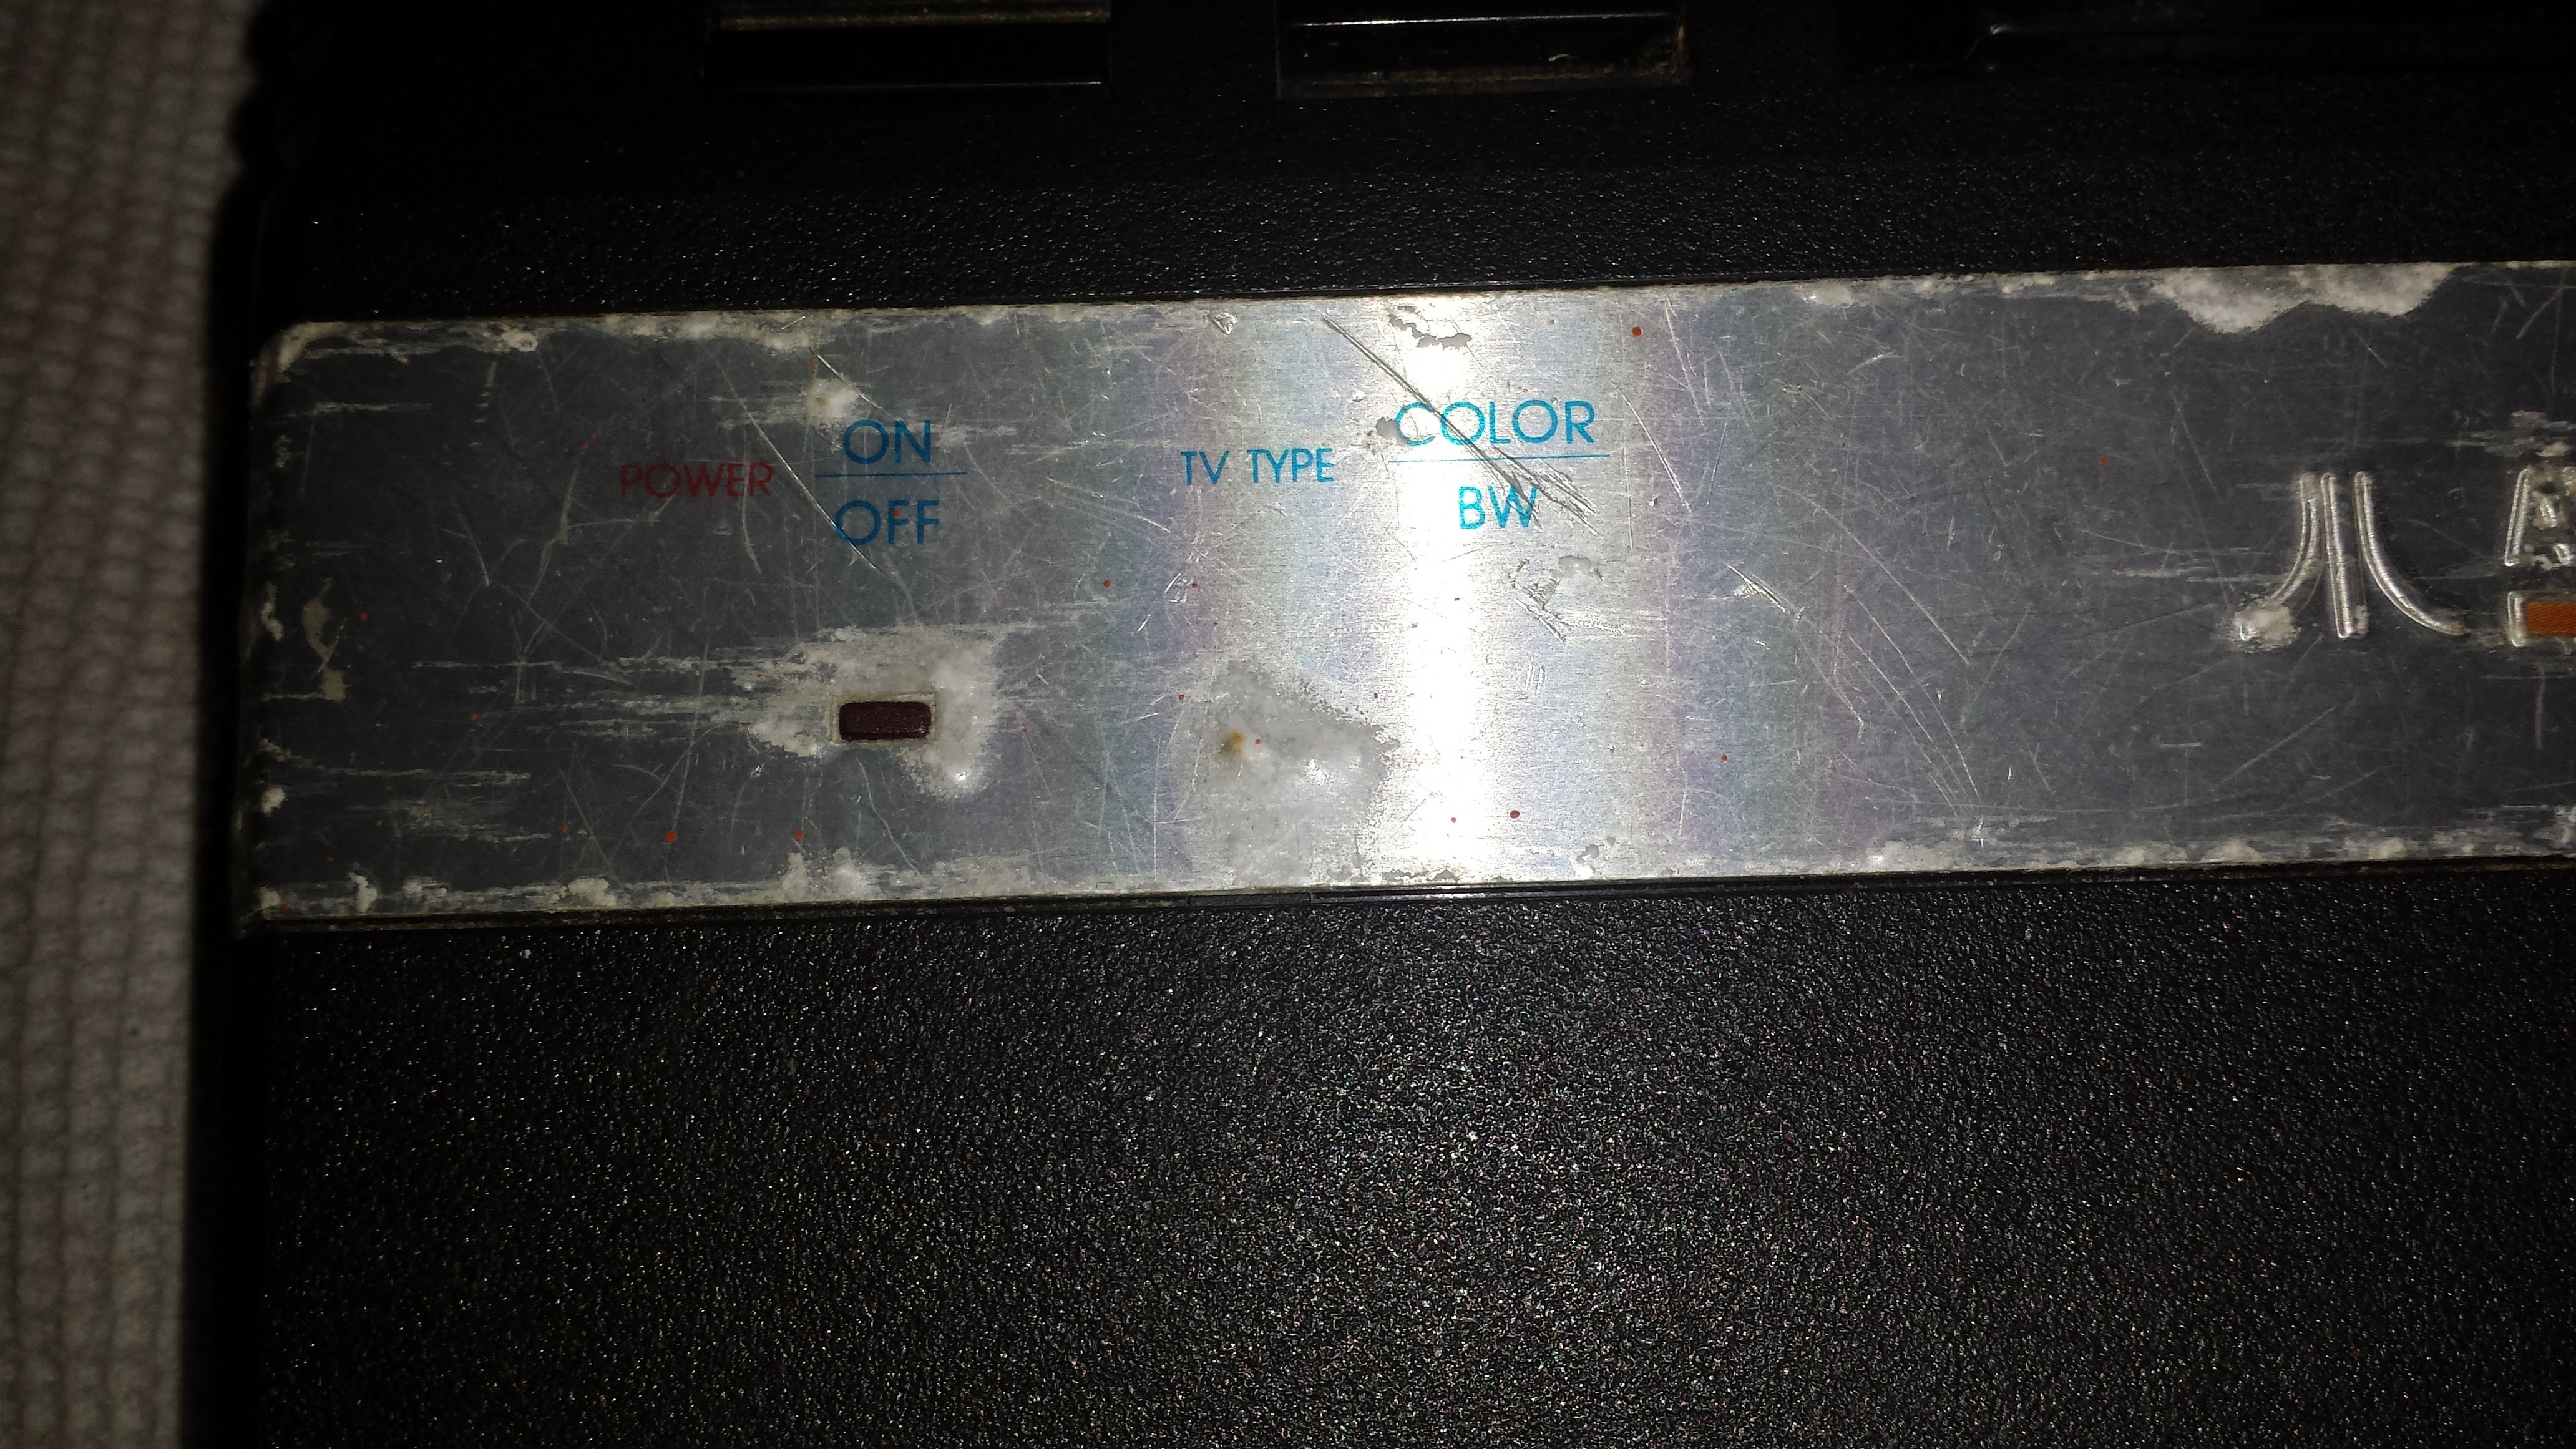  There's alot of corrosion on that aluminium trim, not much I can do about the chip. Lets take it apart. 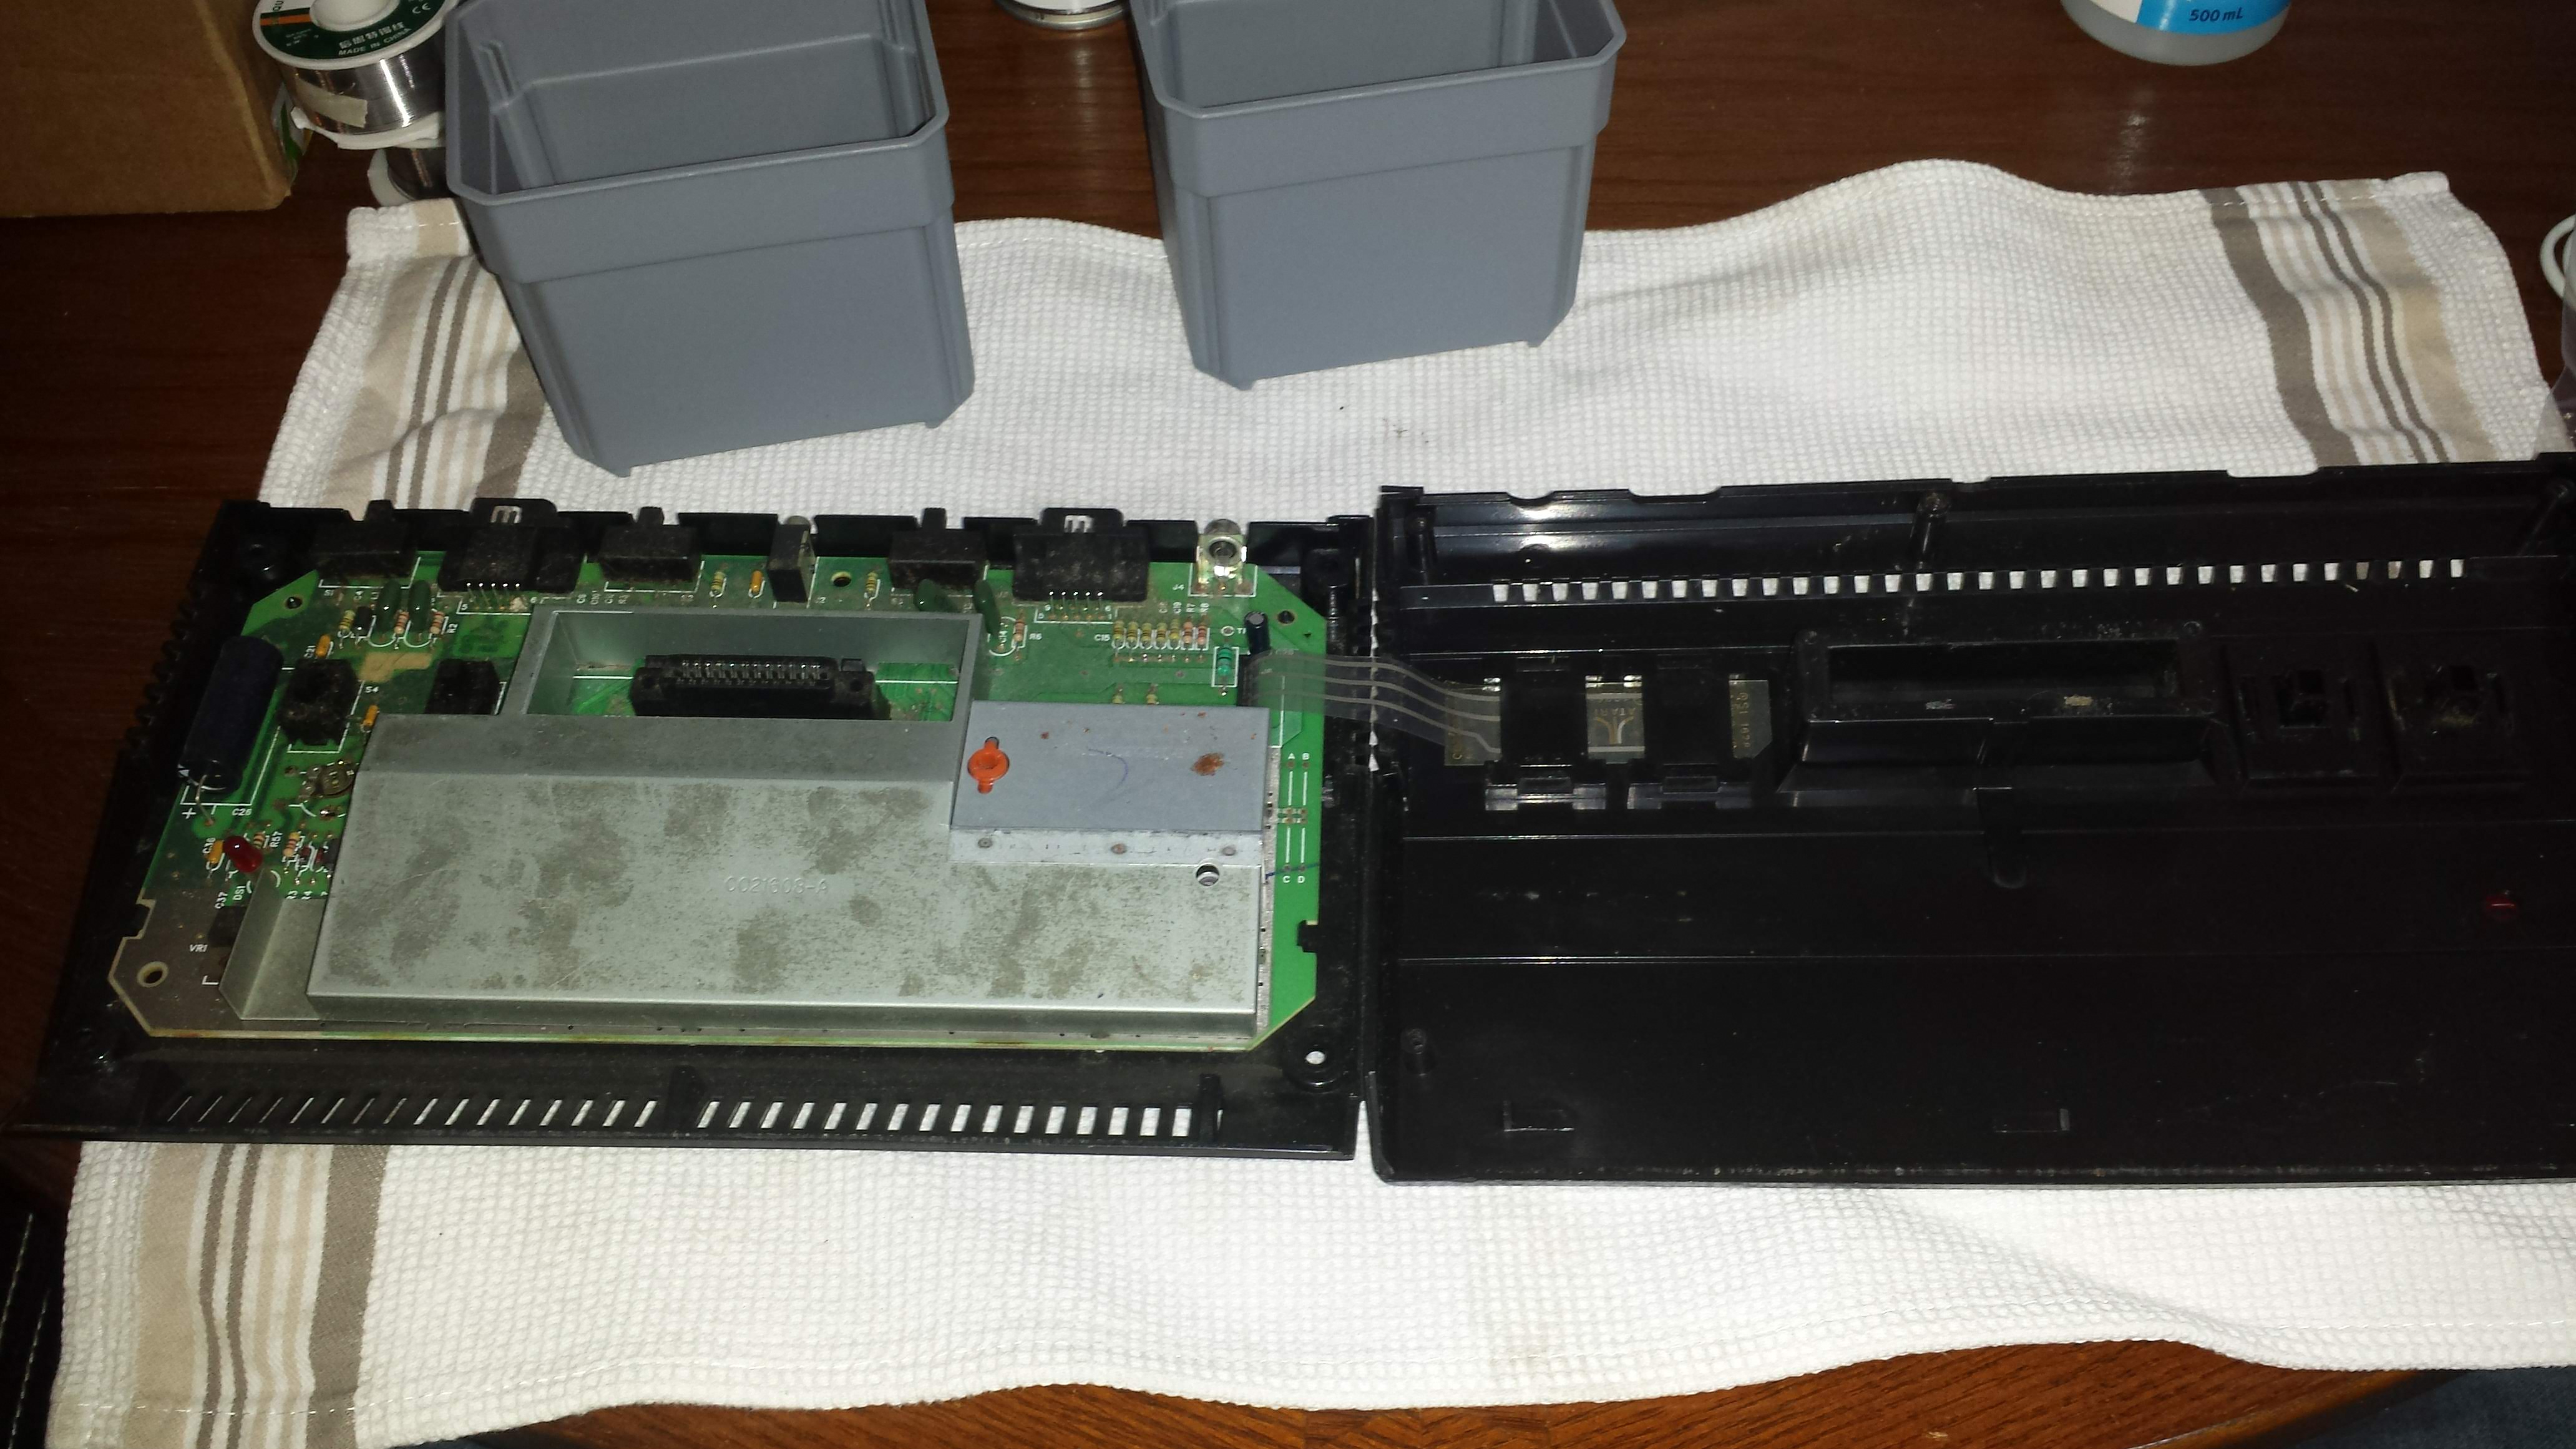 Be gentle with the ribbon cable. 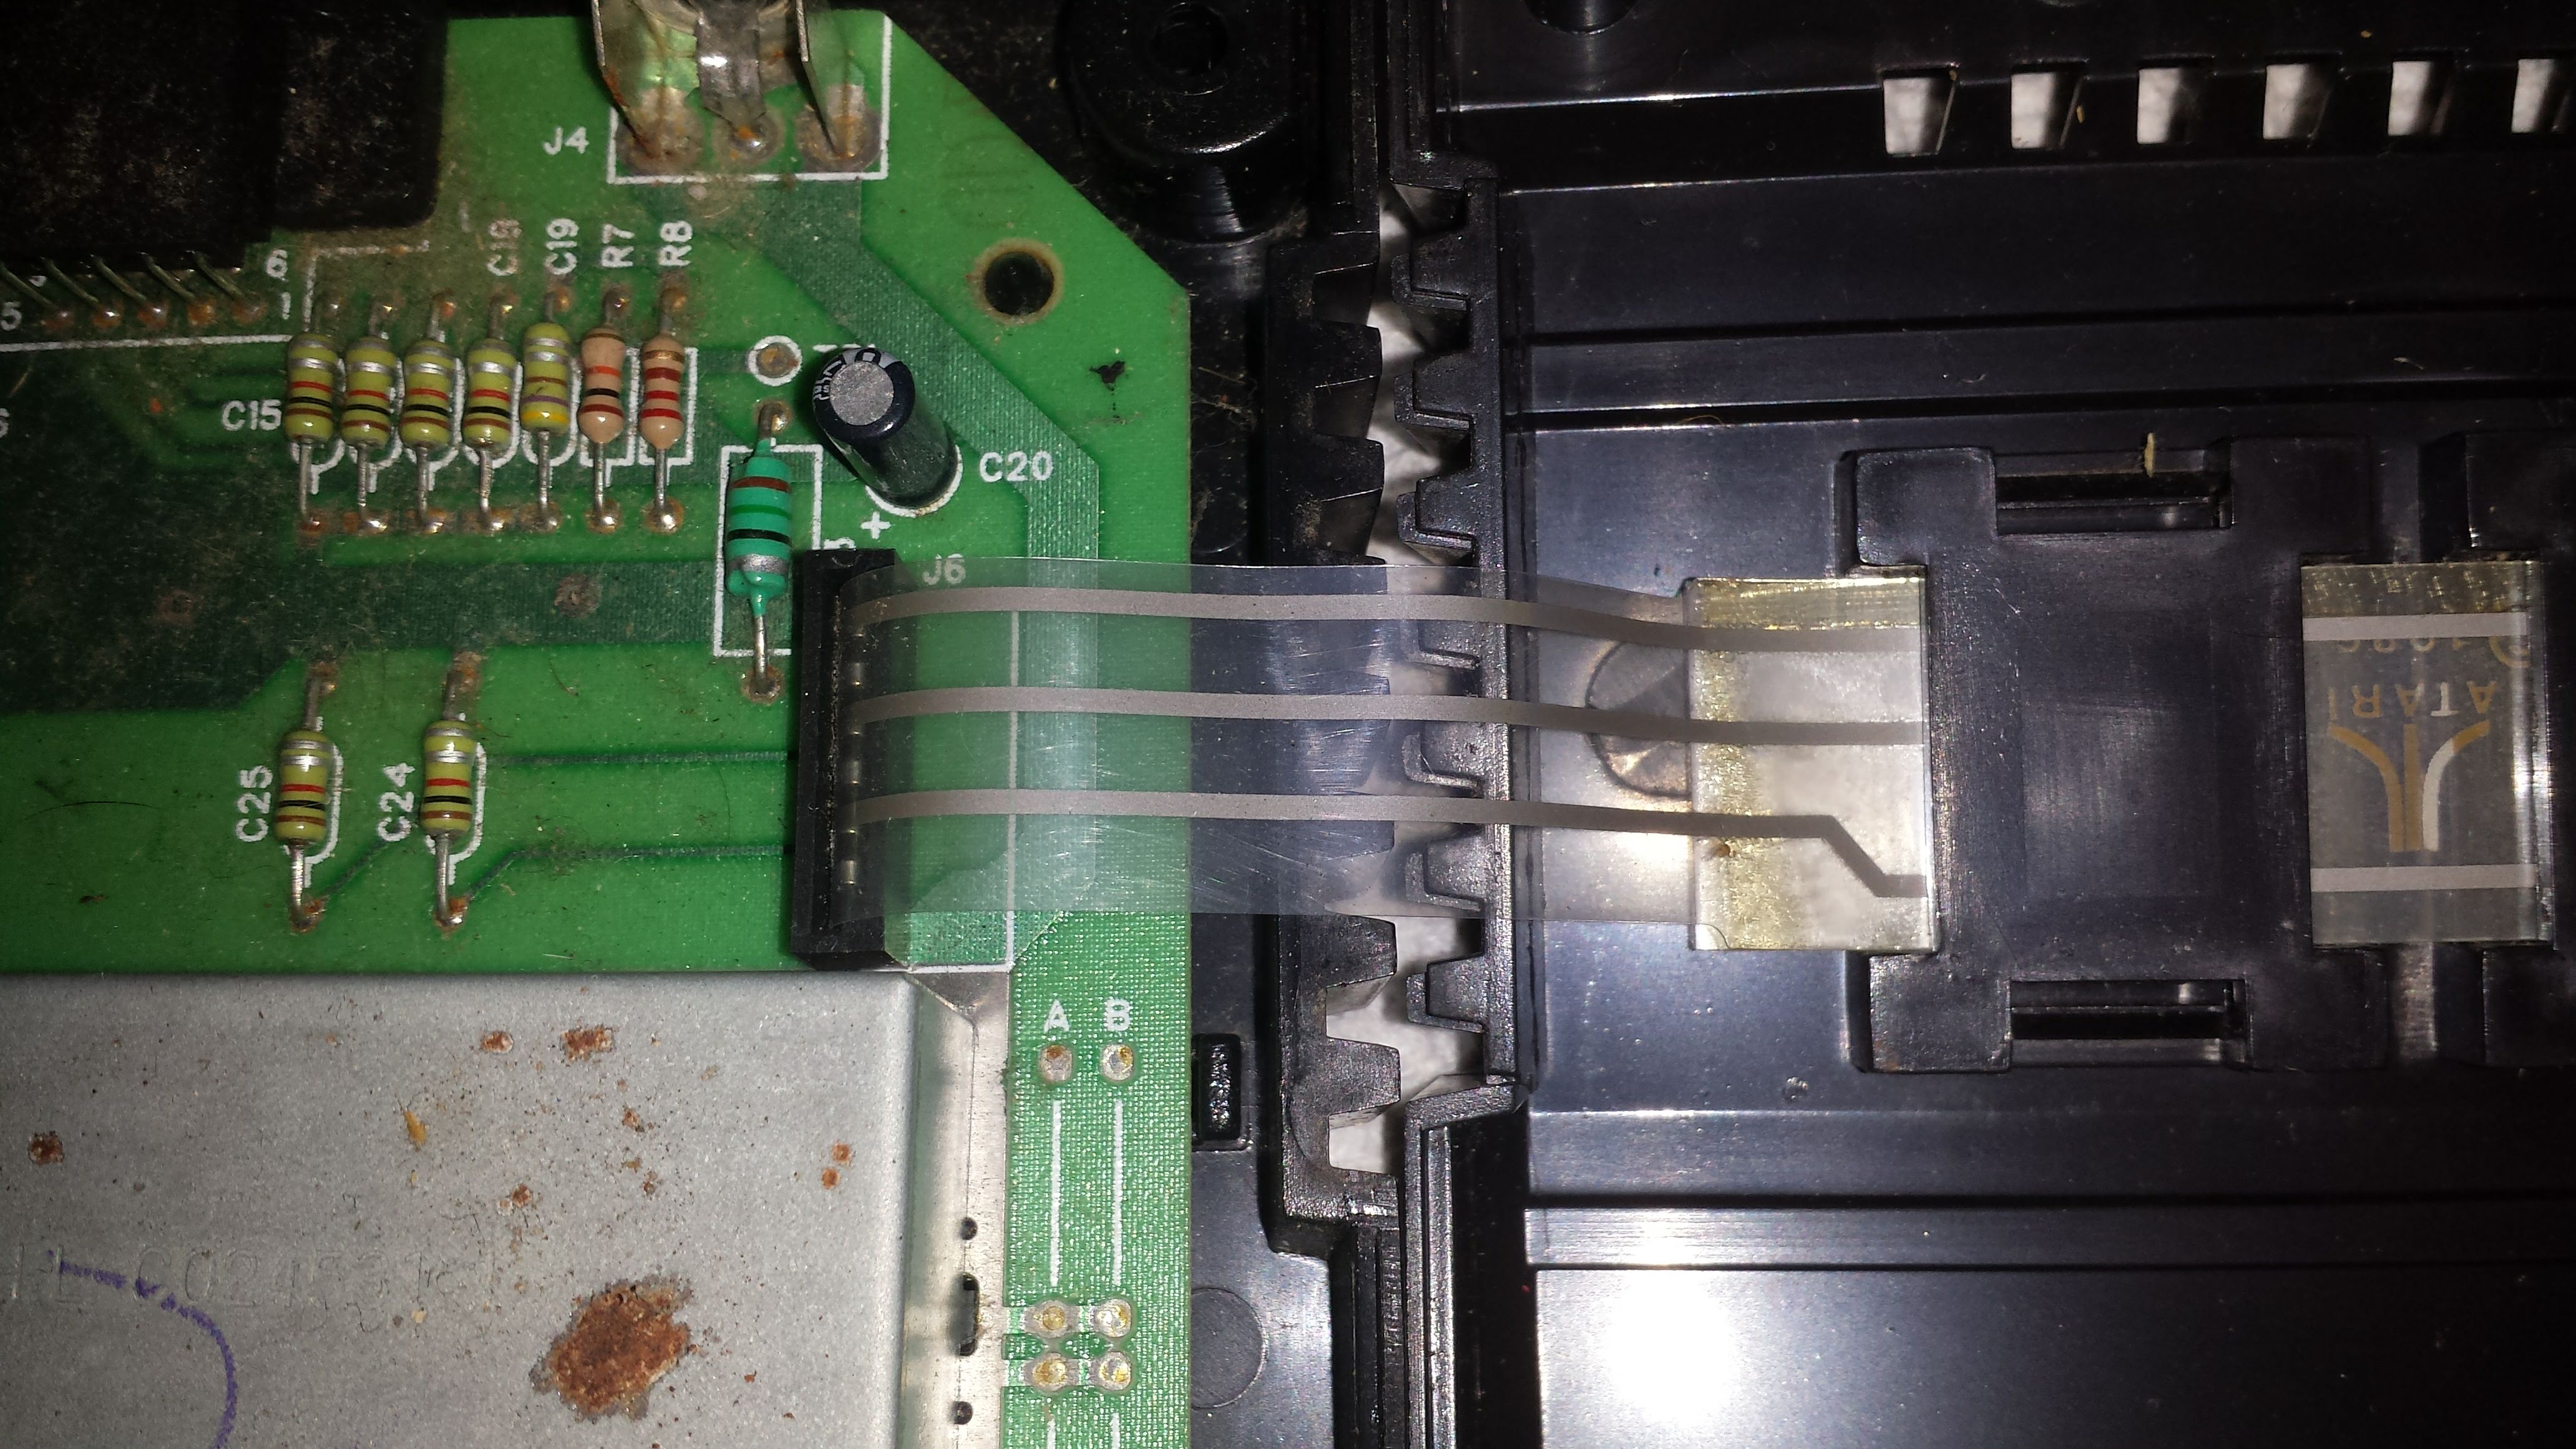 Gently slide the ribbon cable out of the top half and pop the switch sliders out. 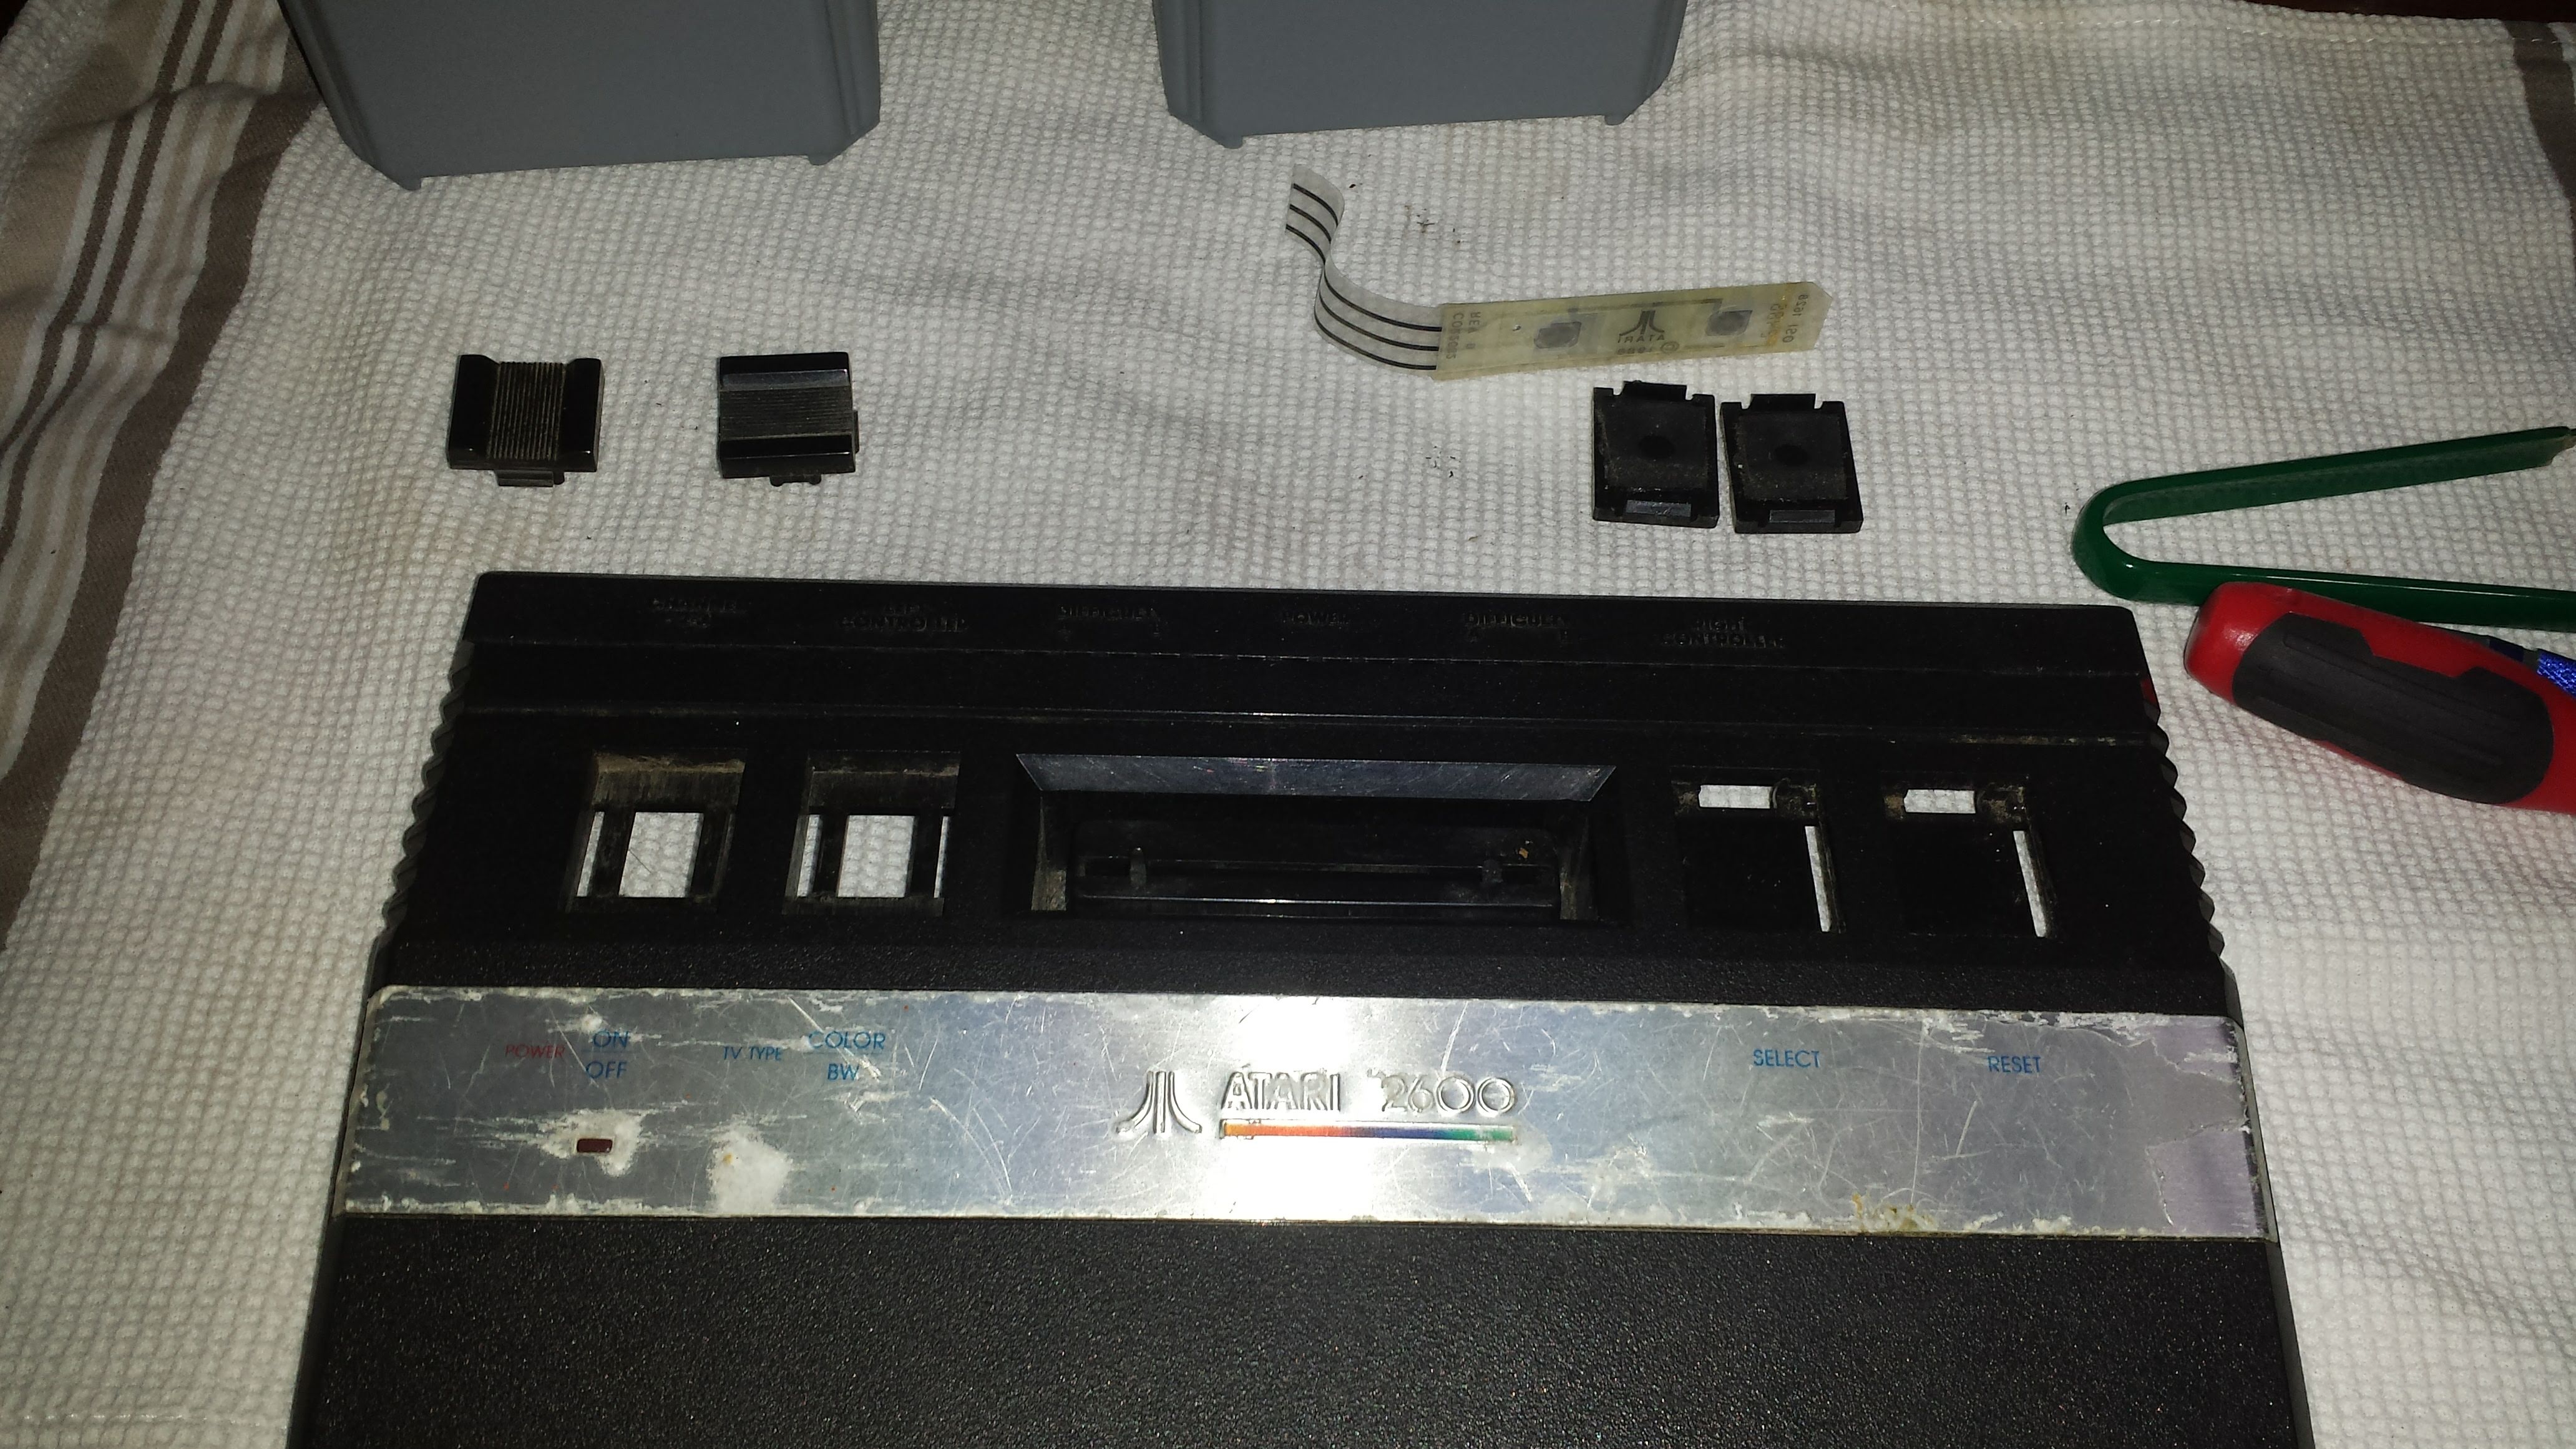 The protective plastic was still on the aluminium trim, I suspect it may have helped the corrosion along. After peeling it off, the trim looks a lot cleaner. 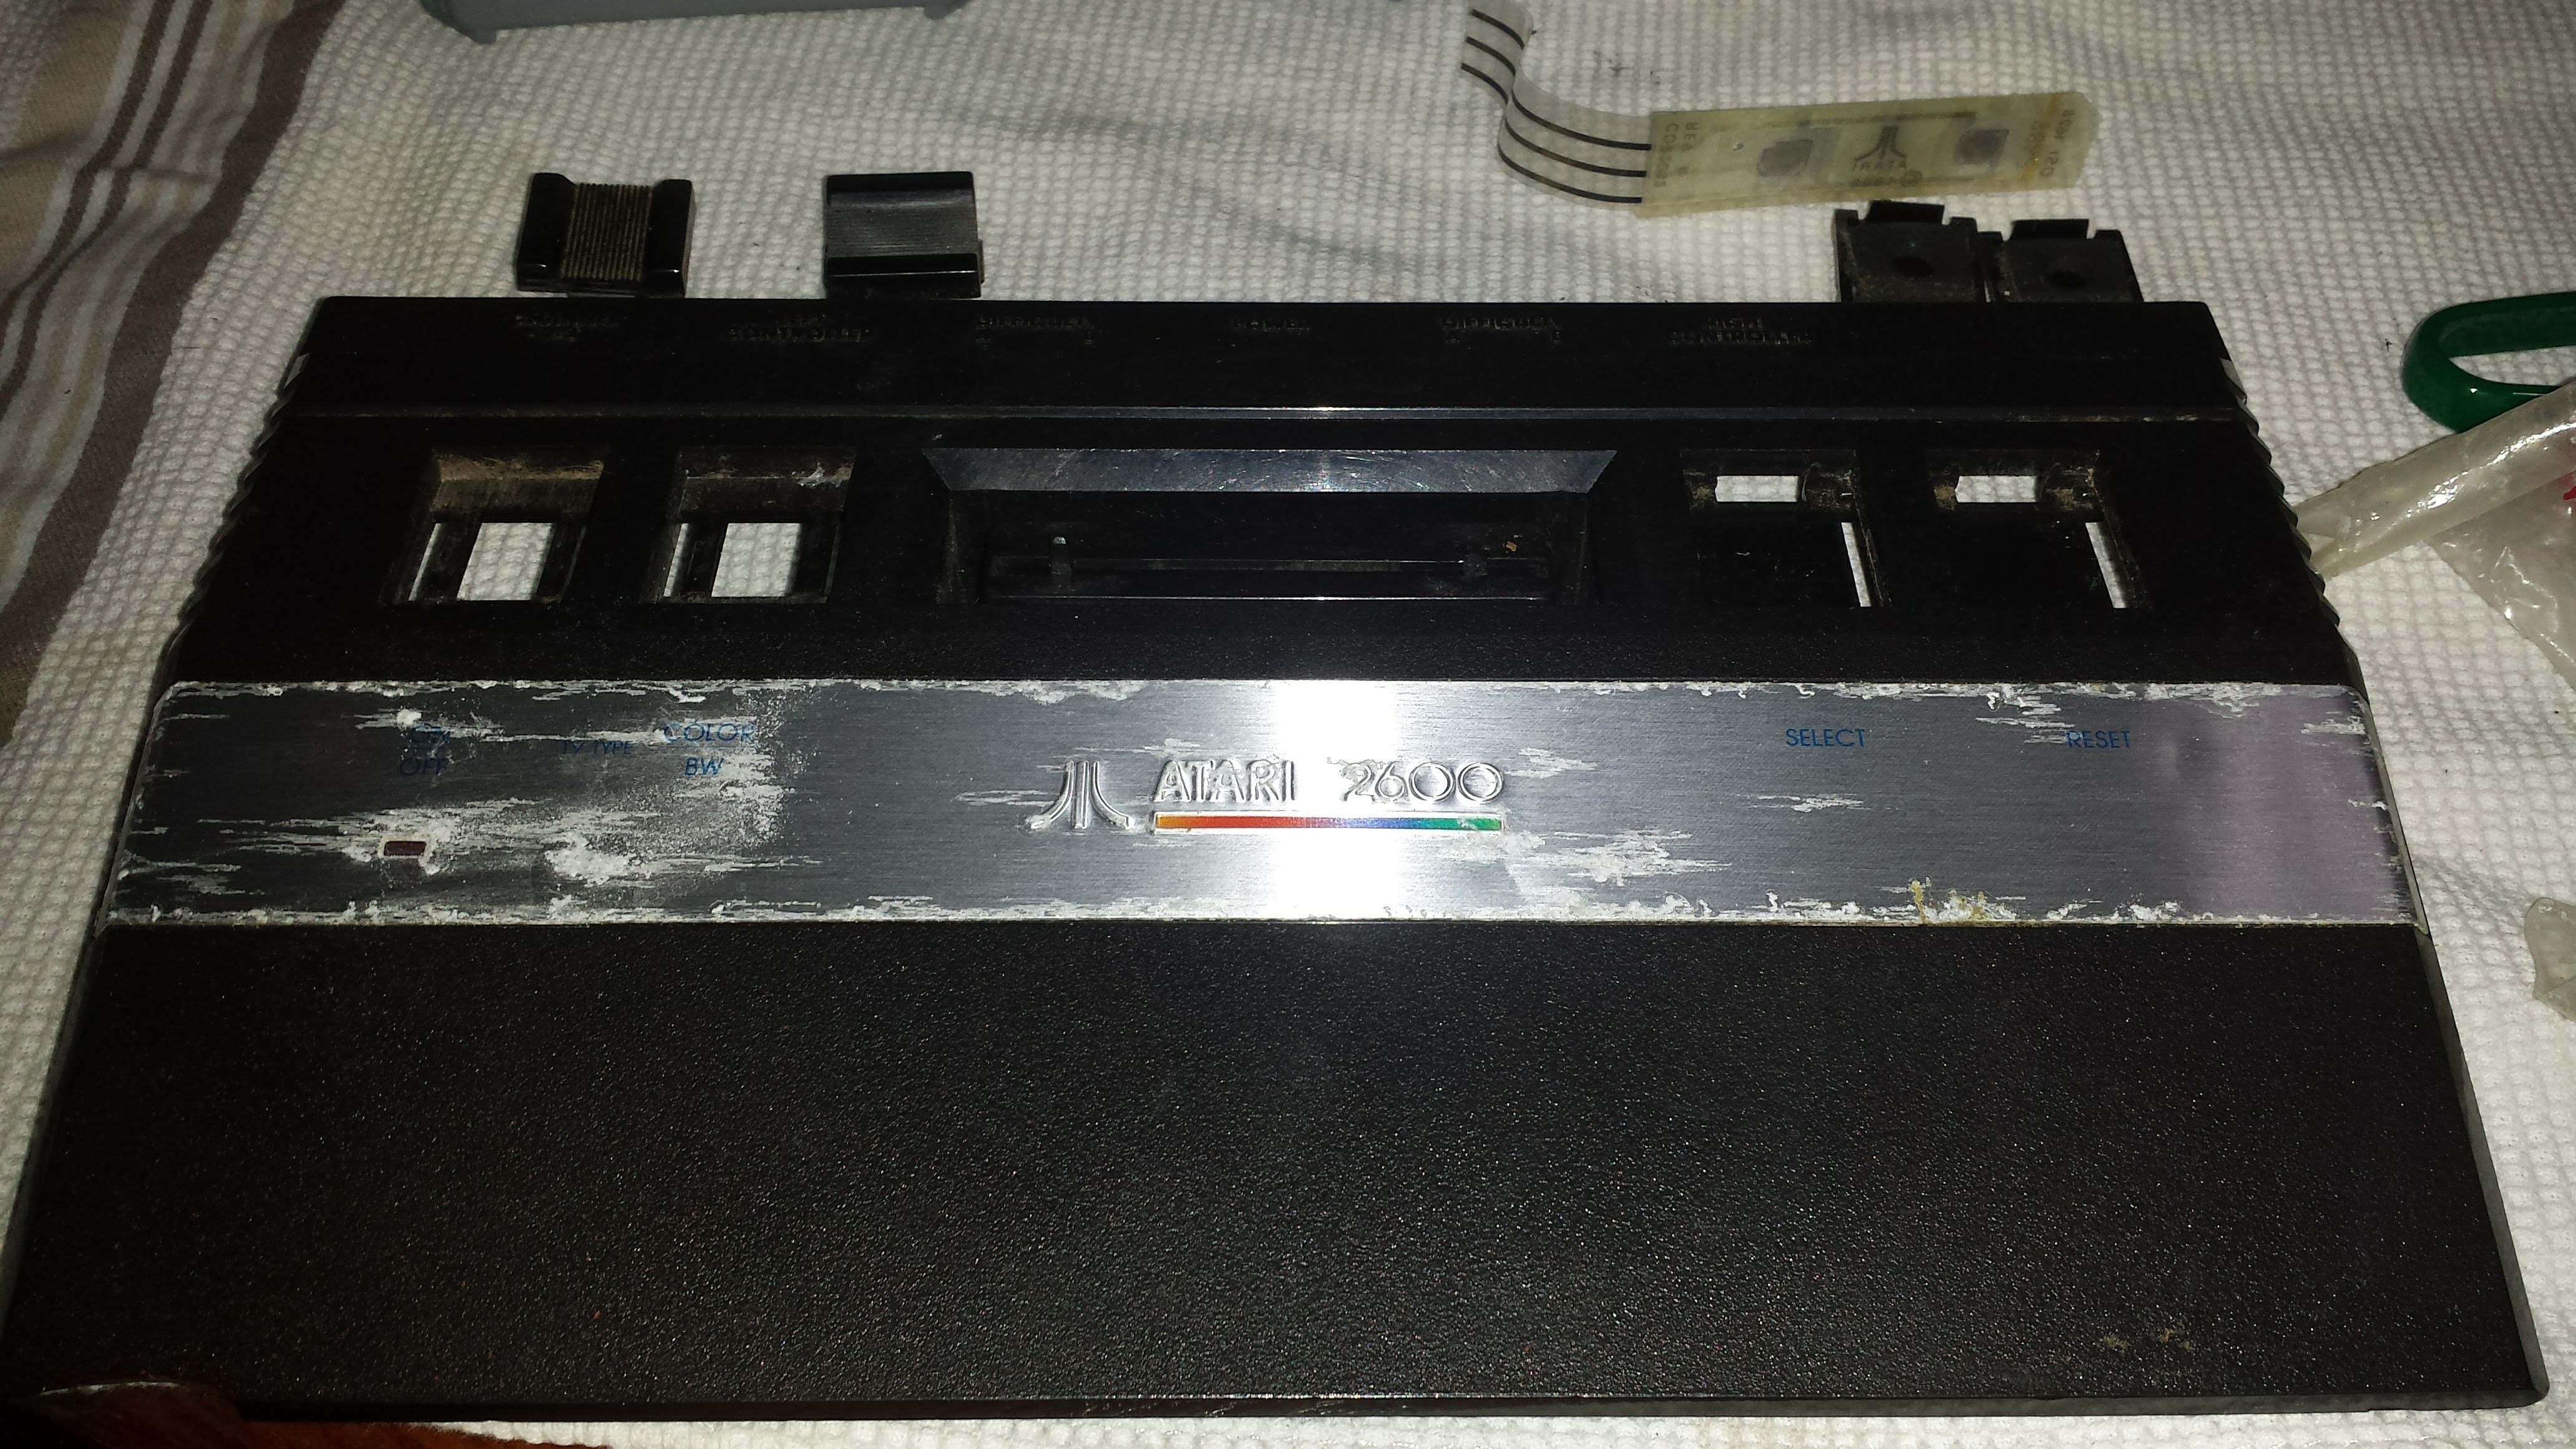 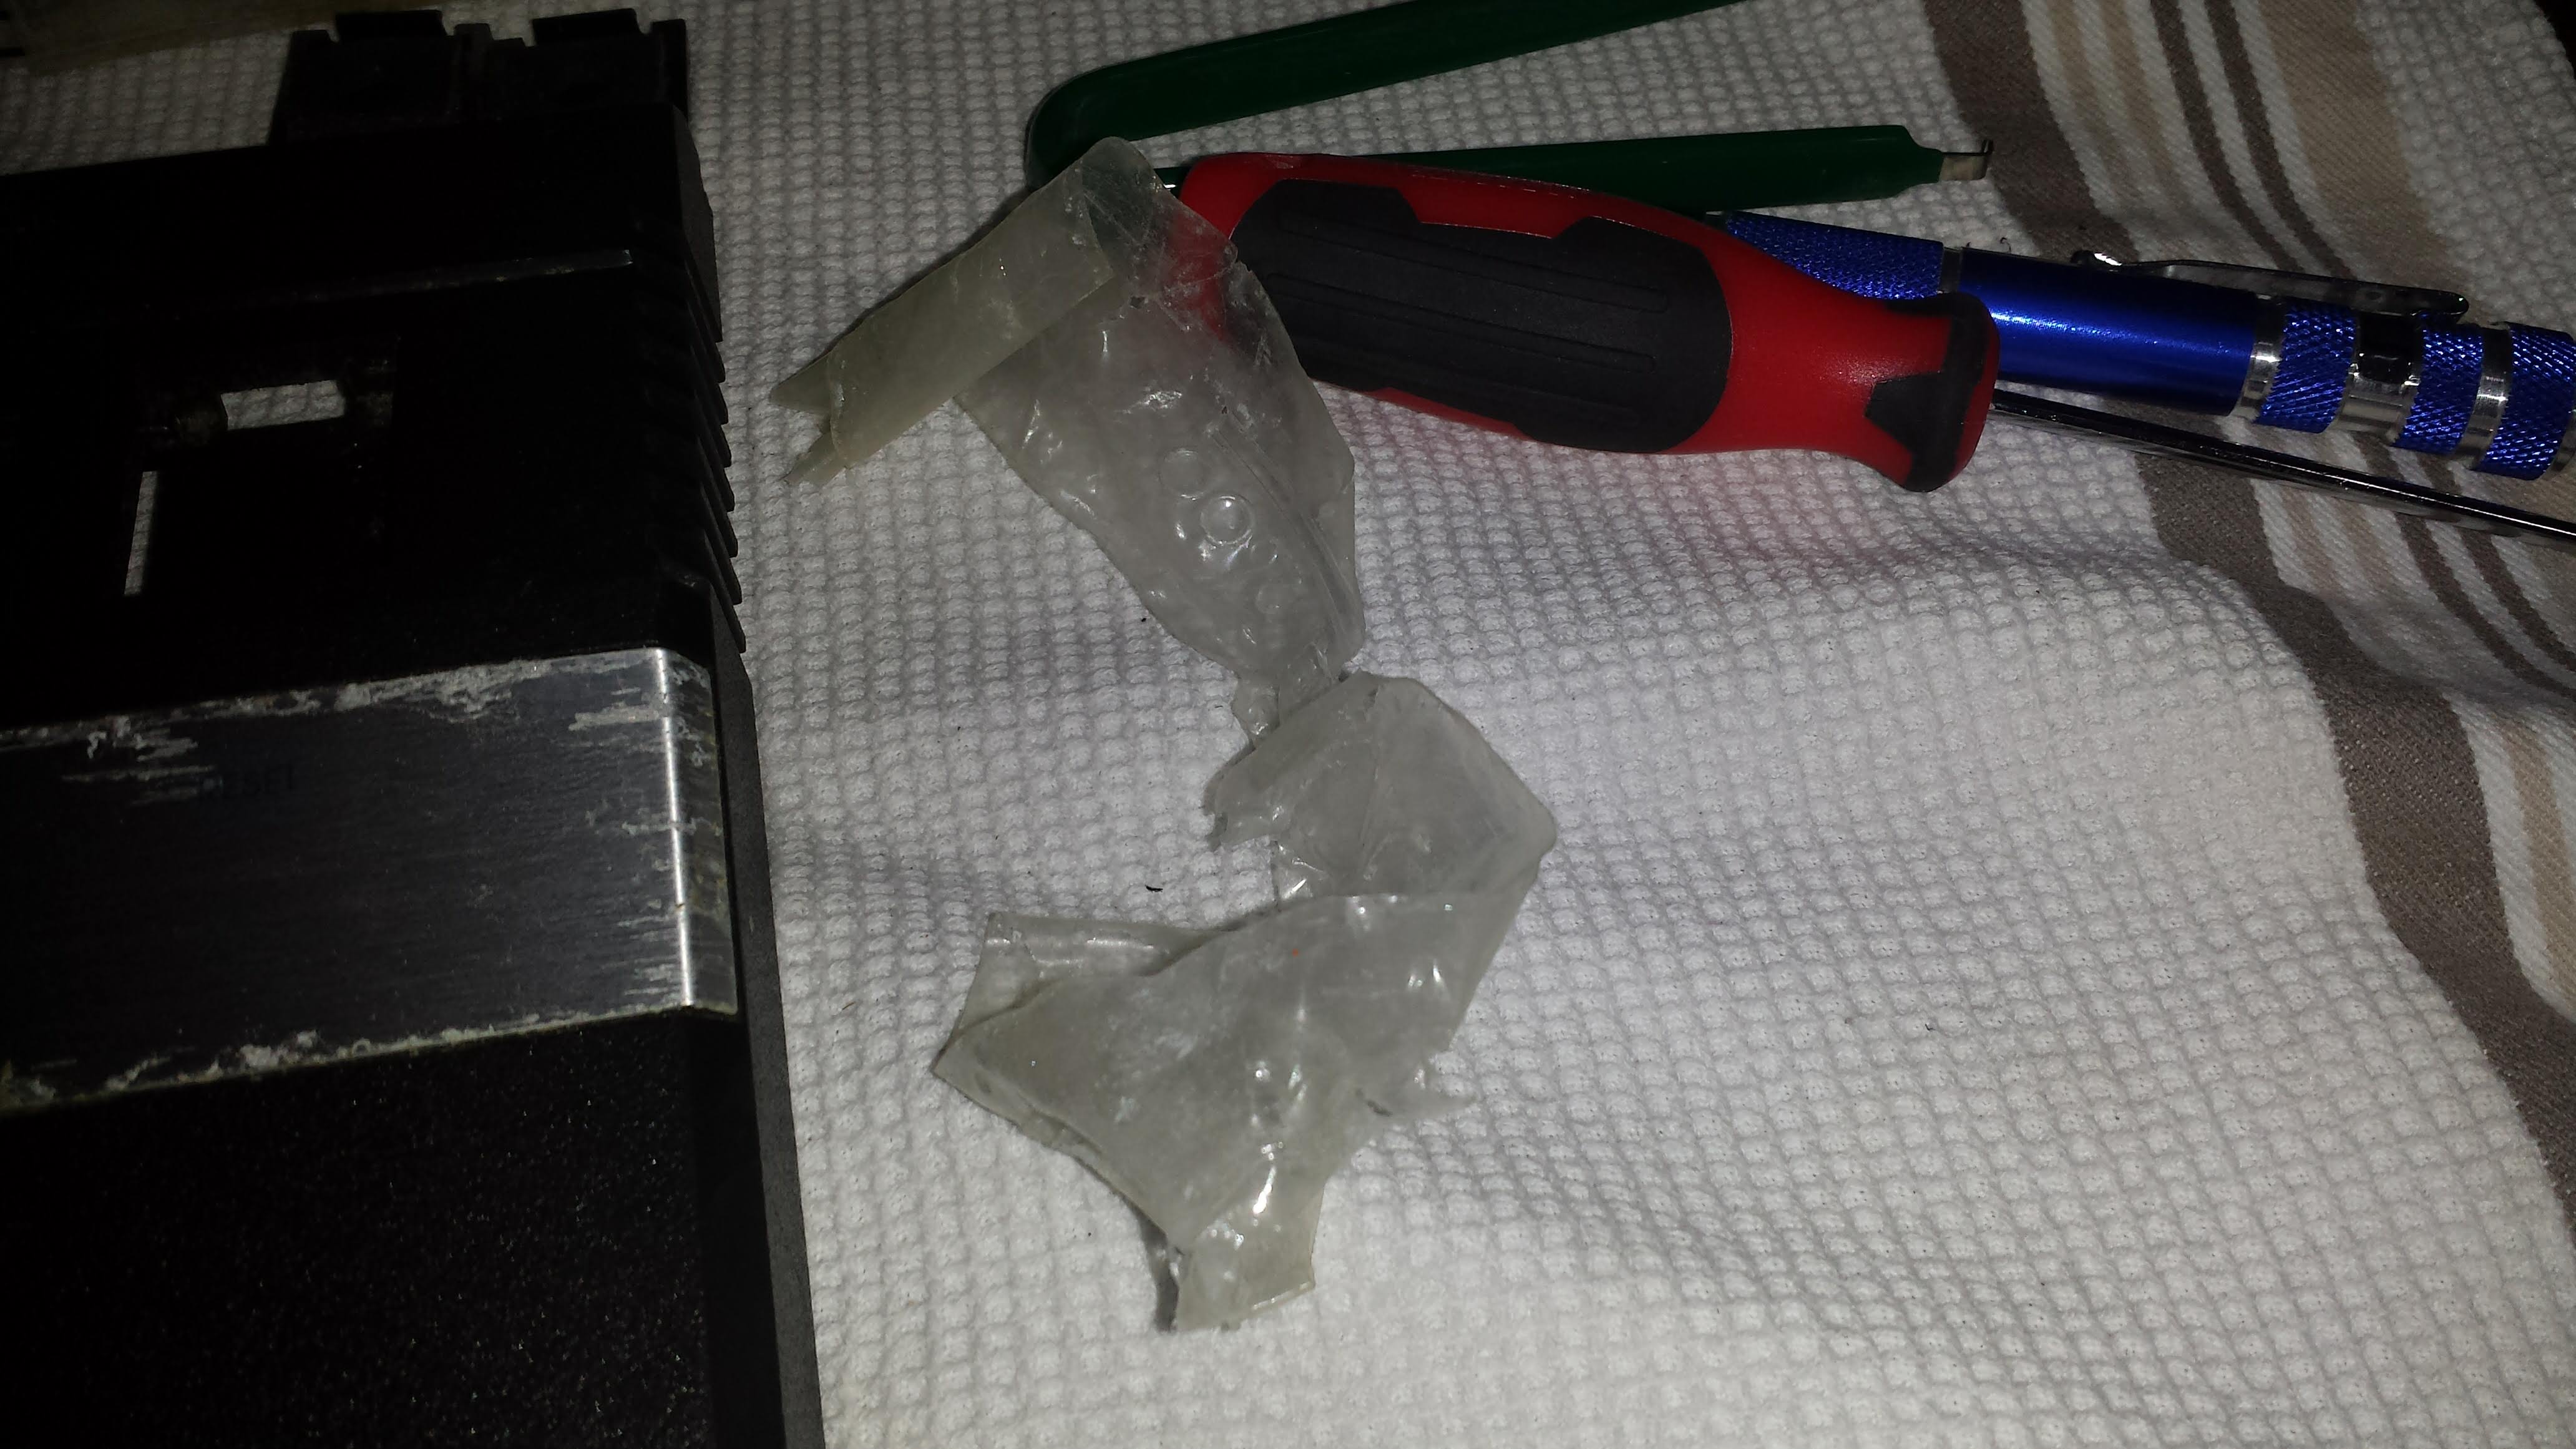 I'm going to give the top a soak in vinegar to see if that will peel off some that corrosion. Continuing on with the circuit board, gently bend a few tabs and remove the RF shield. 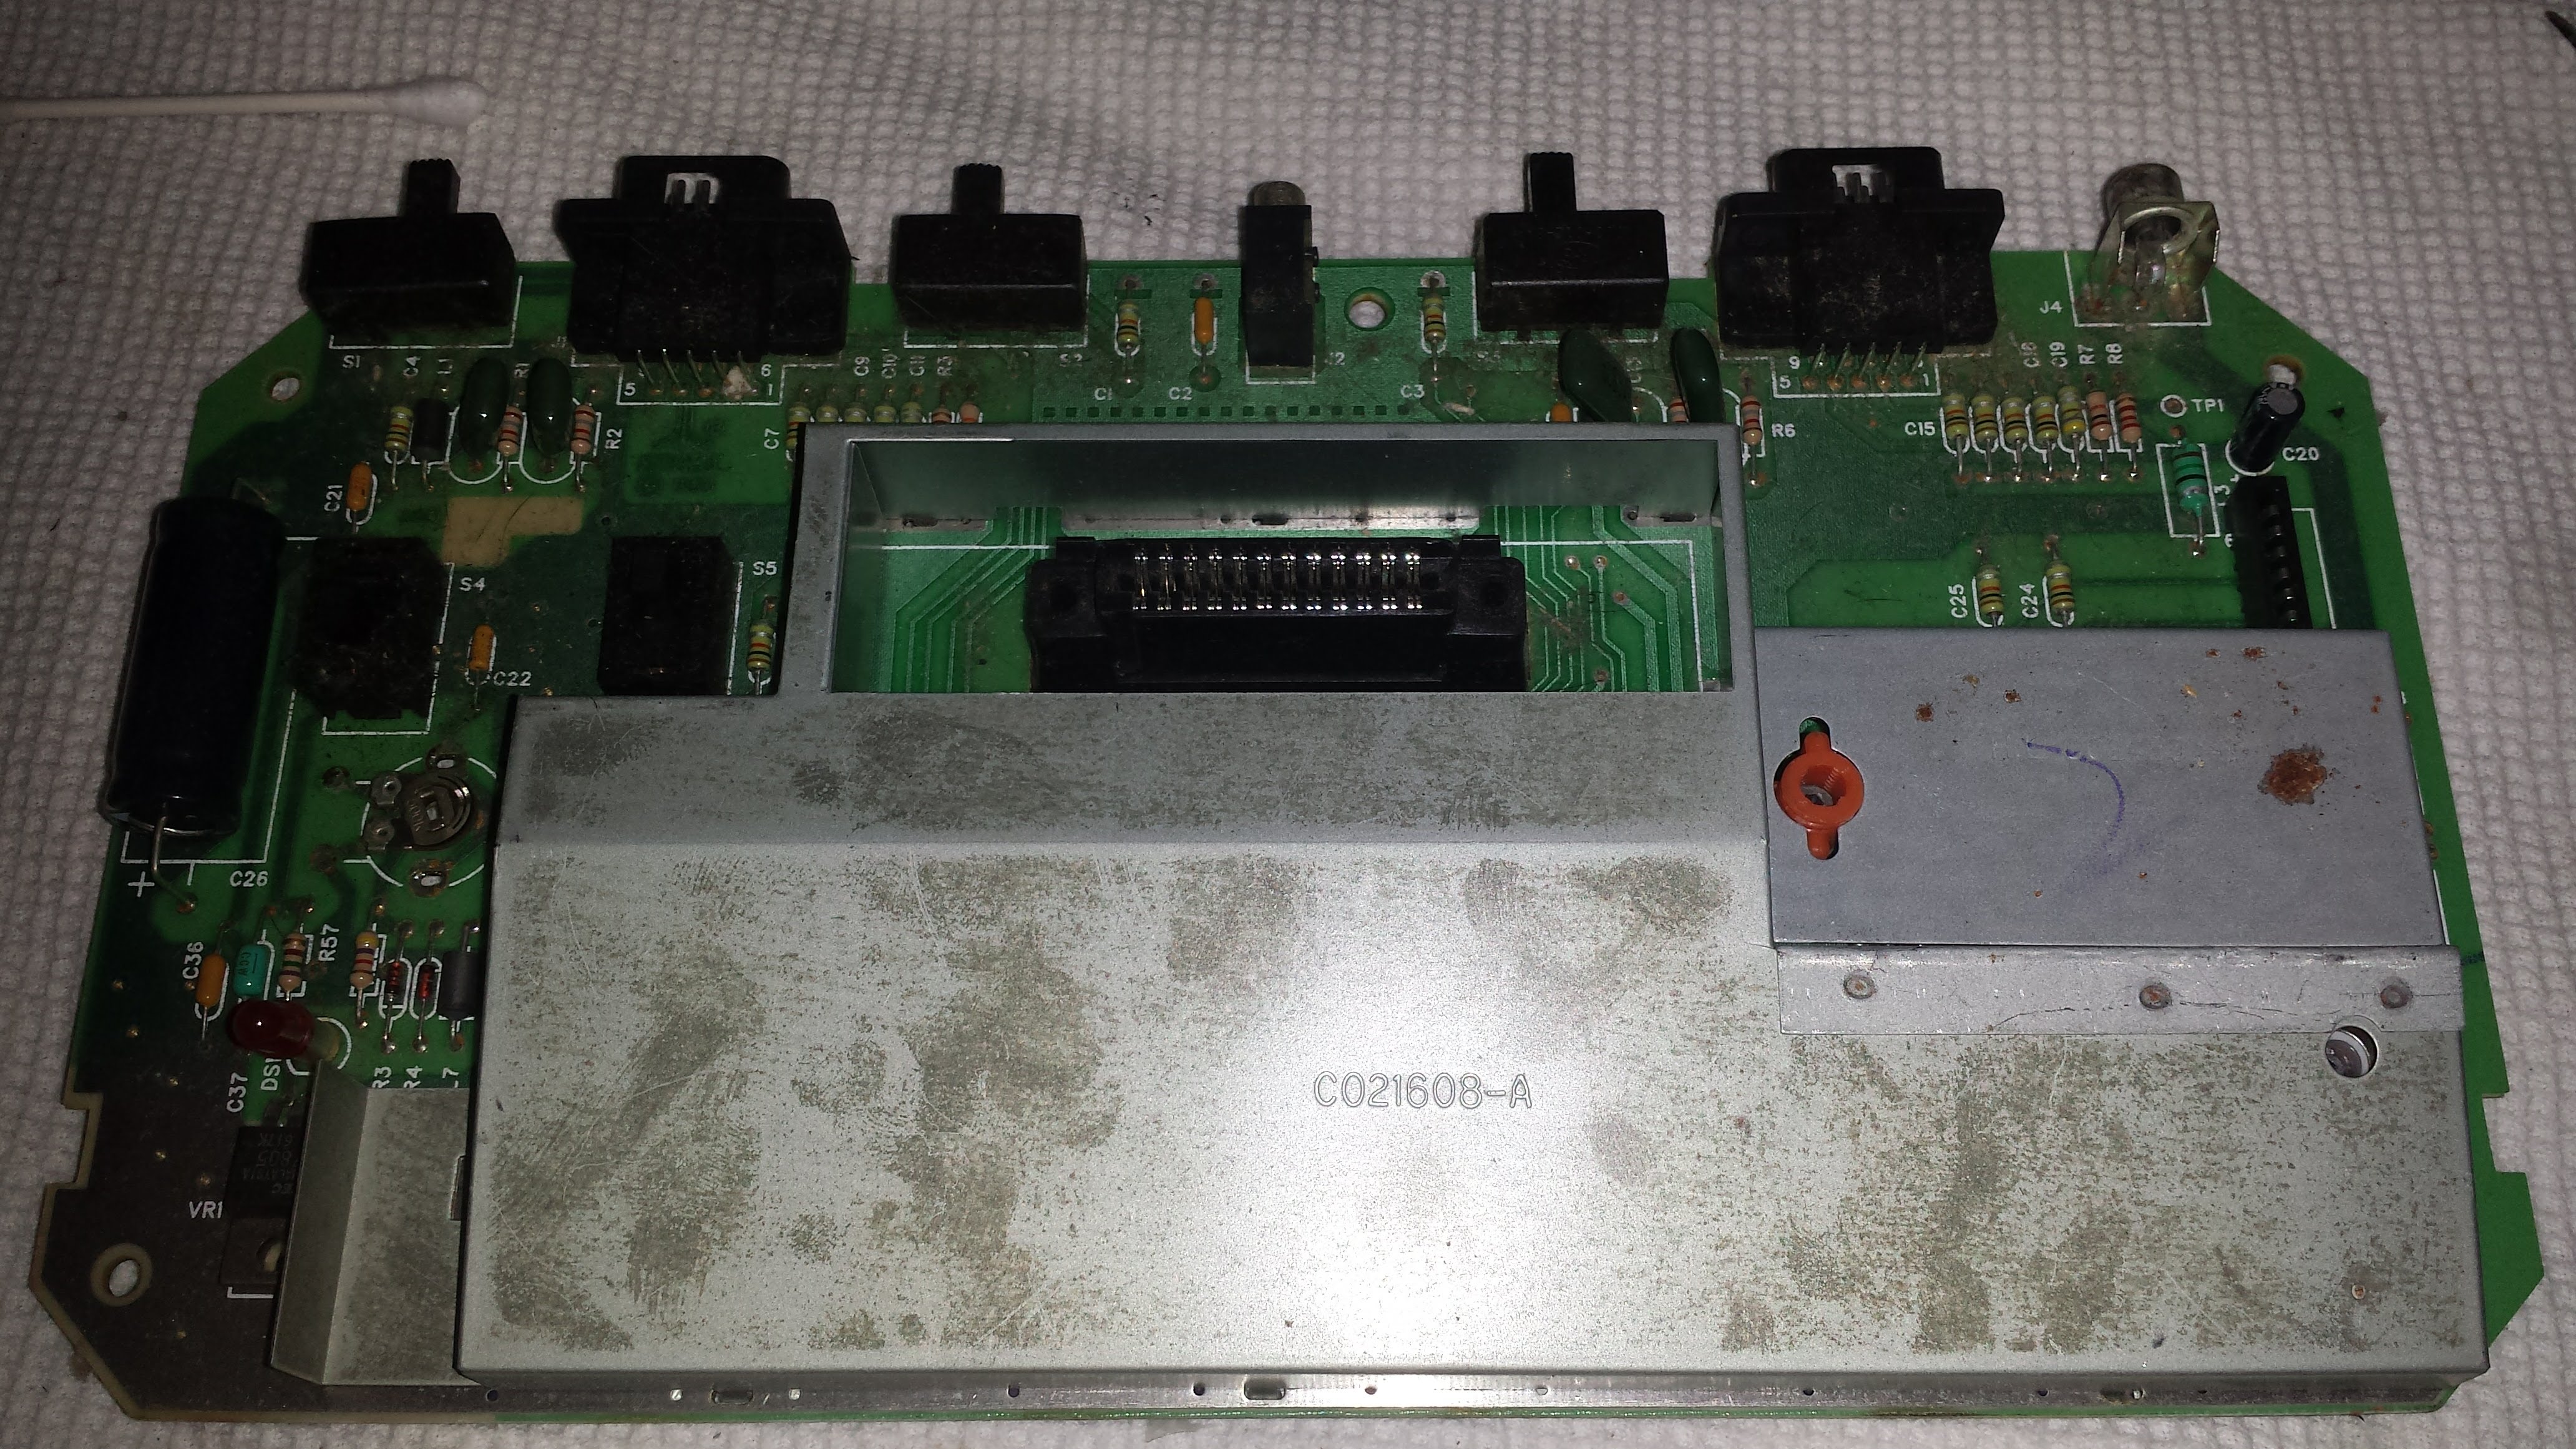 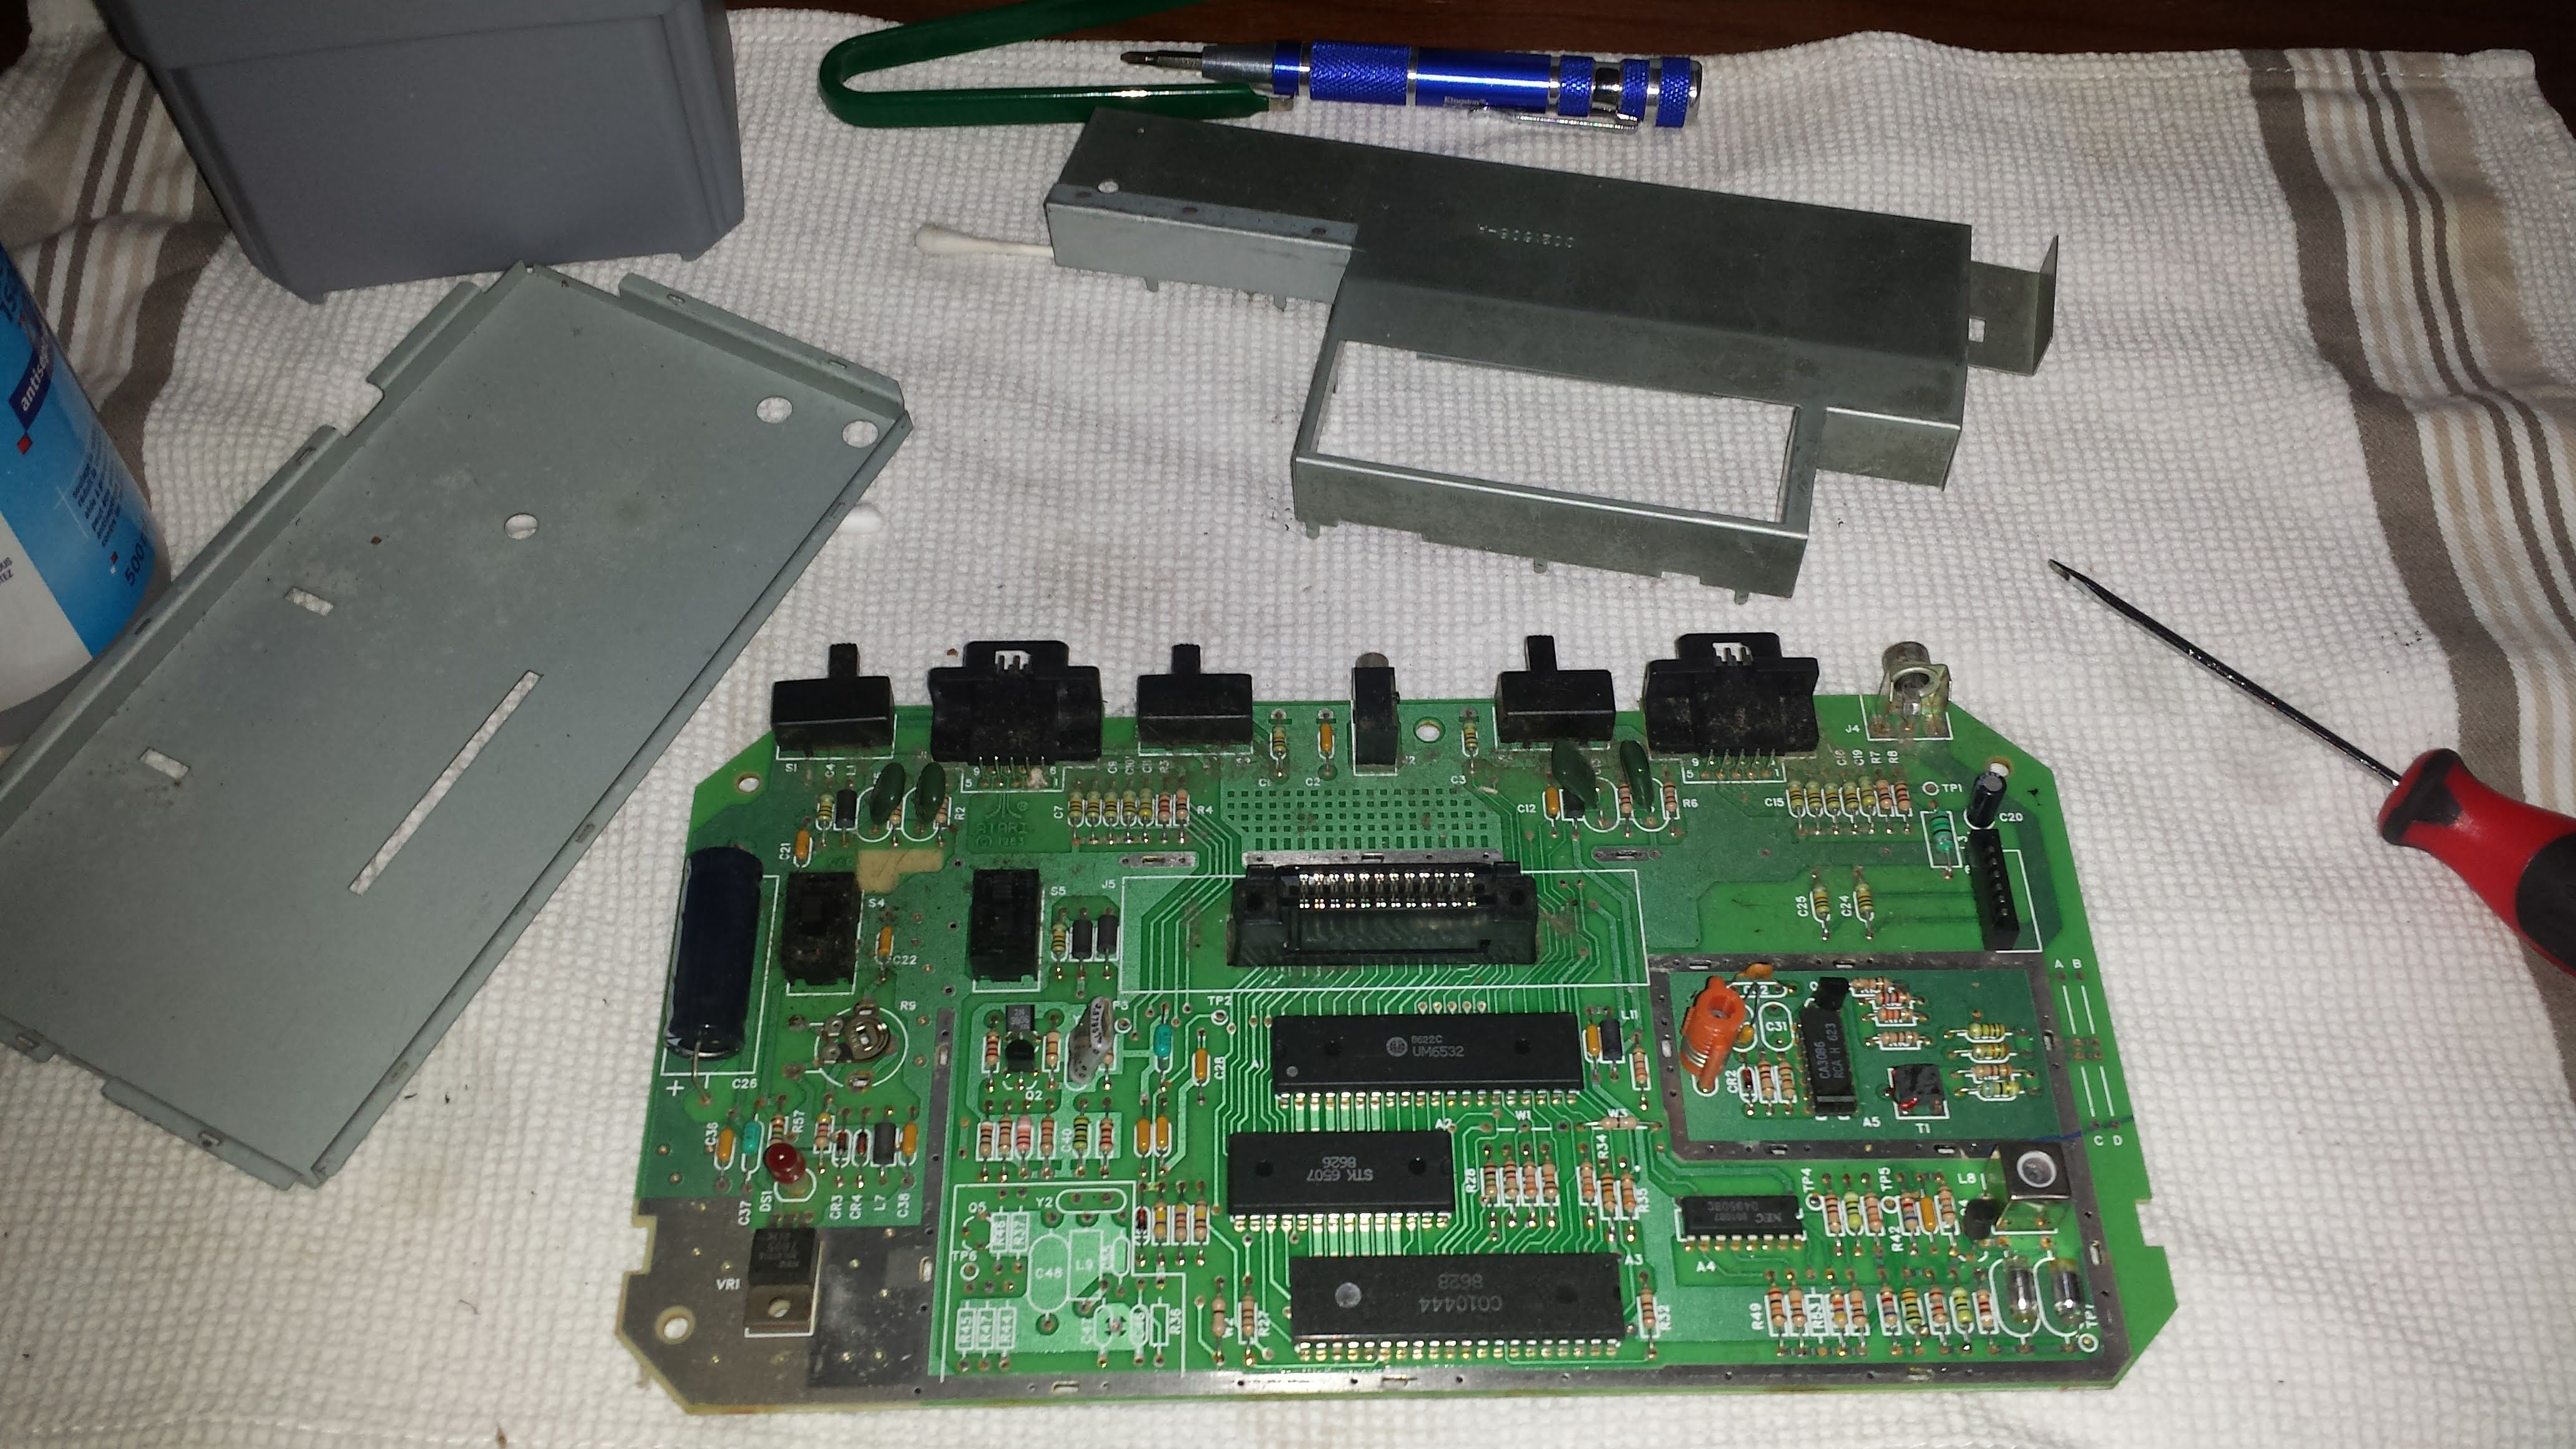 A closer look the shows lots of nasty dirt and goo on the board. 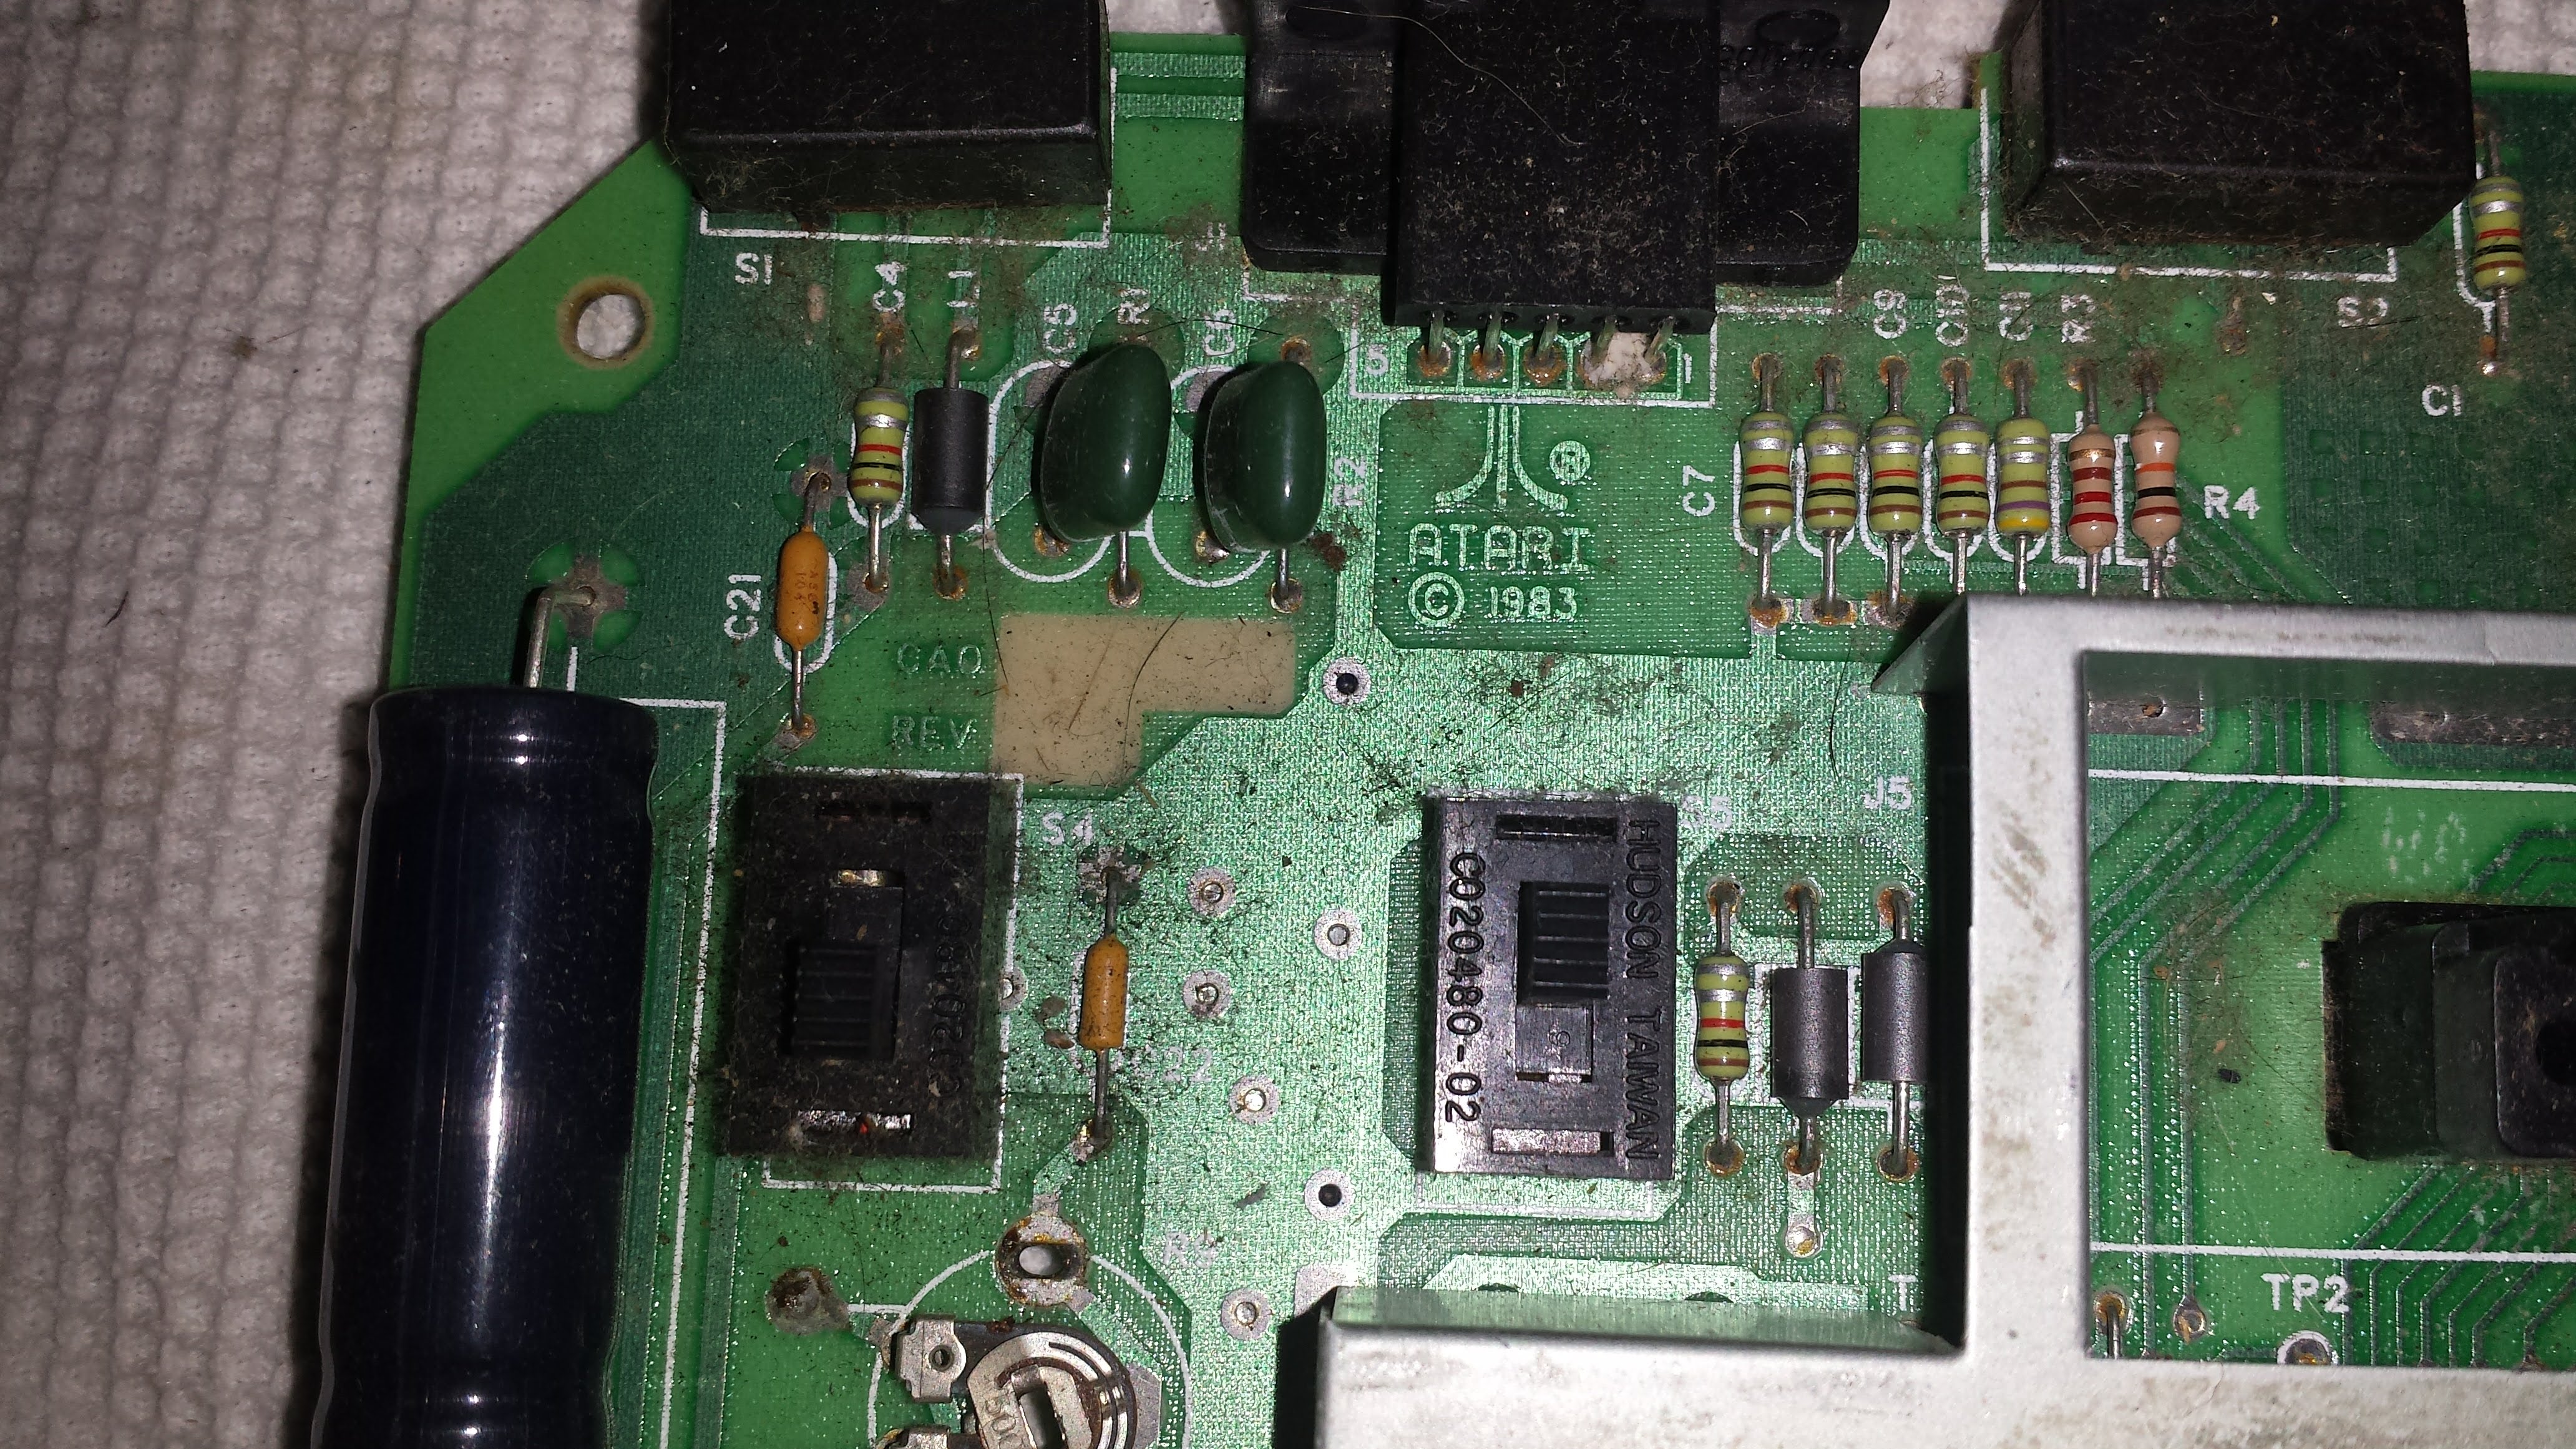 After the first cleaning things are looking better. A brush and some alcohol and some contact cleaner through the switches and the cartridge port. 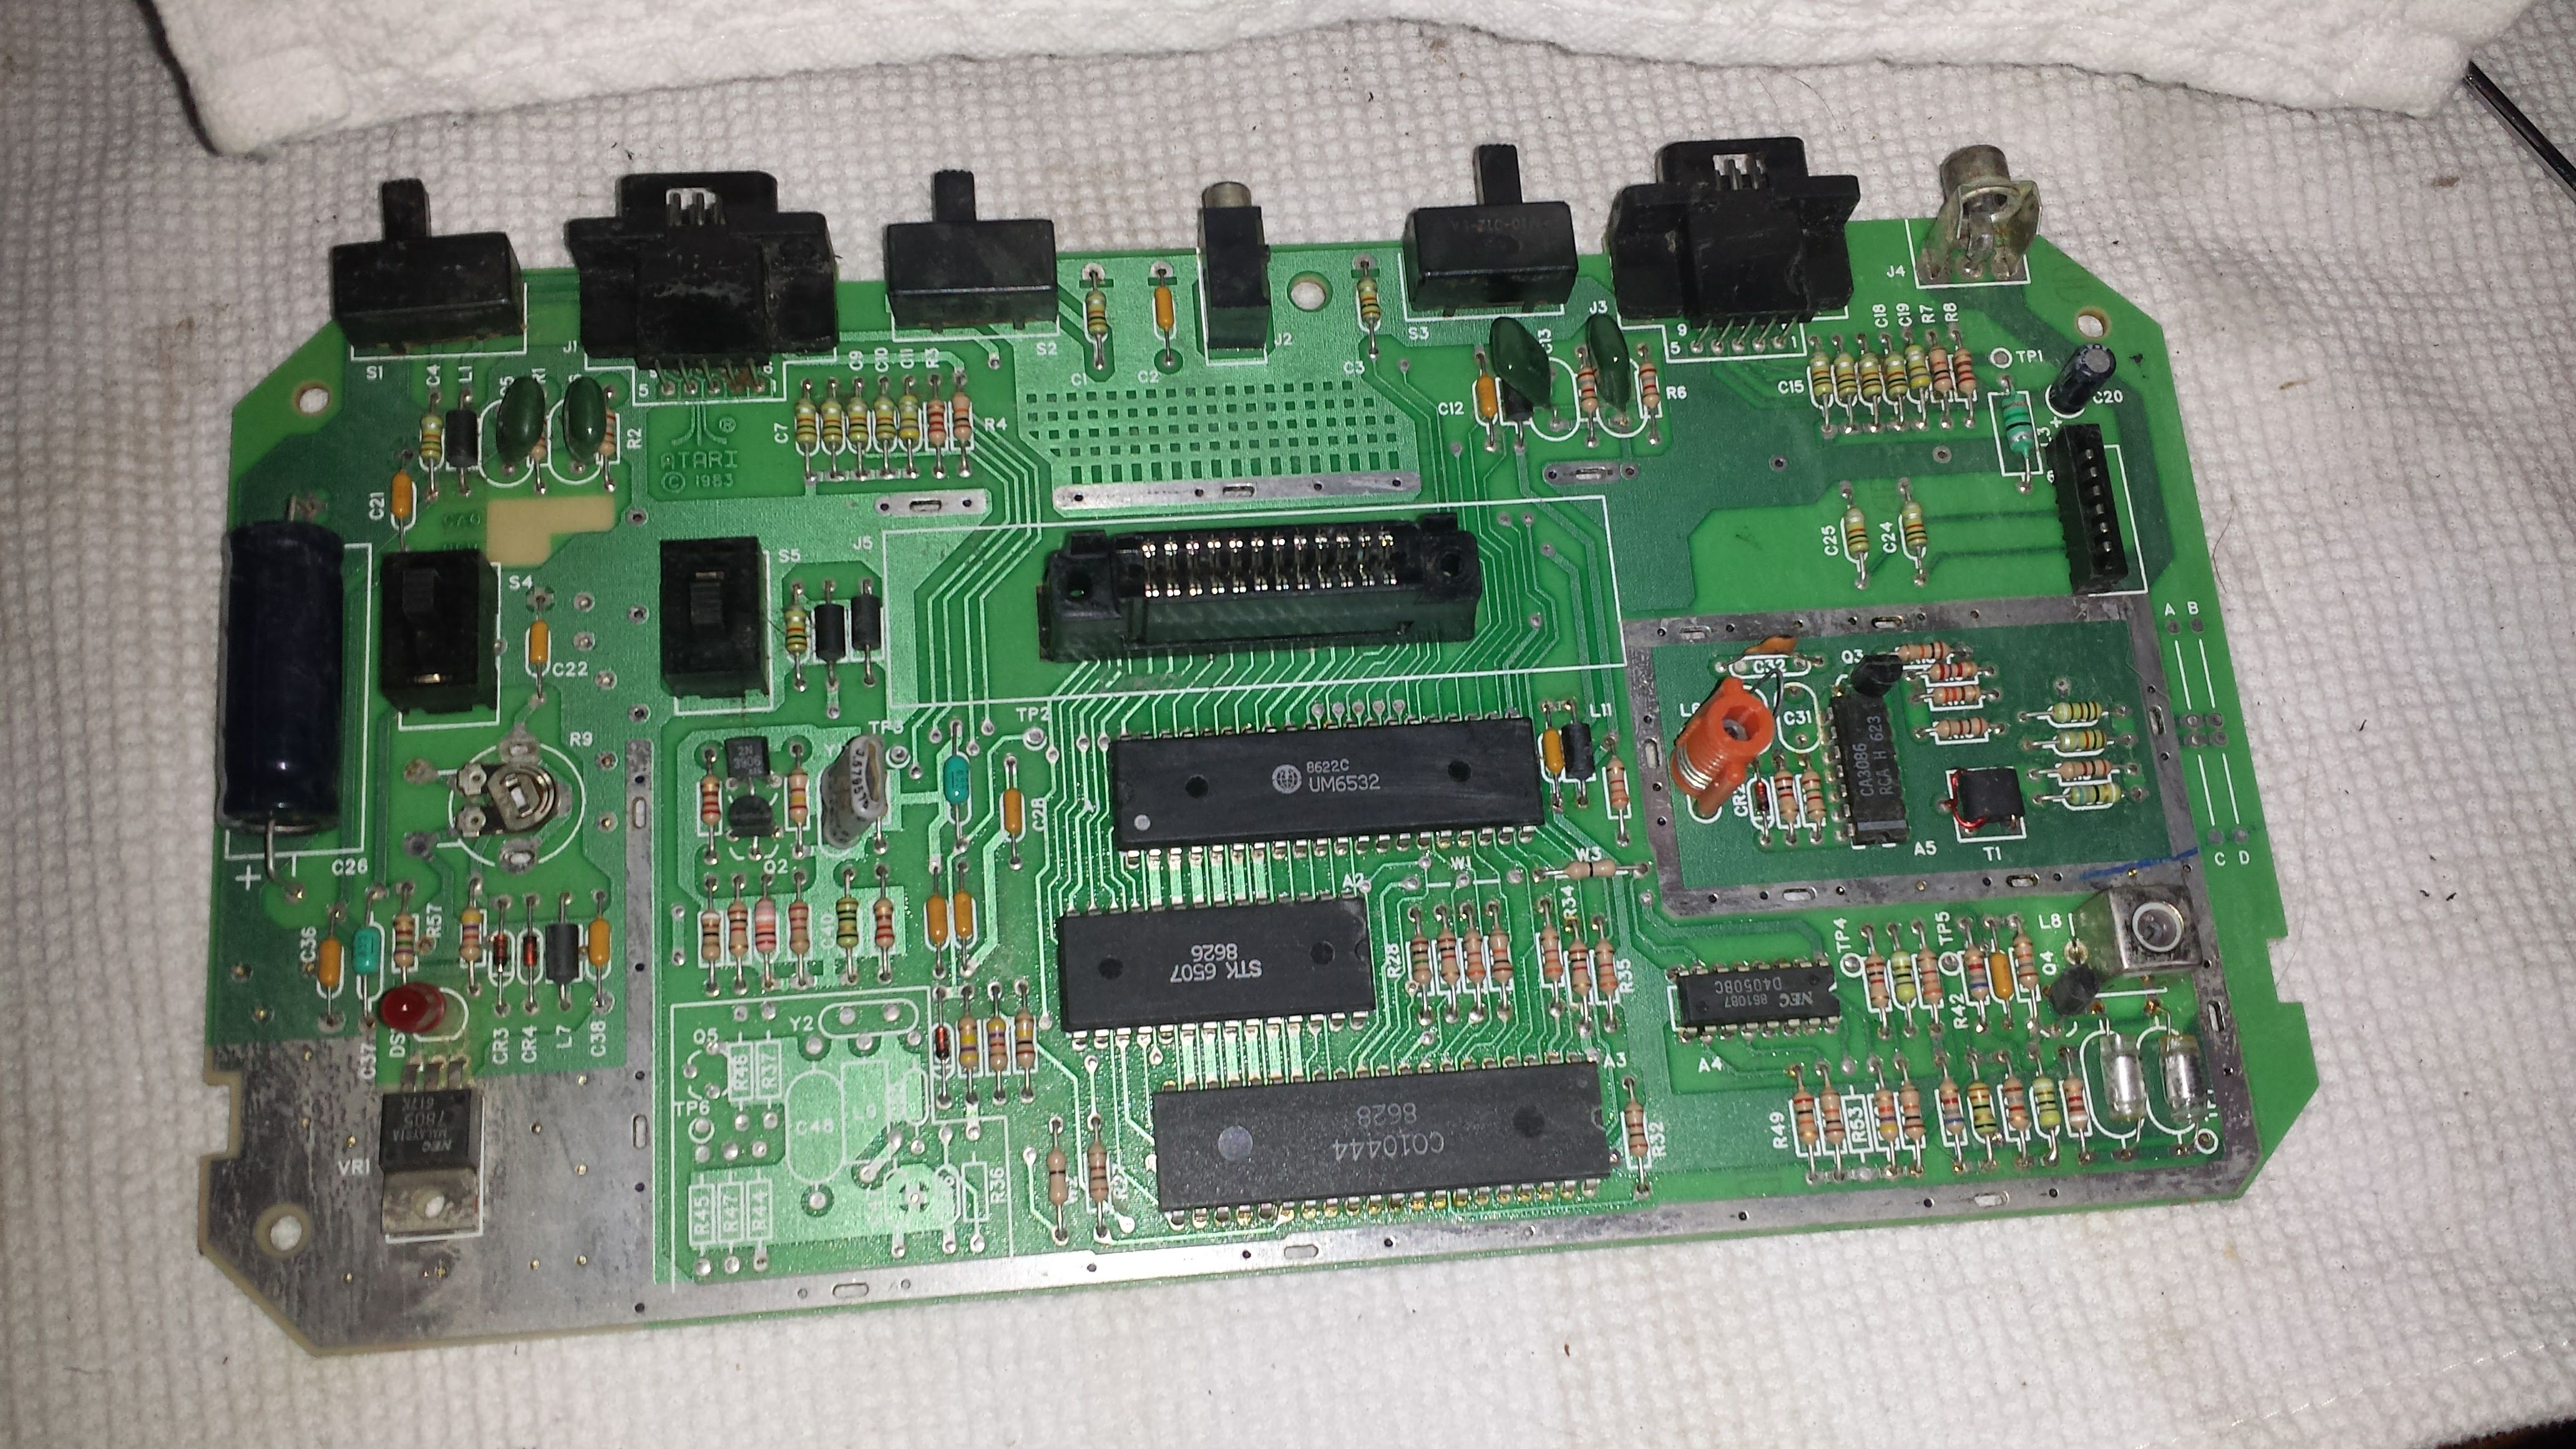 I'll stop here and let the board dry off and give the top cover a soak. Cheers, Blaine |
|
|
|
Post by Blaine on Feb 10, 2019 20:48:58 GMT -7
After giving the case a scrubbing off and cleaning of as much of the corrosion as I can, I put together one of the composite video modification kits. 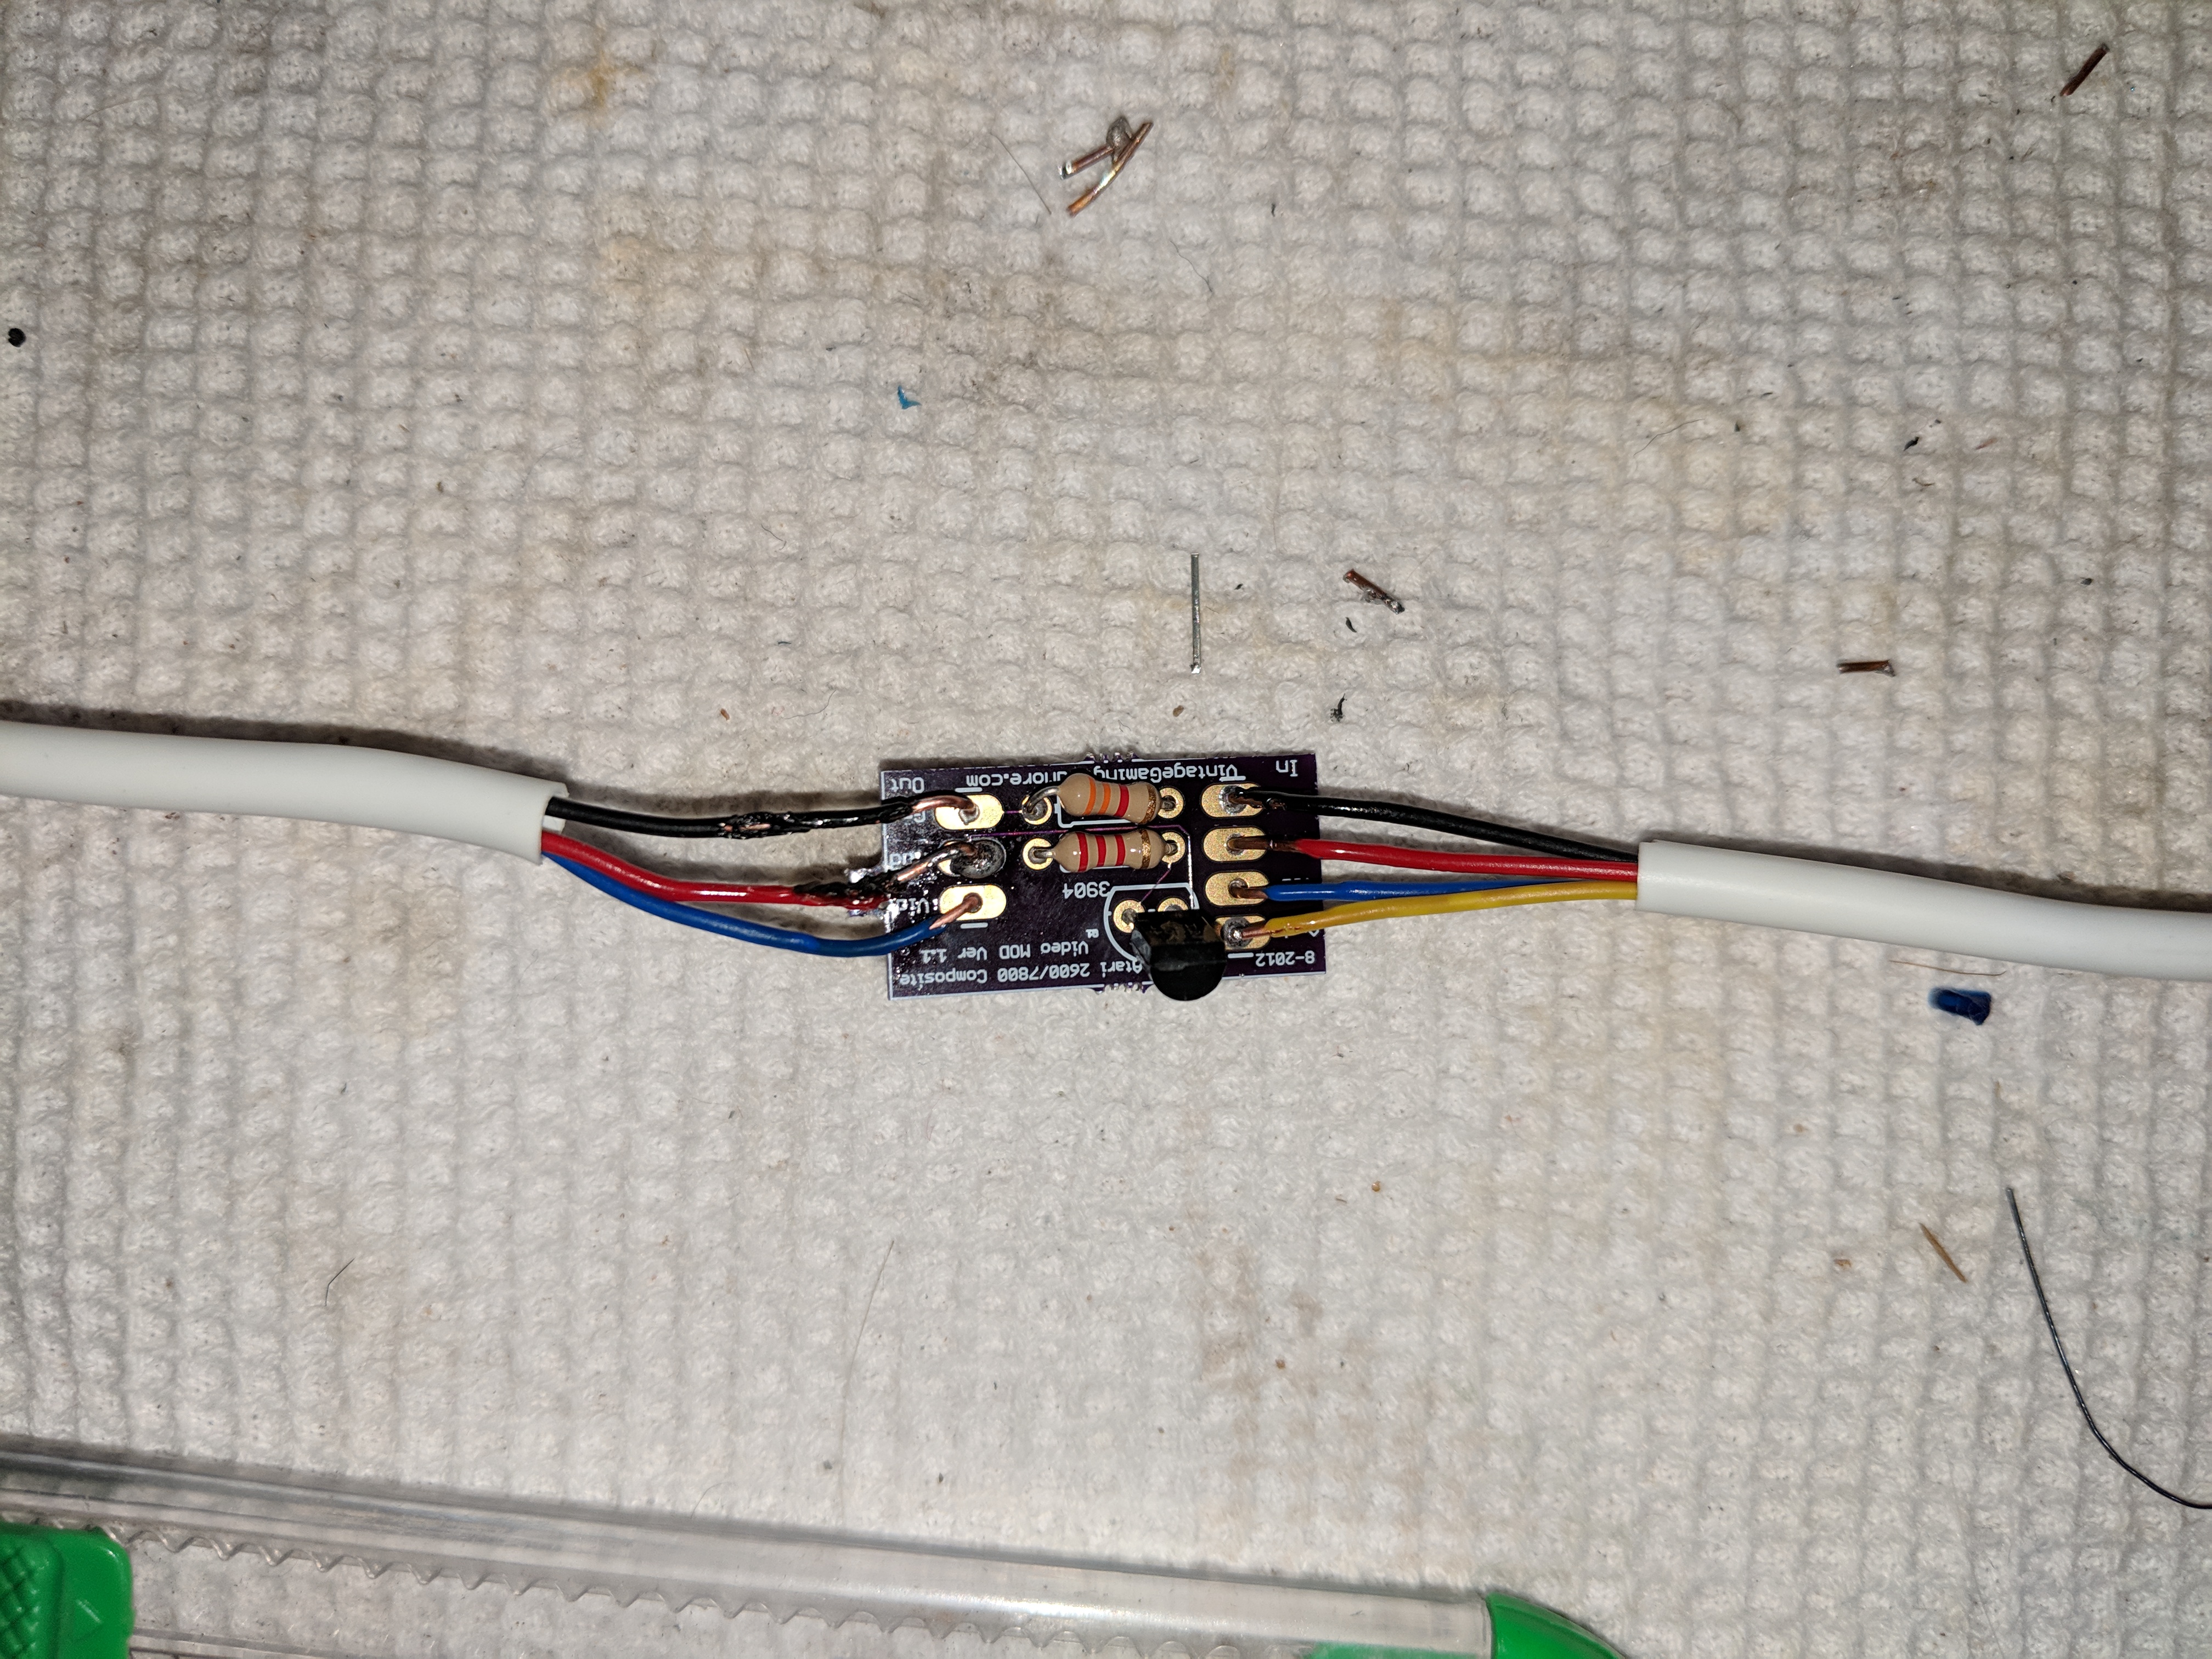 Then to mount it to the motherboard, not to difficult. 4 components get removed and then solder wires from the mod kit to the motherboard. 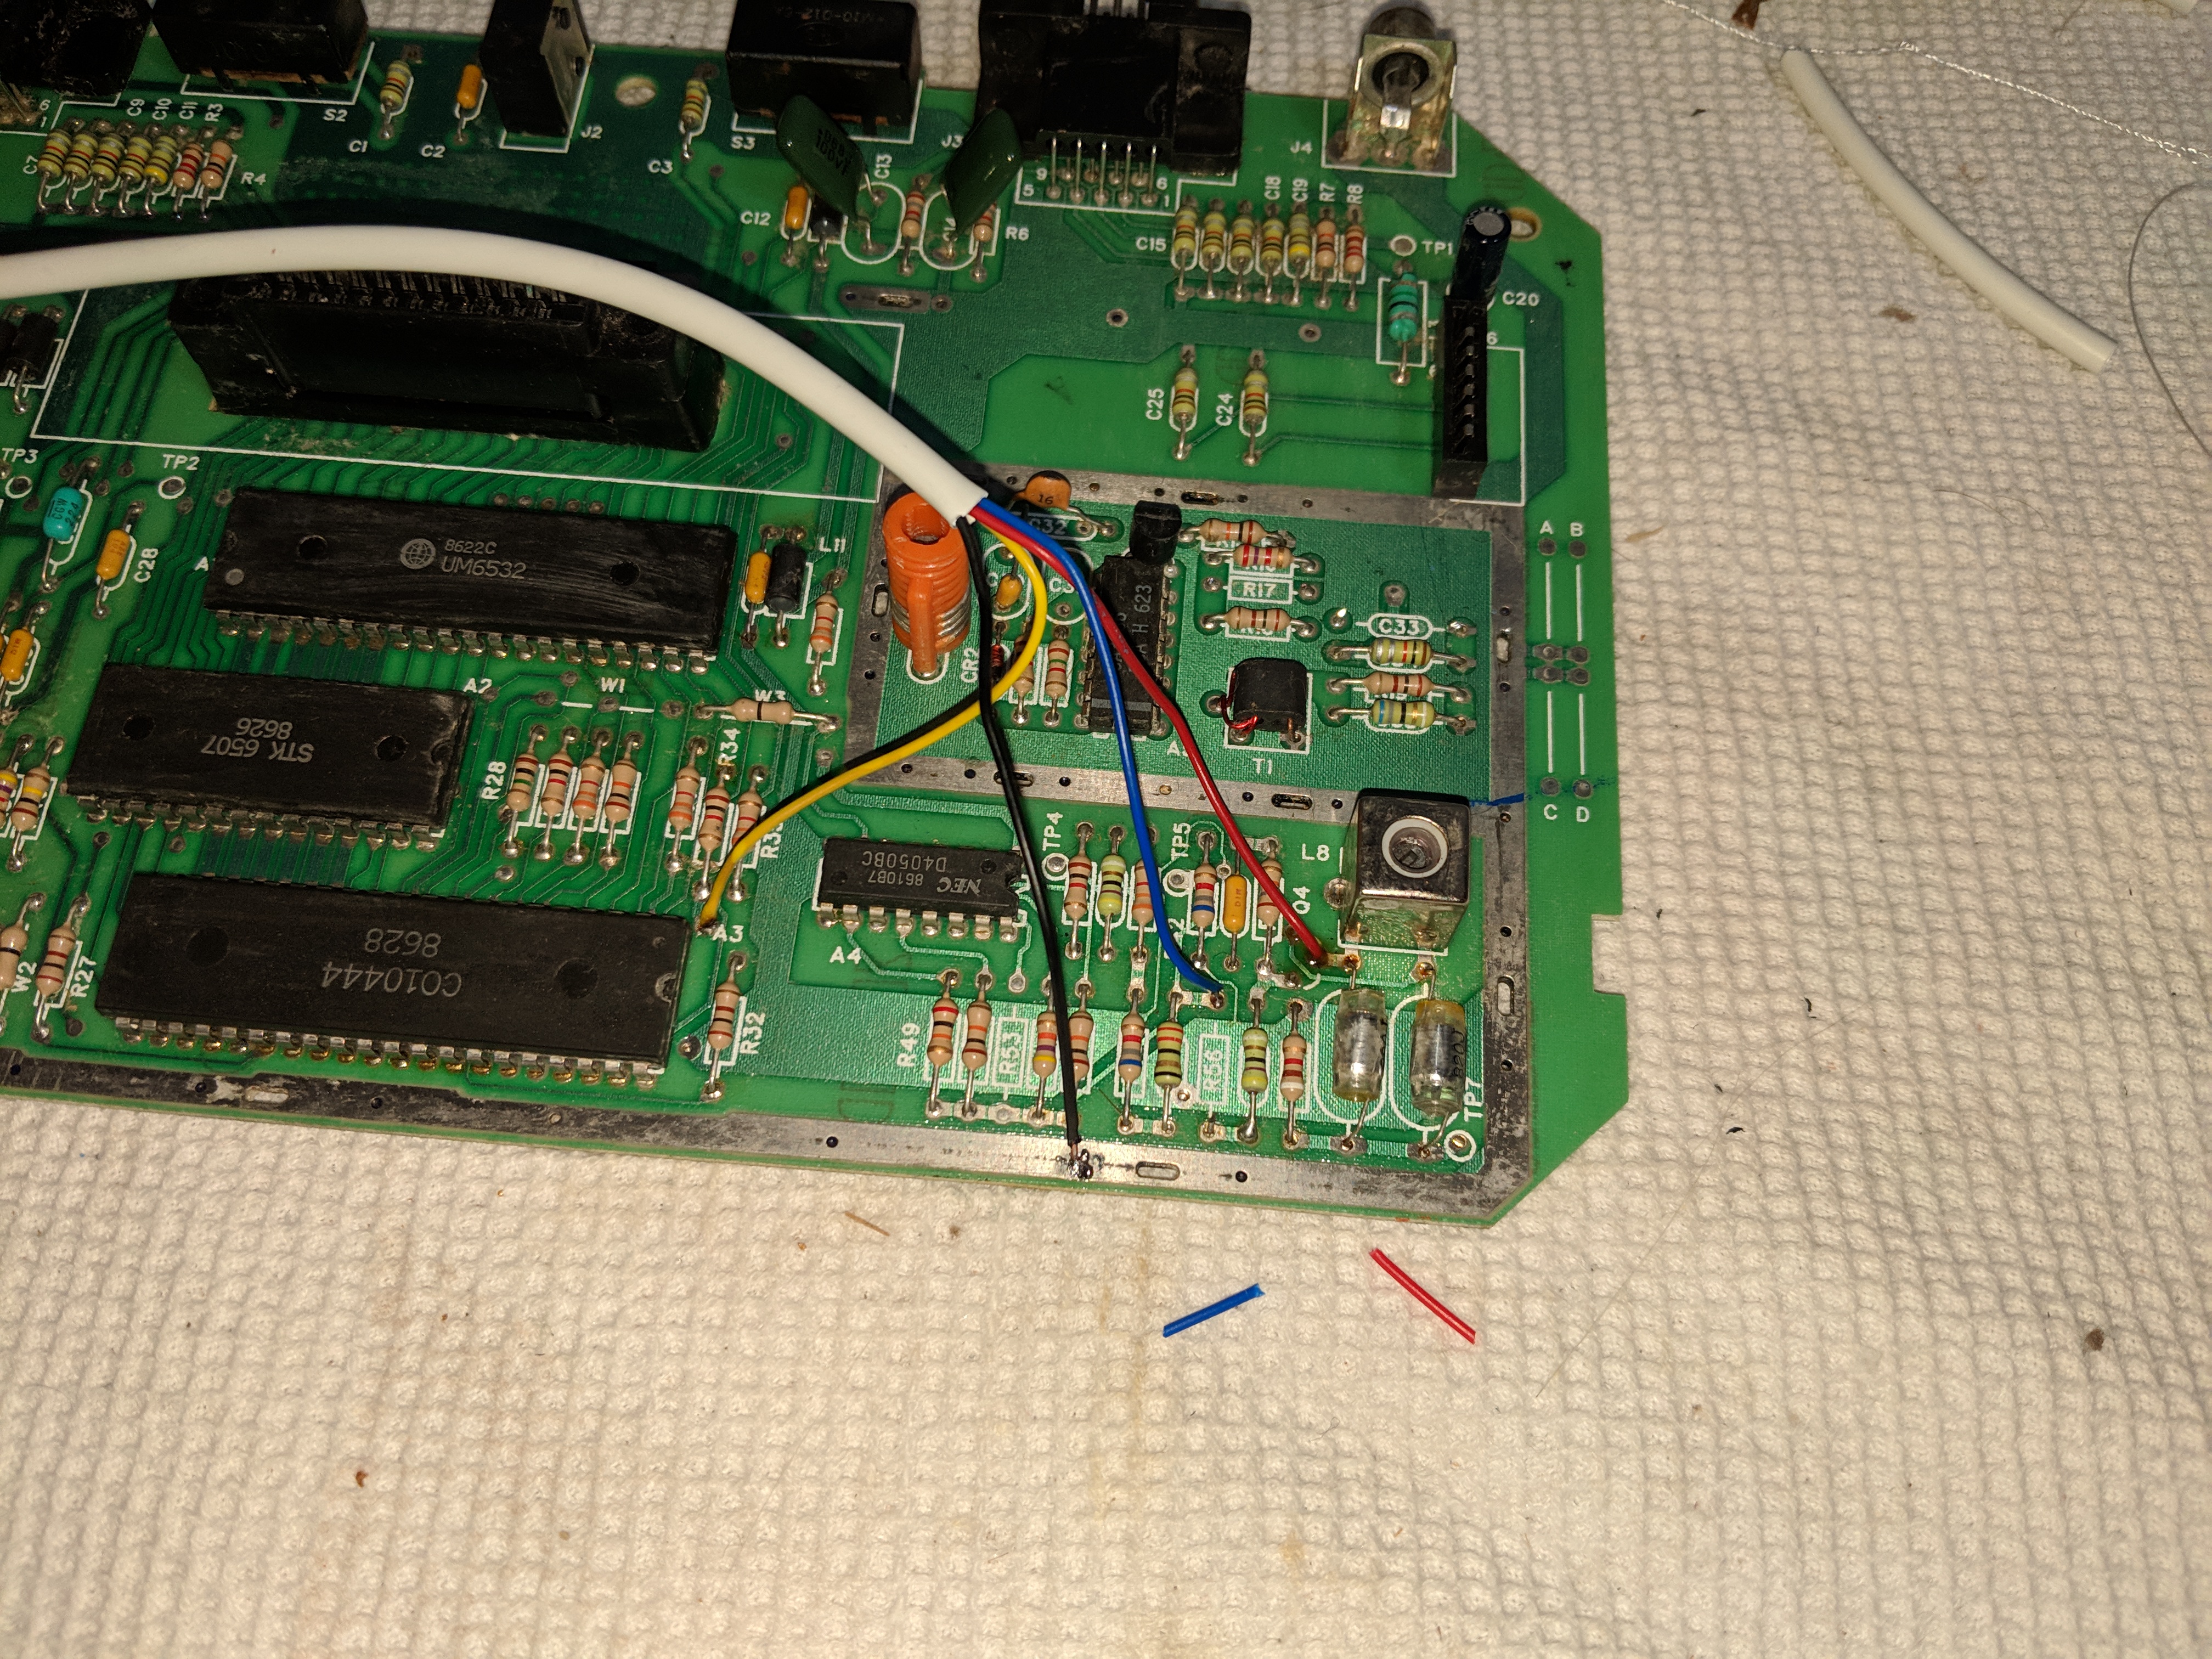 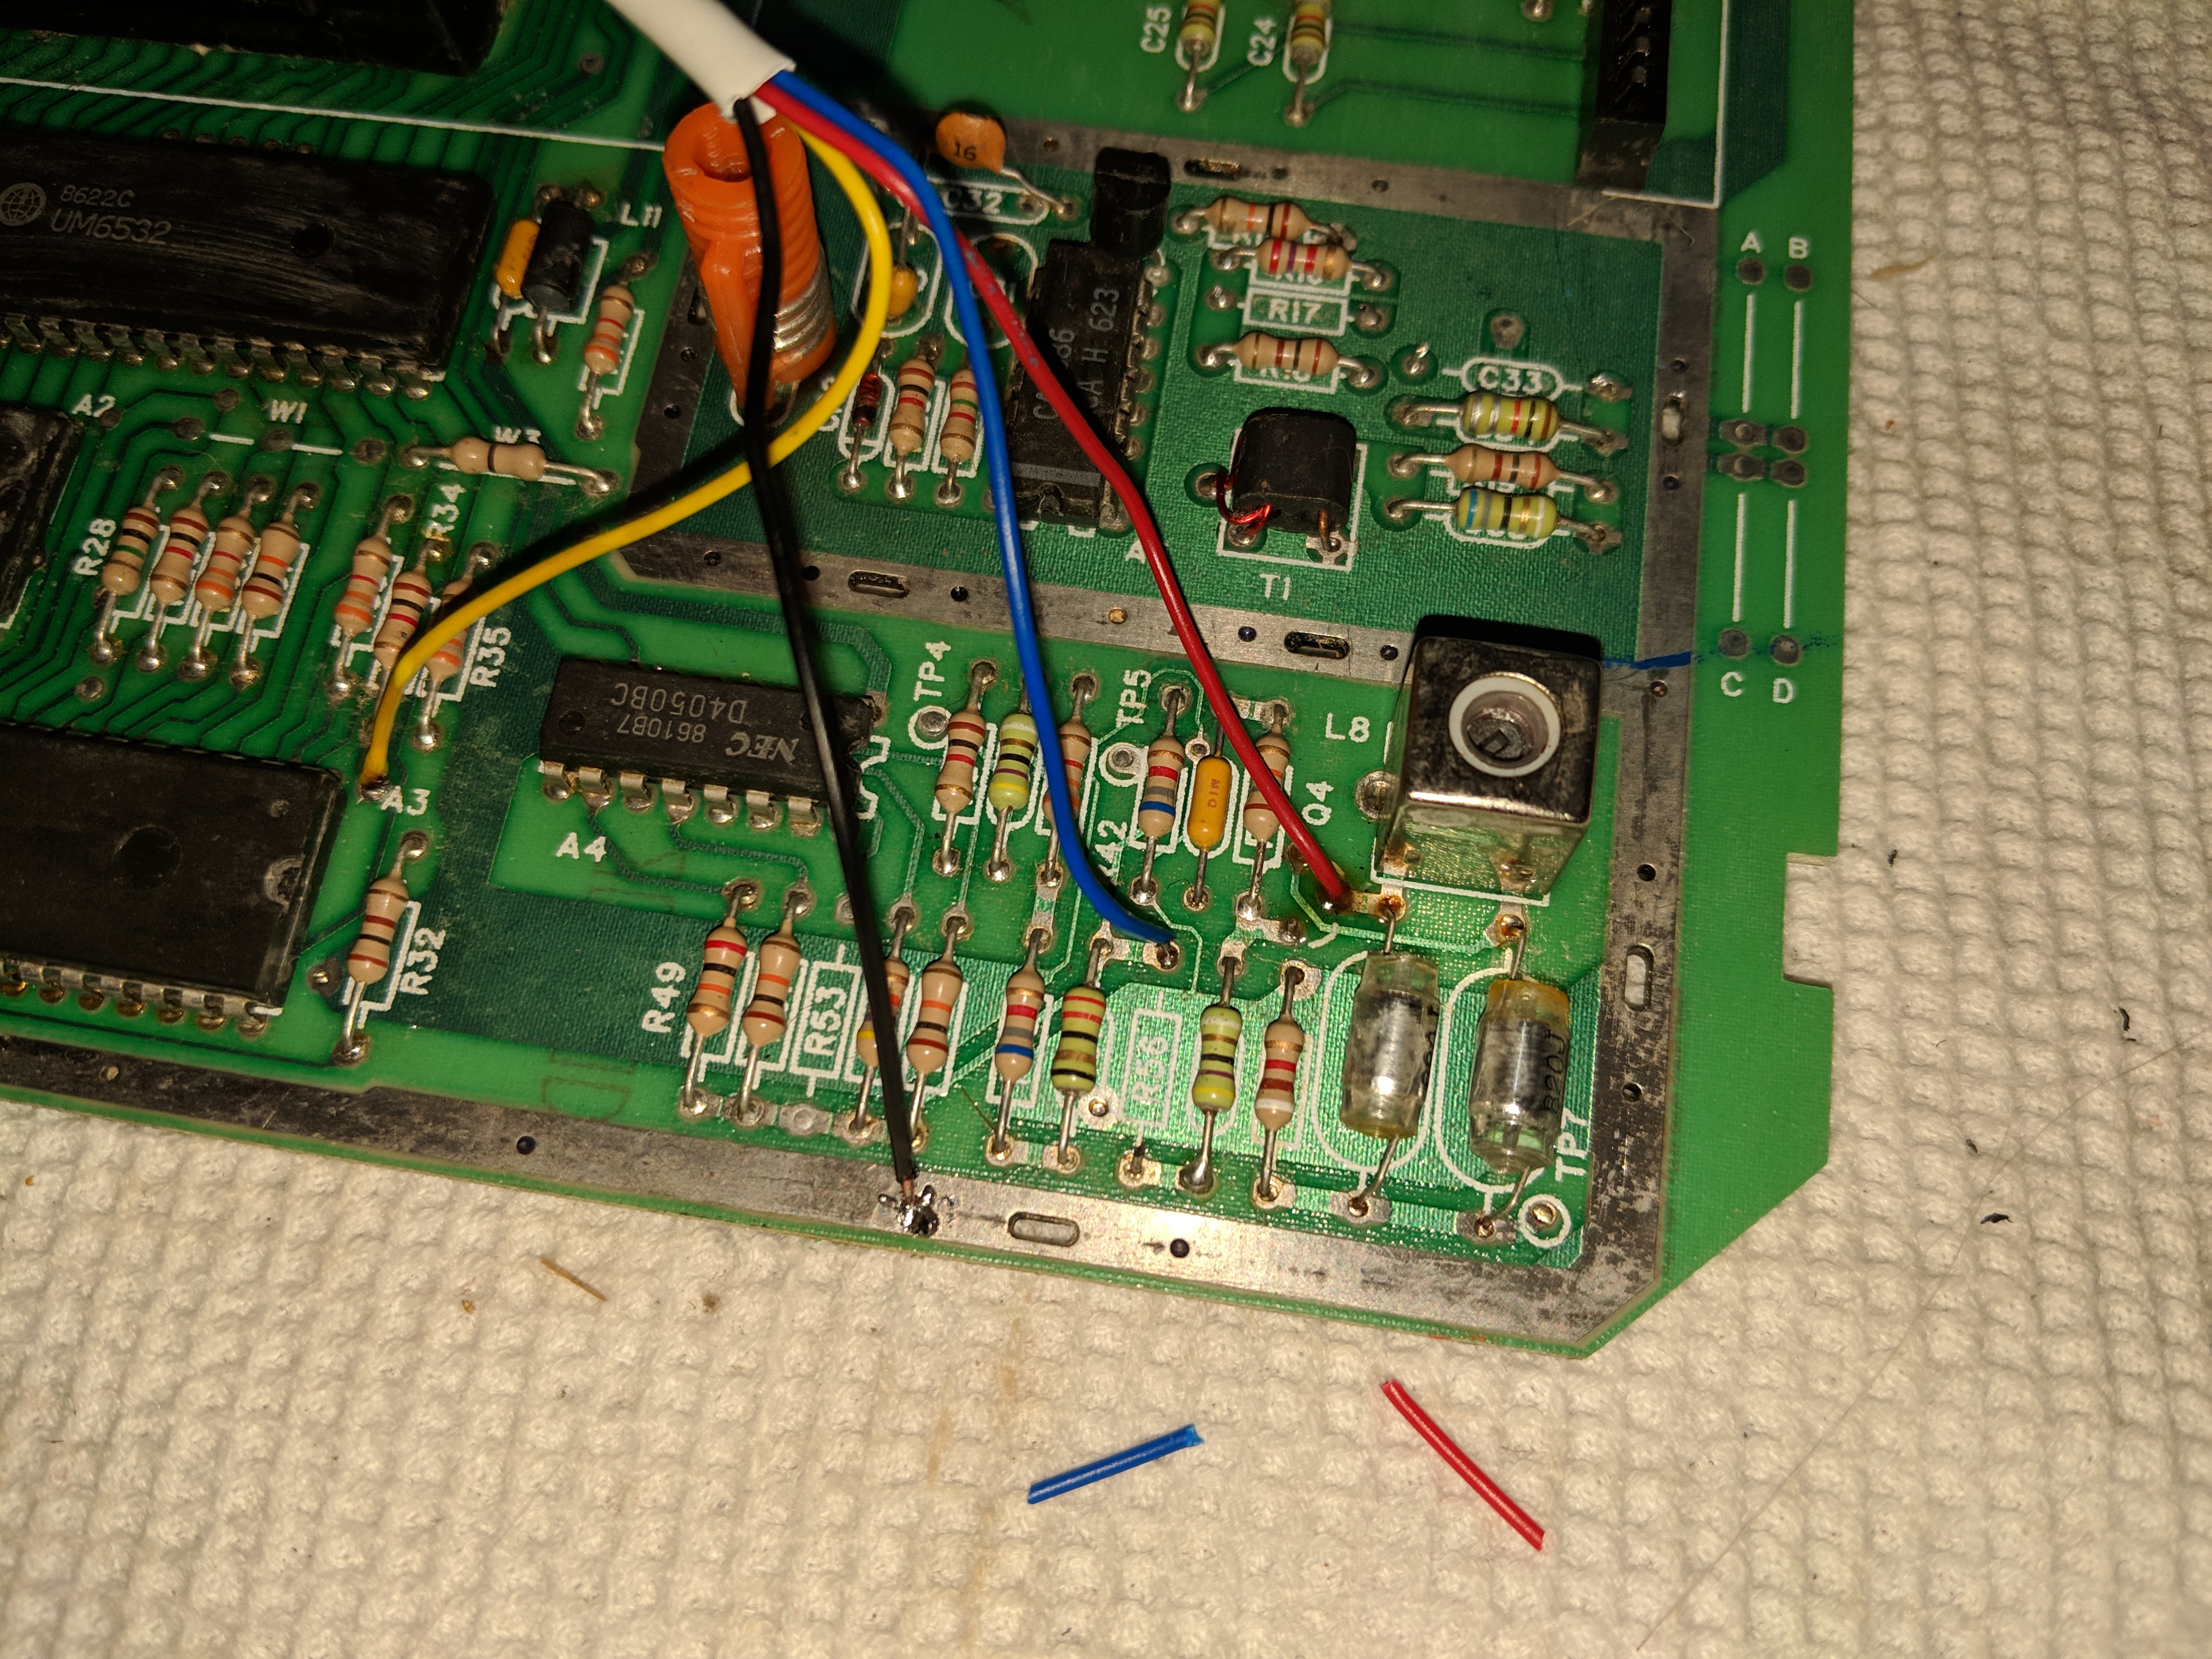 Next, 3 holes in the top case for the RCA jacks. 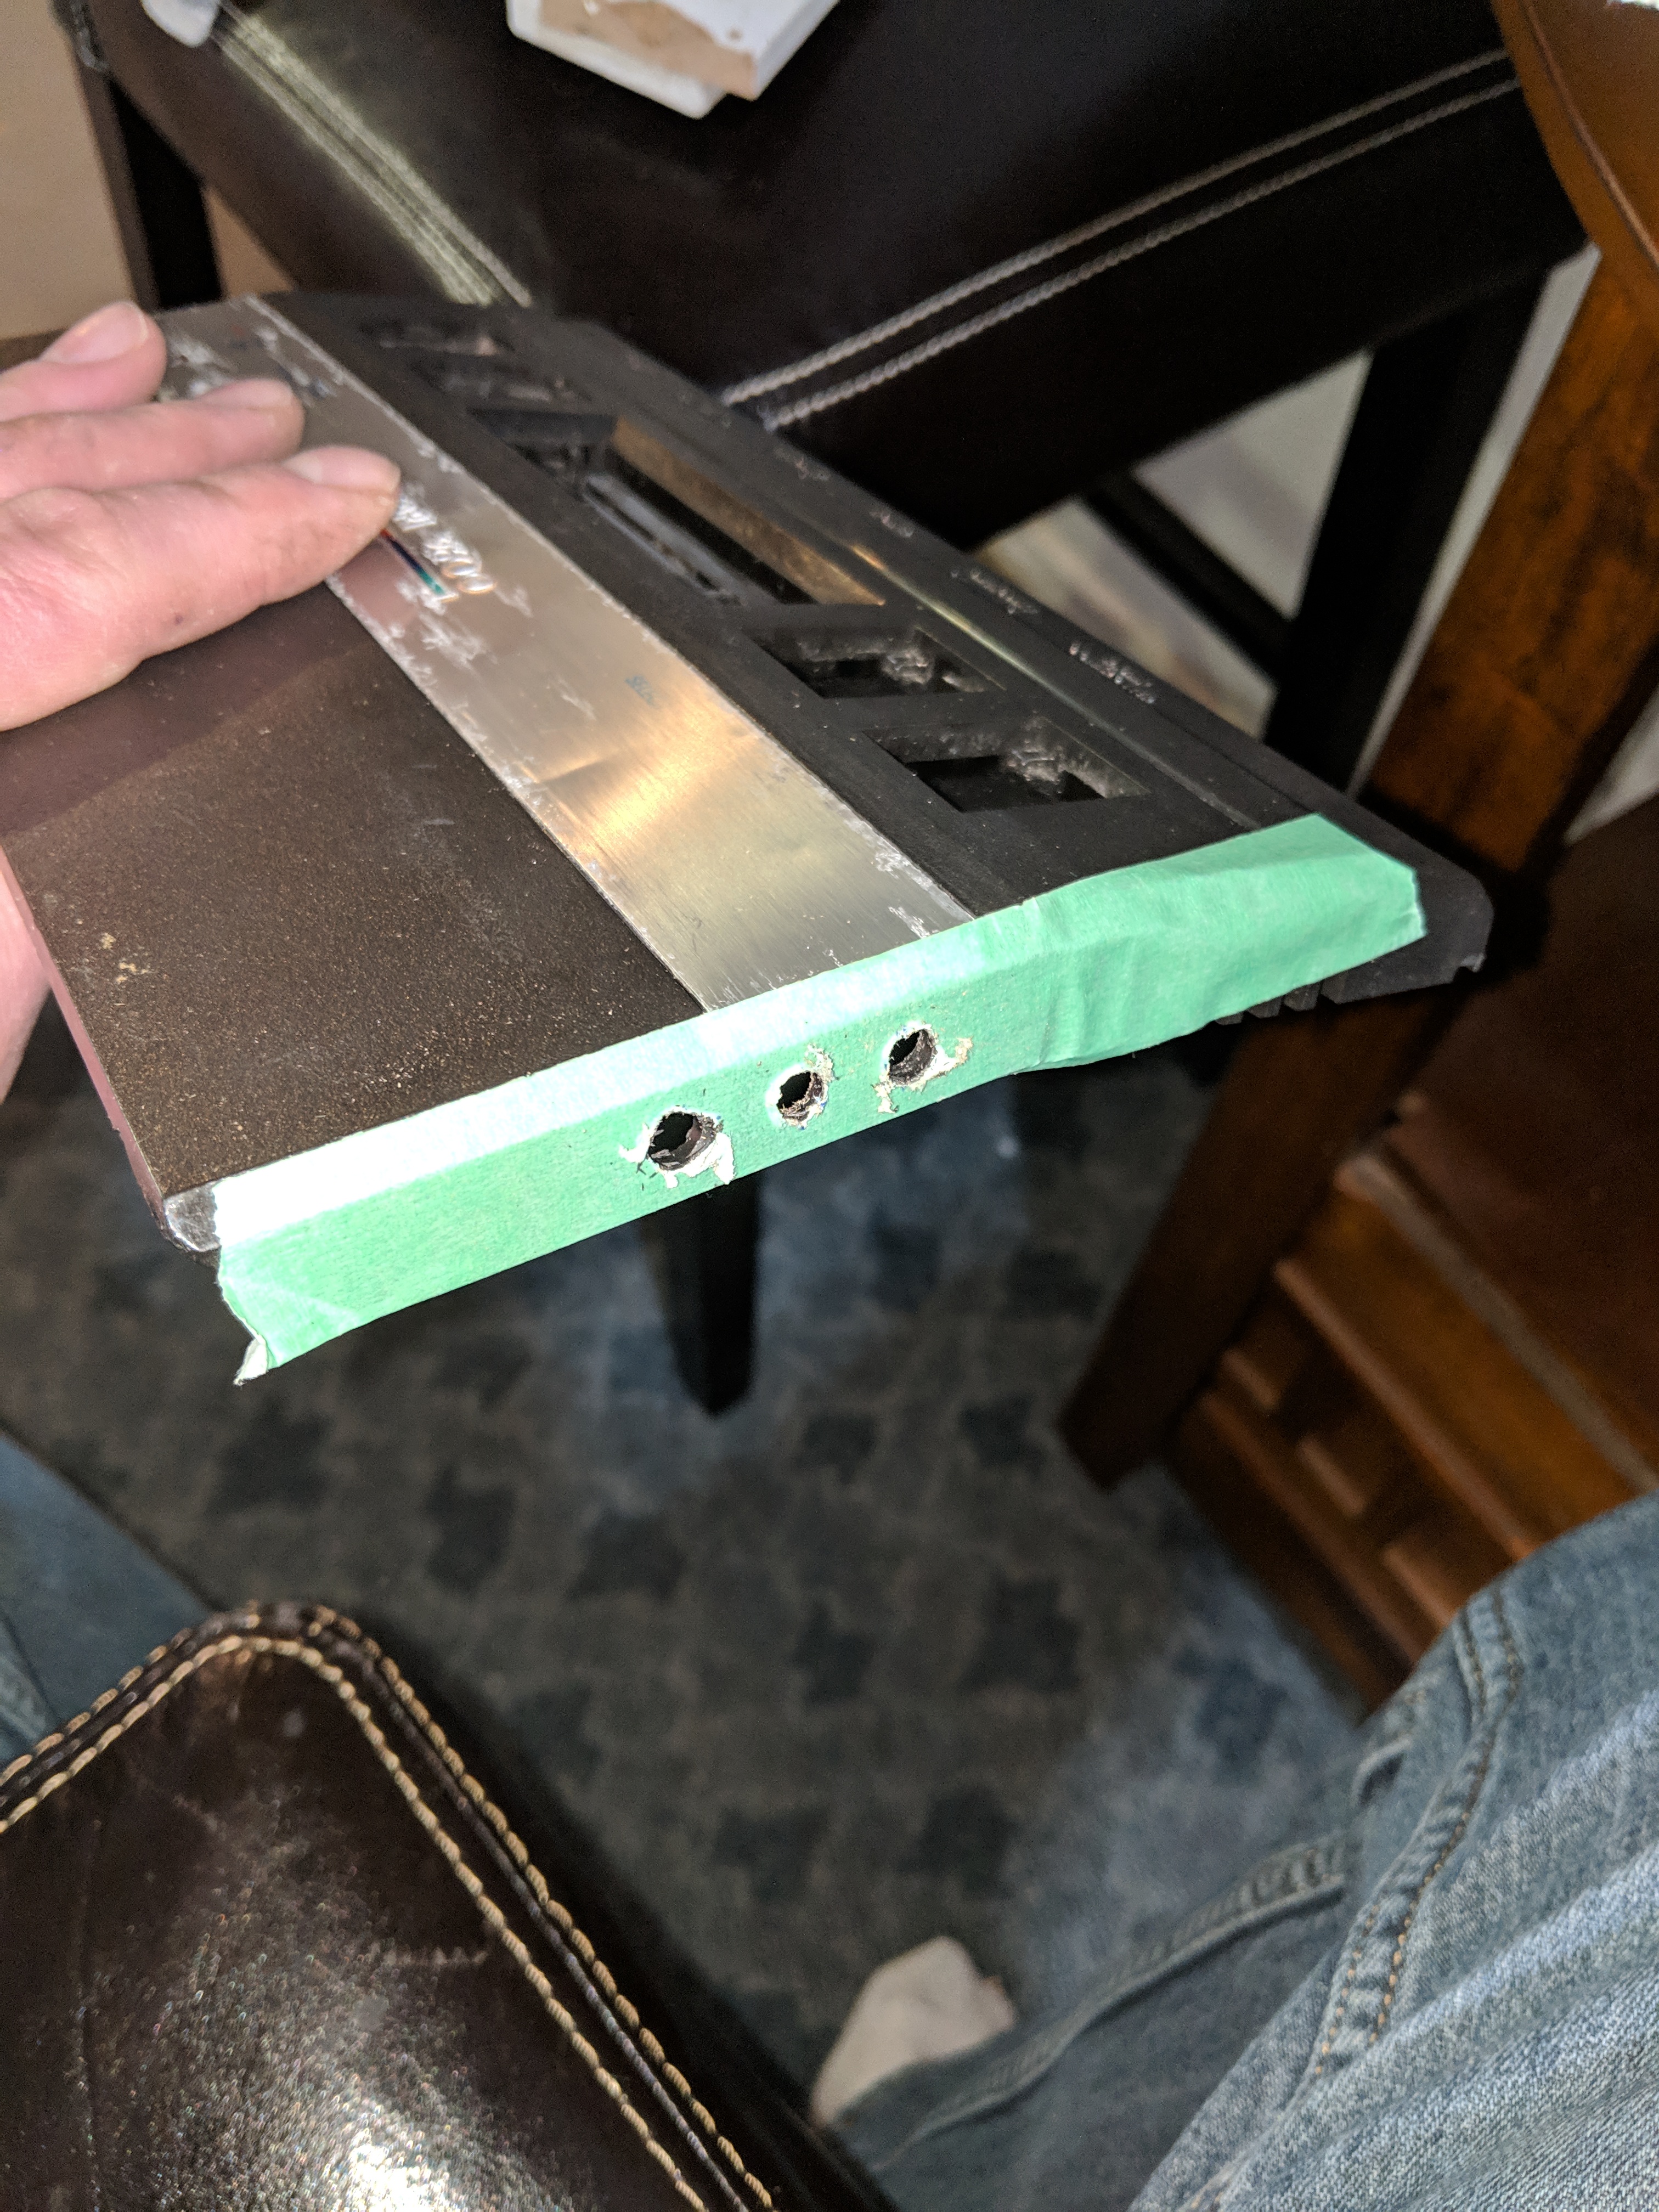 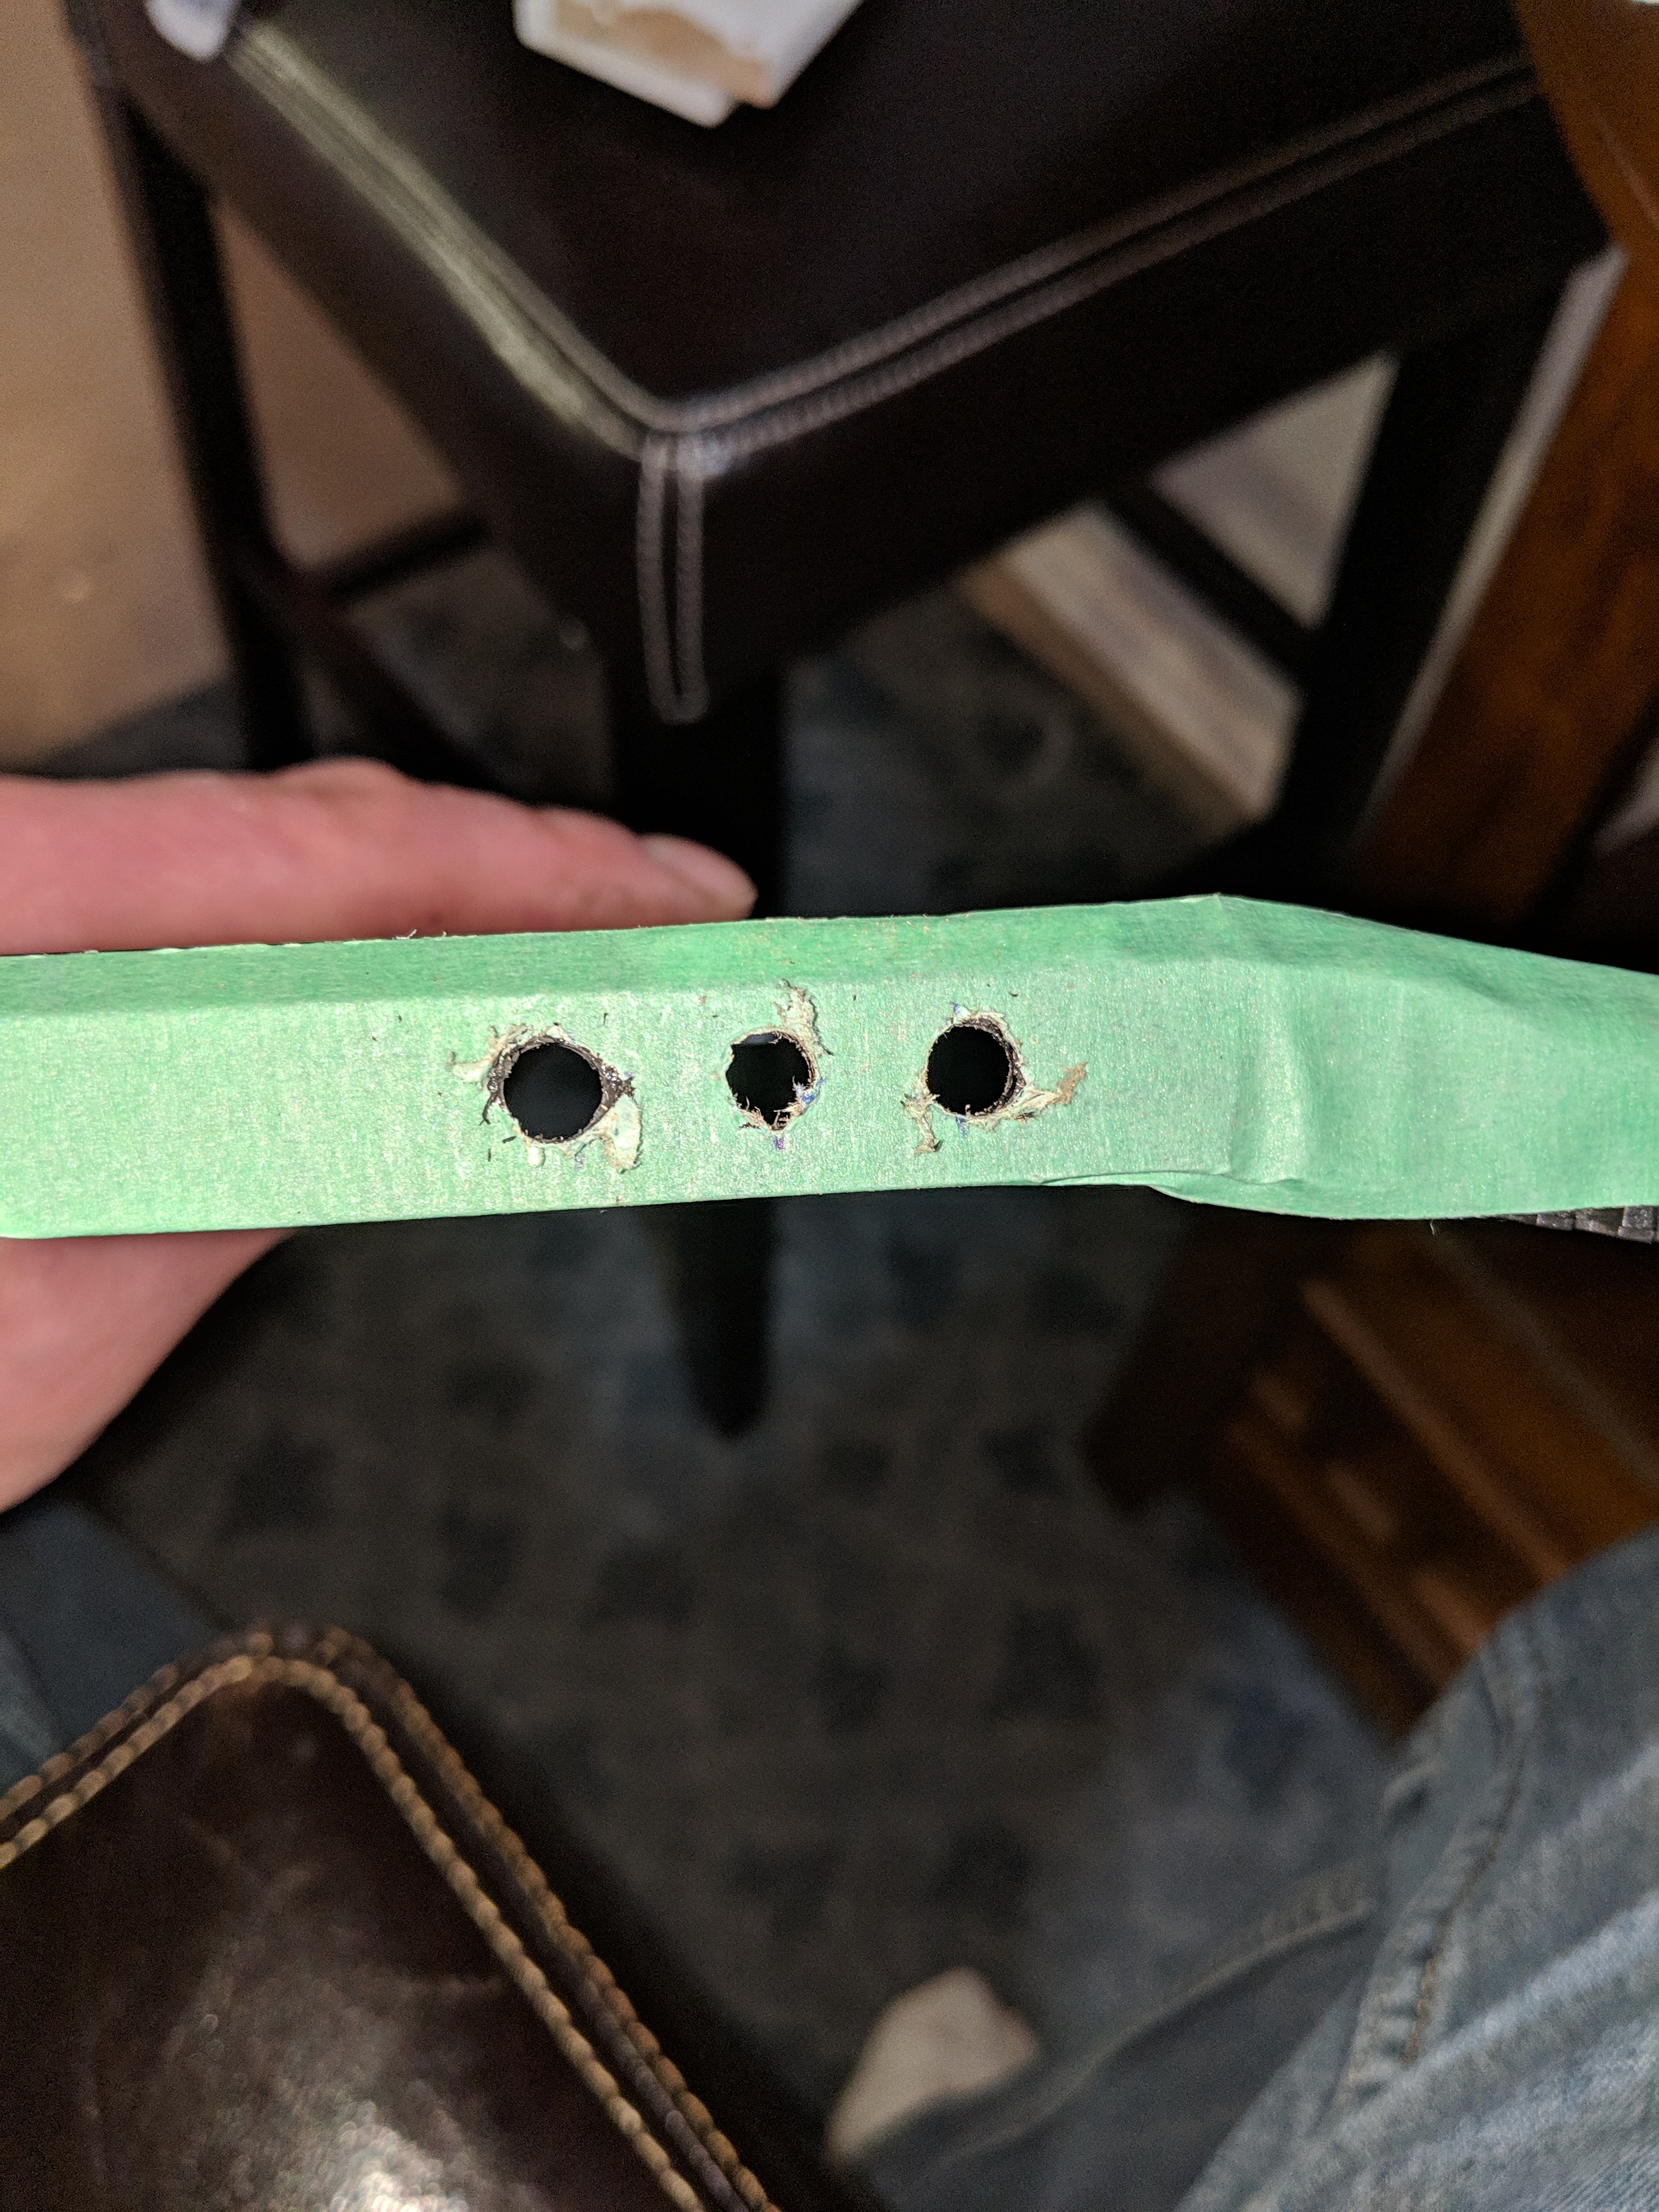 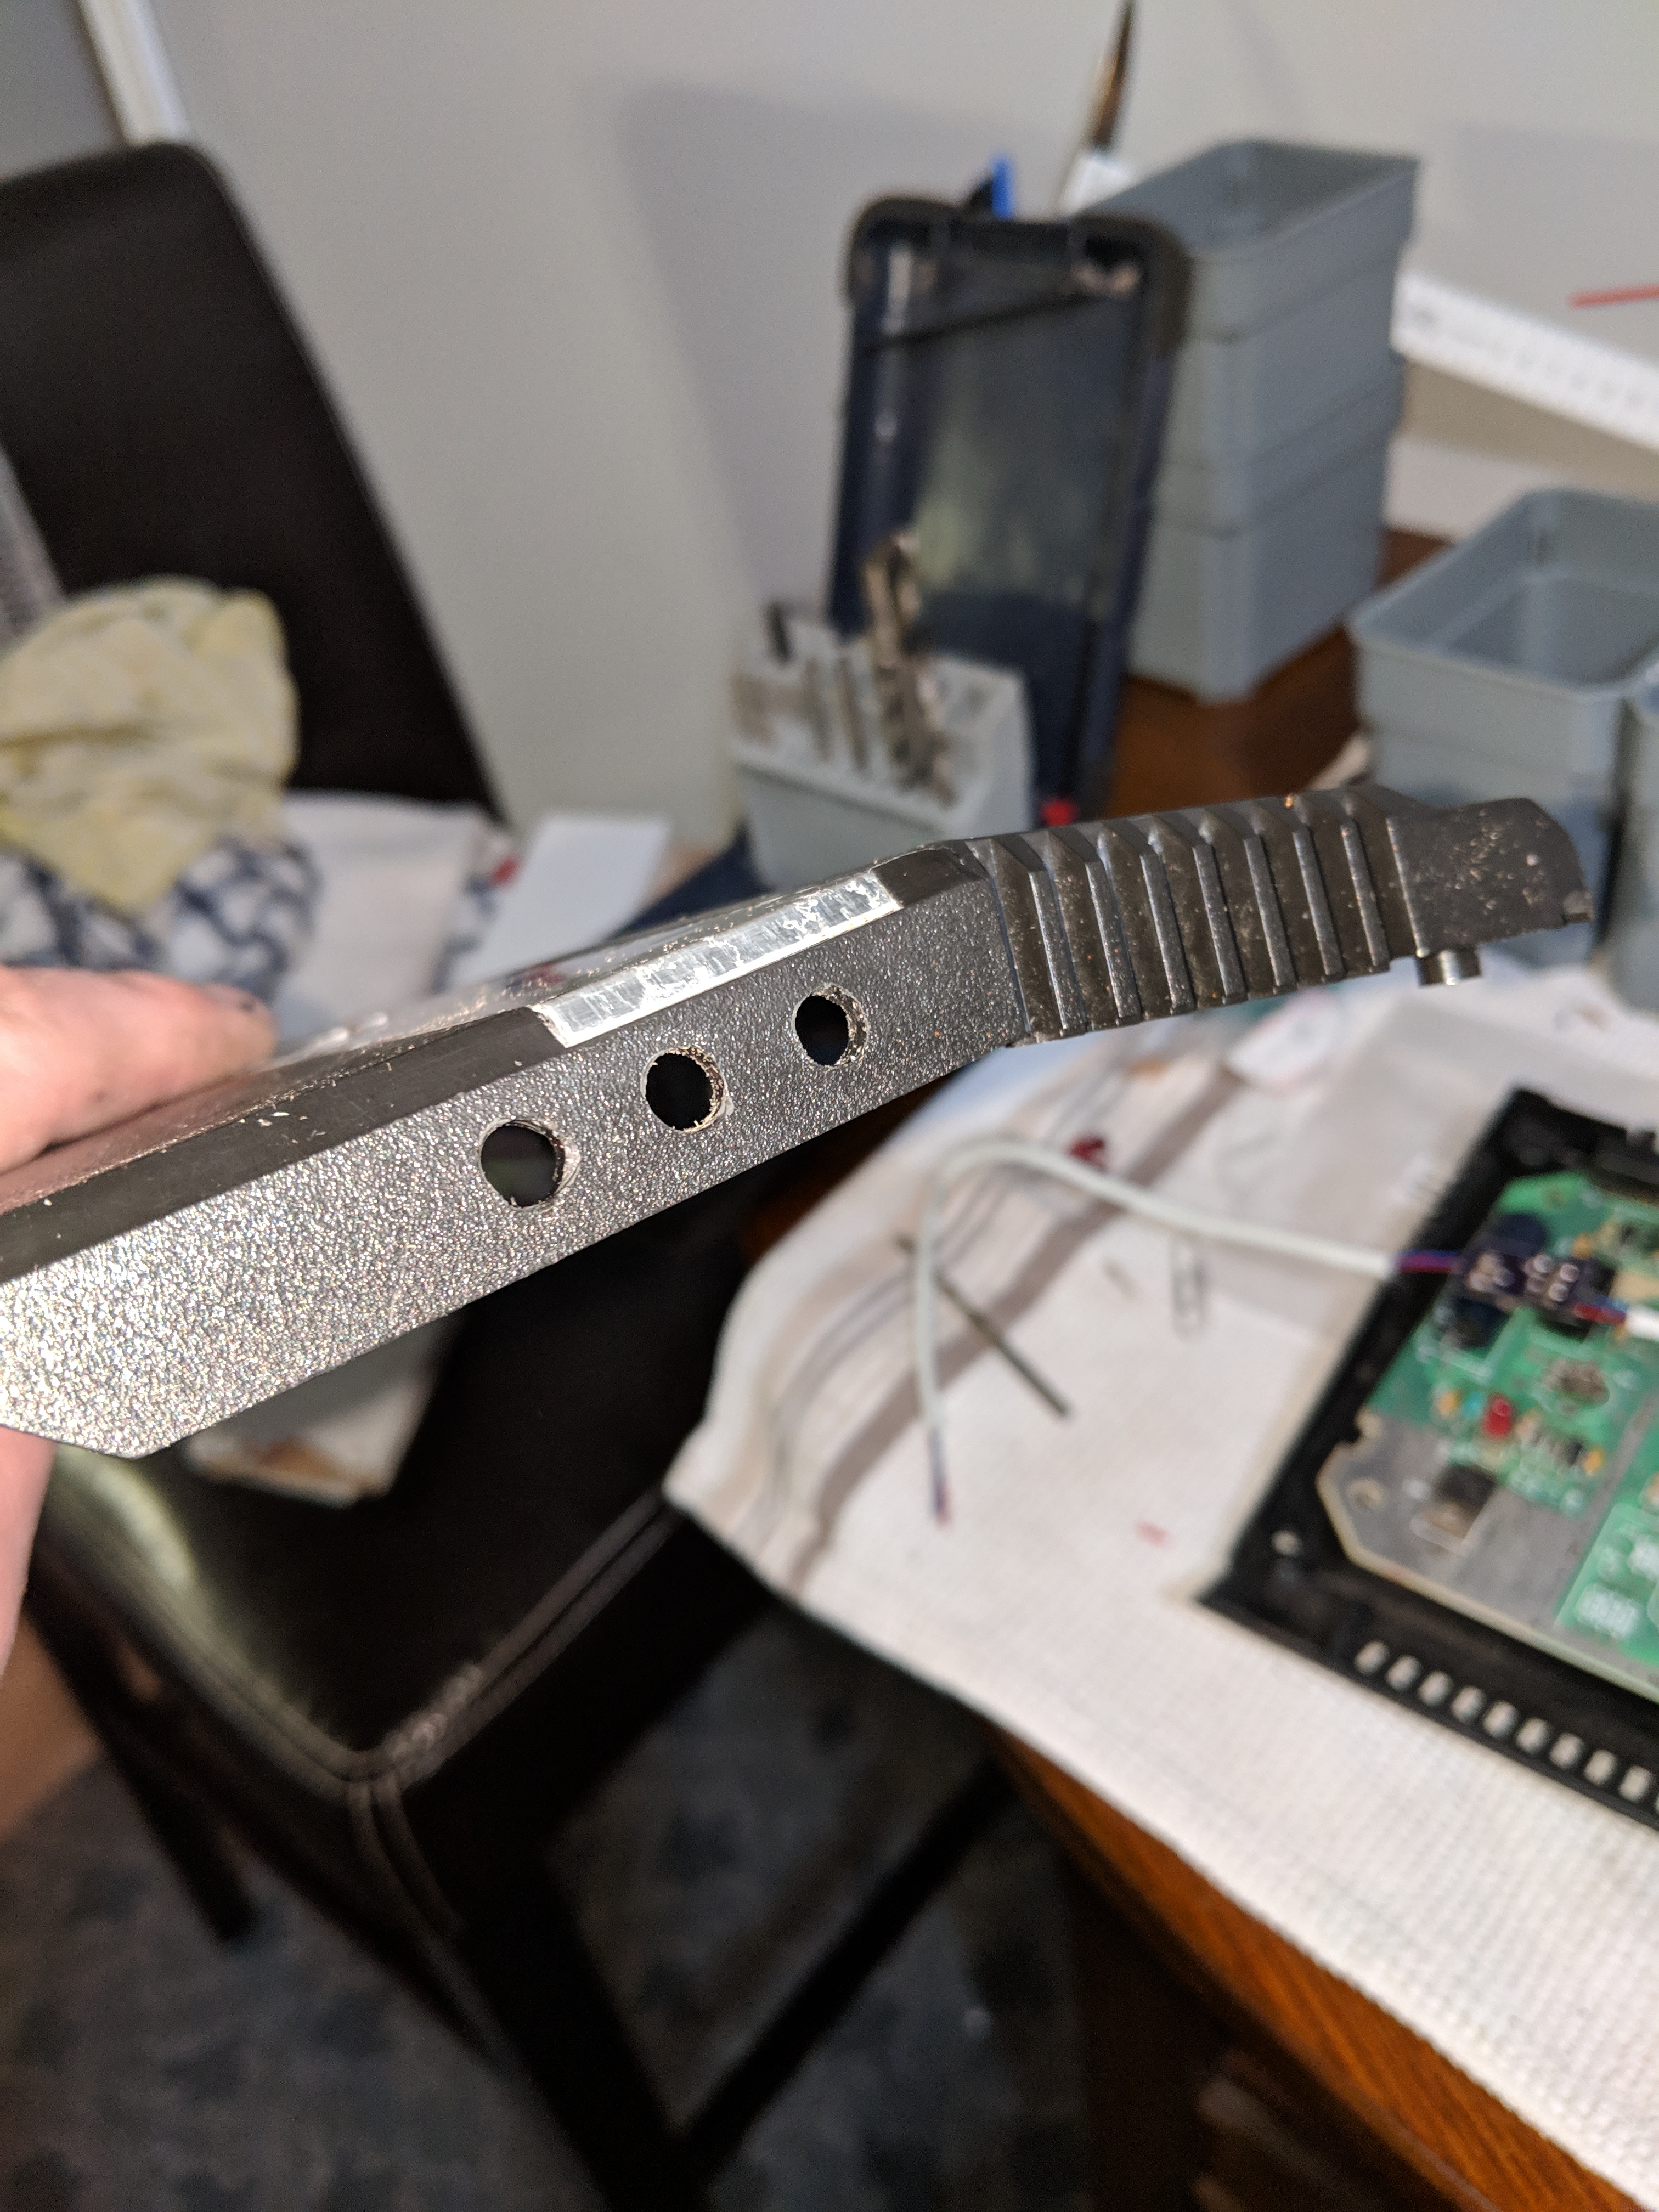 Install the RCA jacks and solder the required wires and re-assemble.  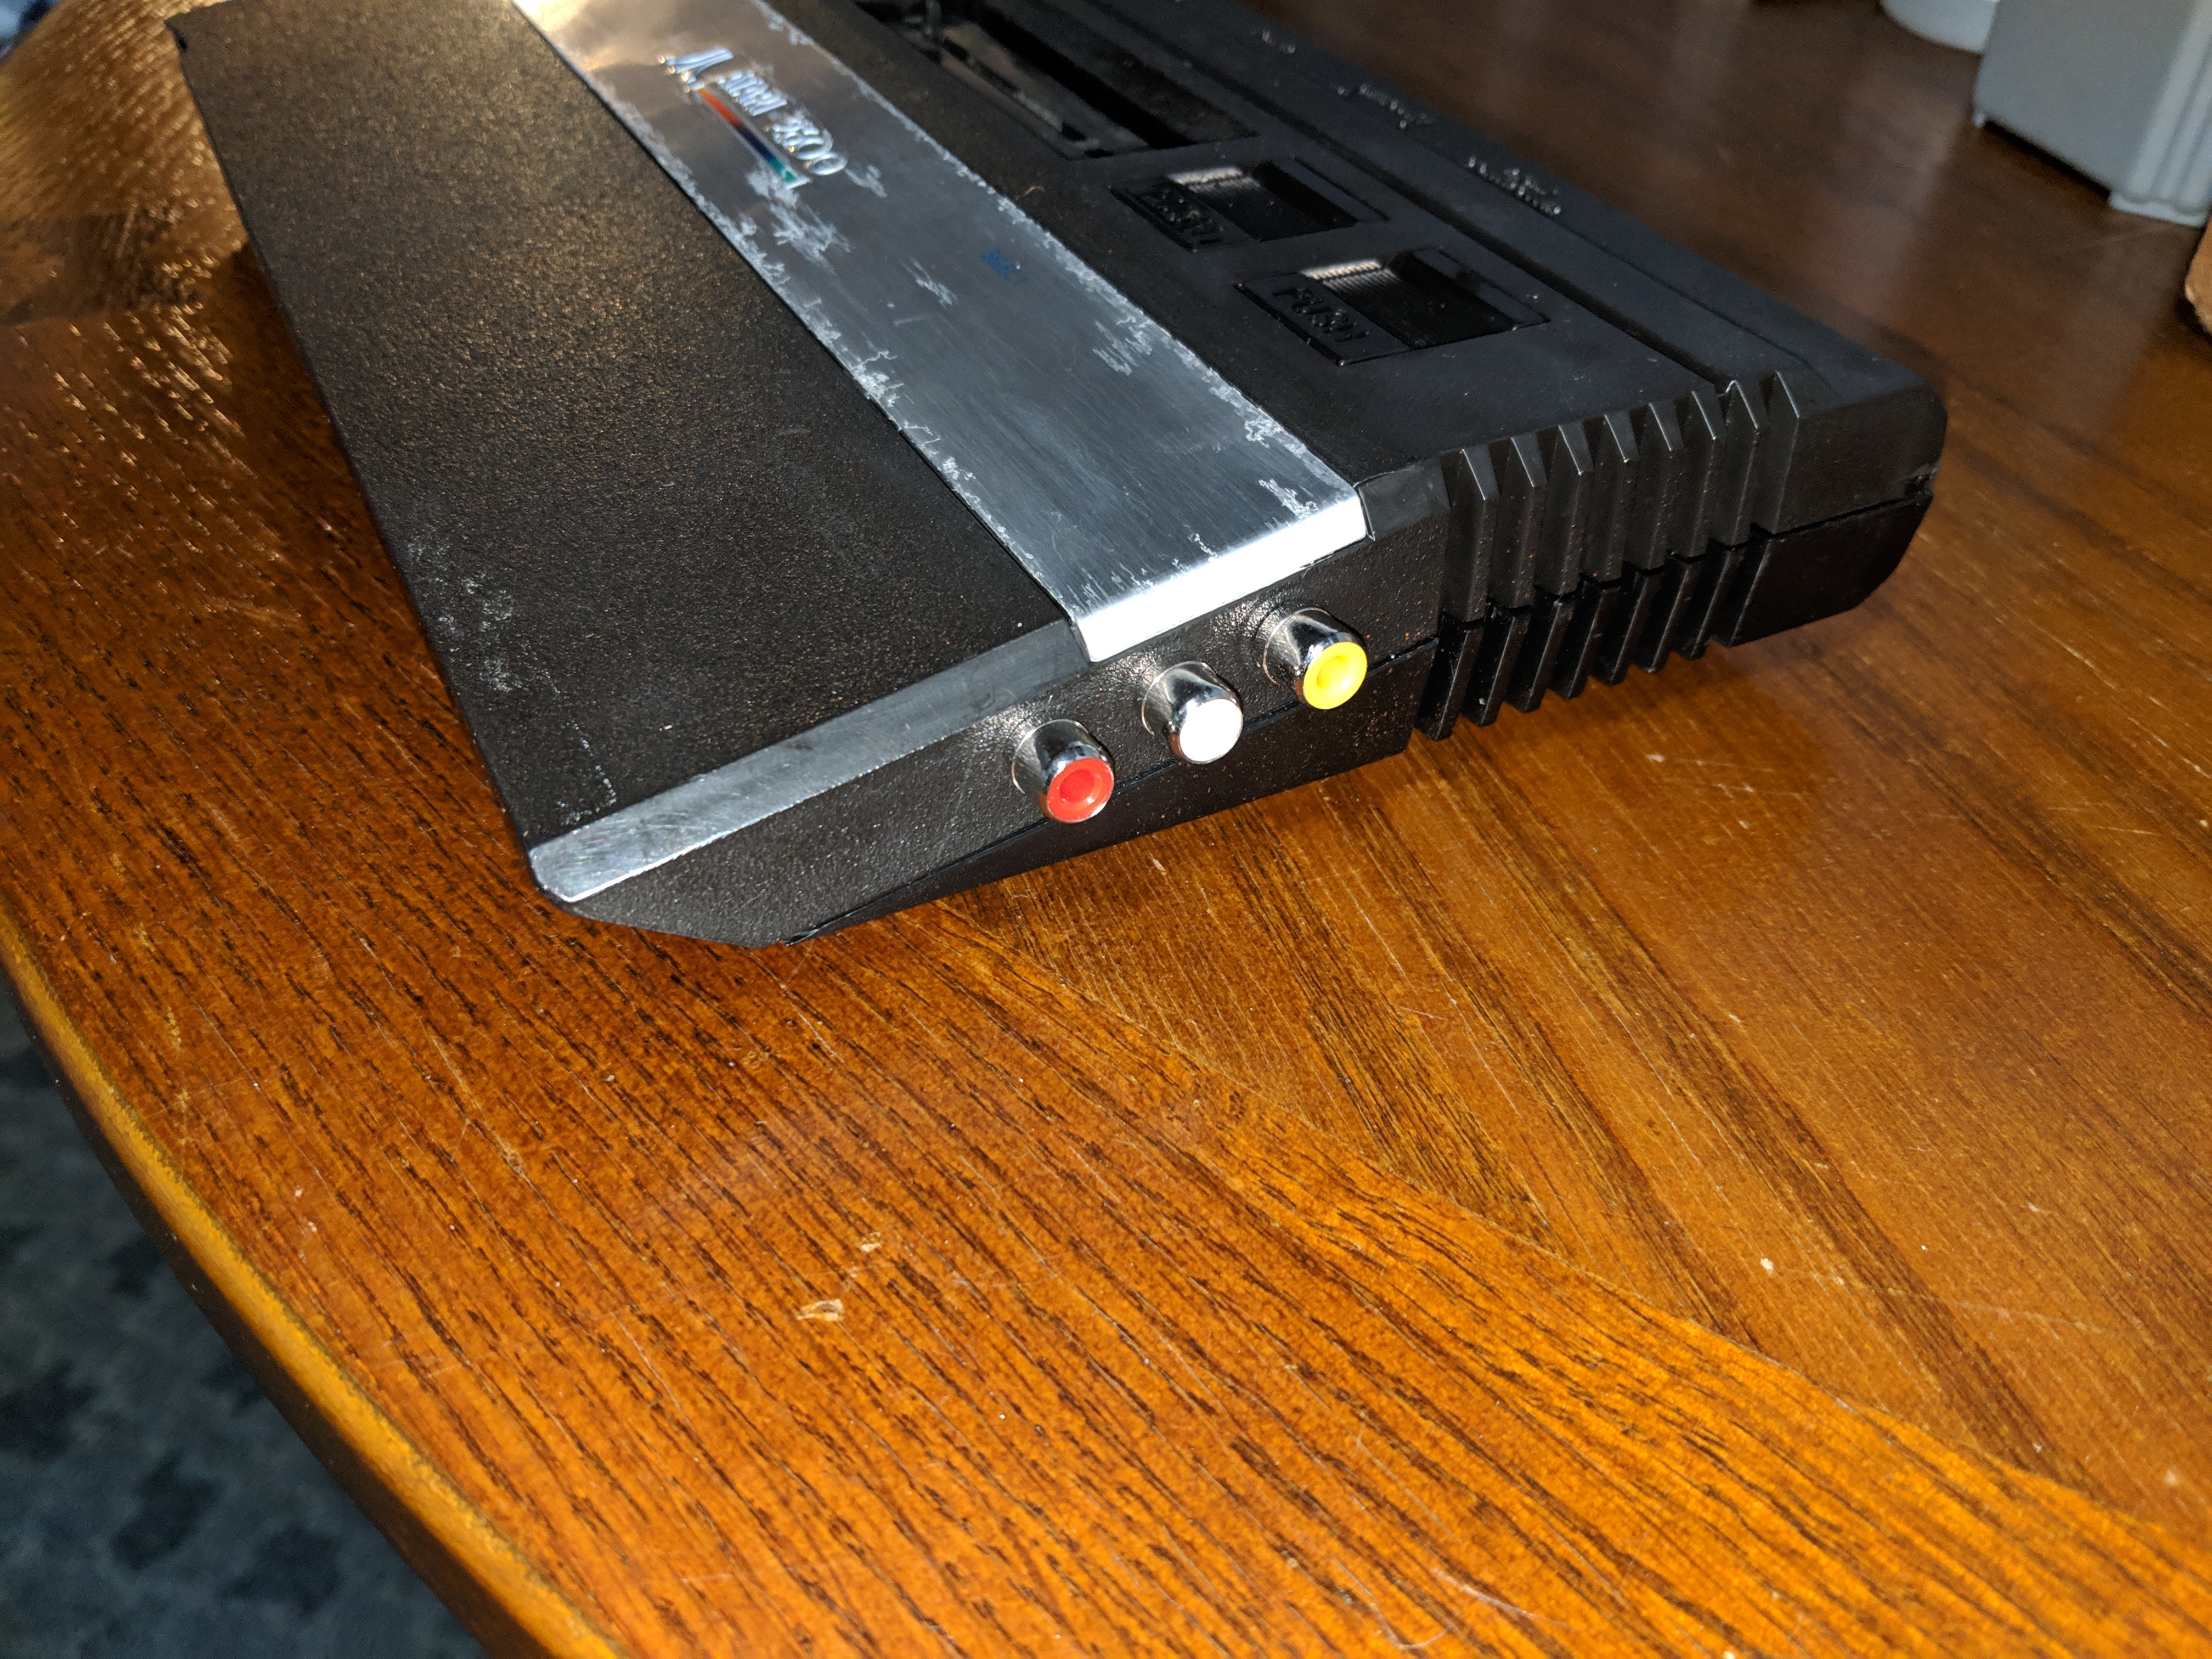 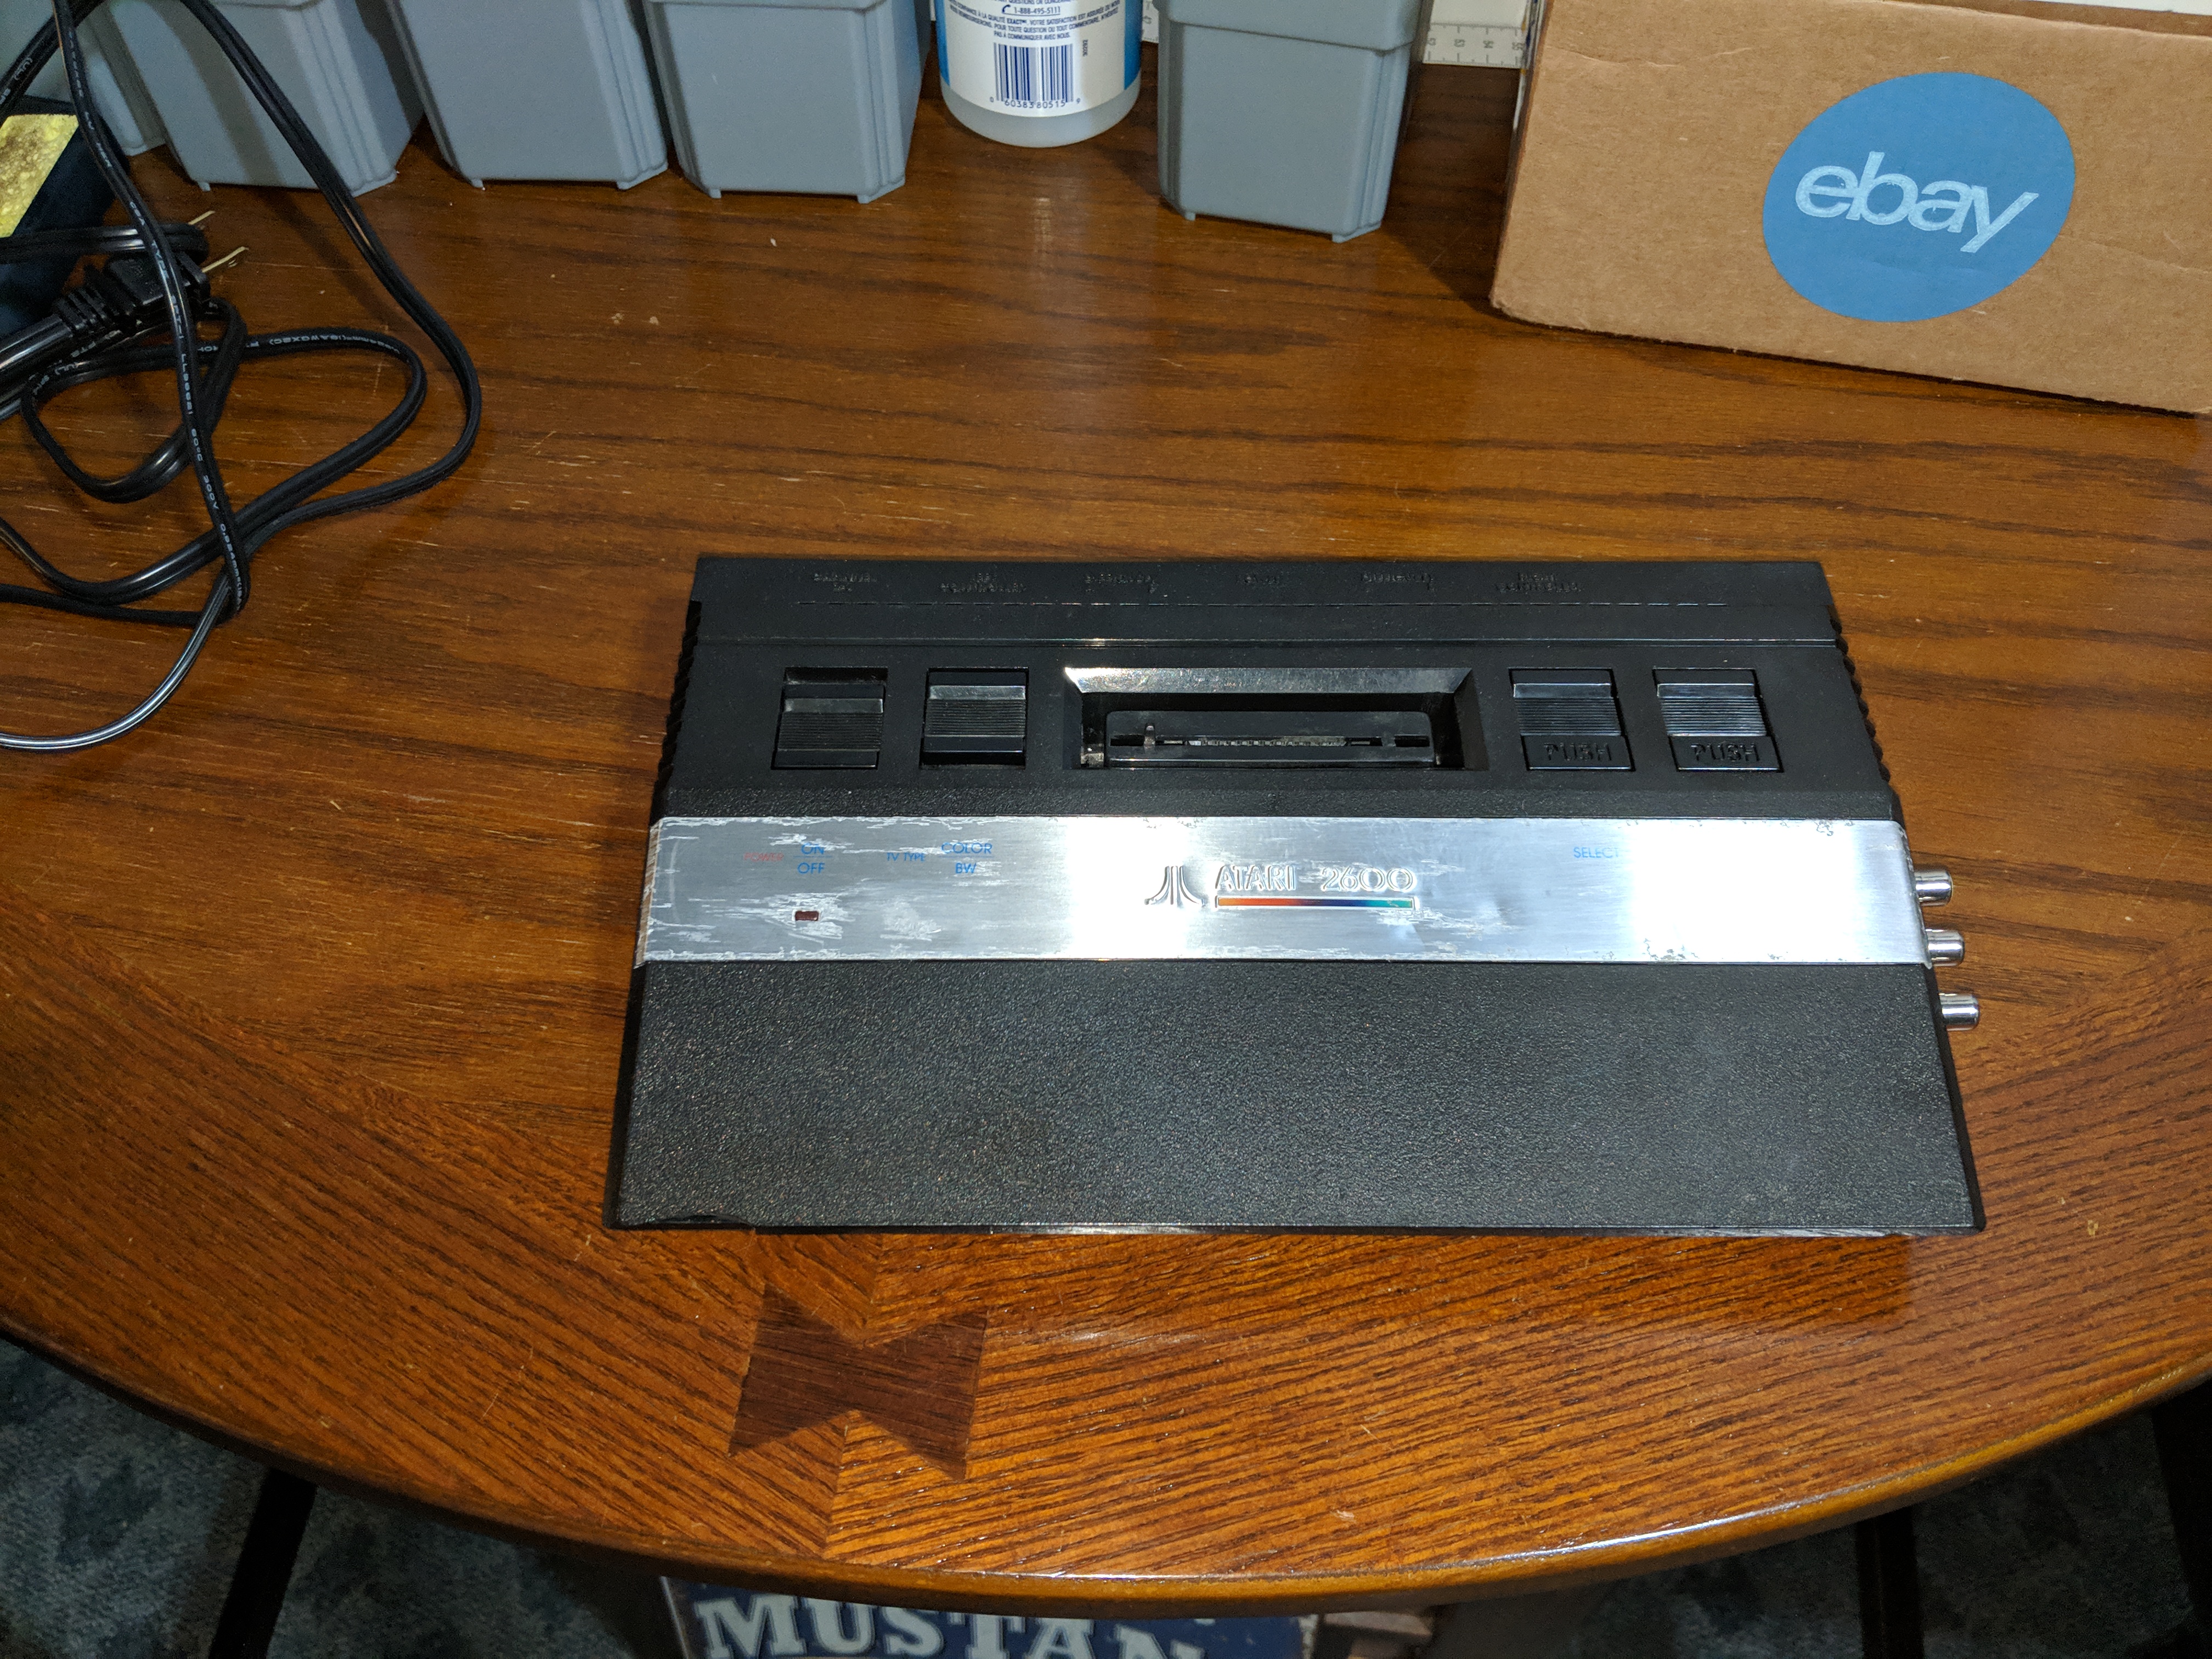 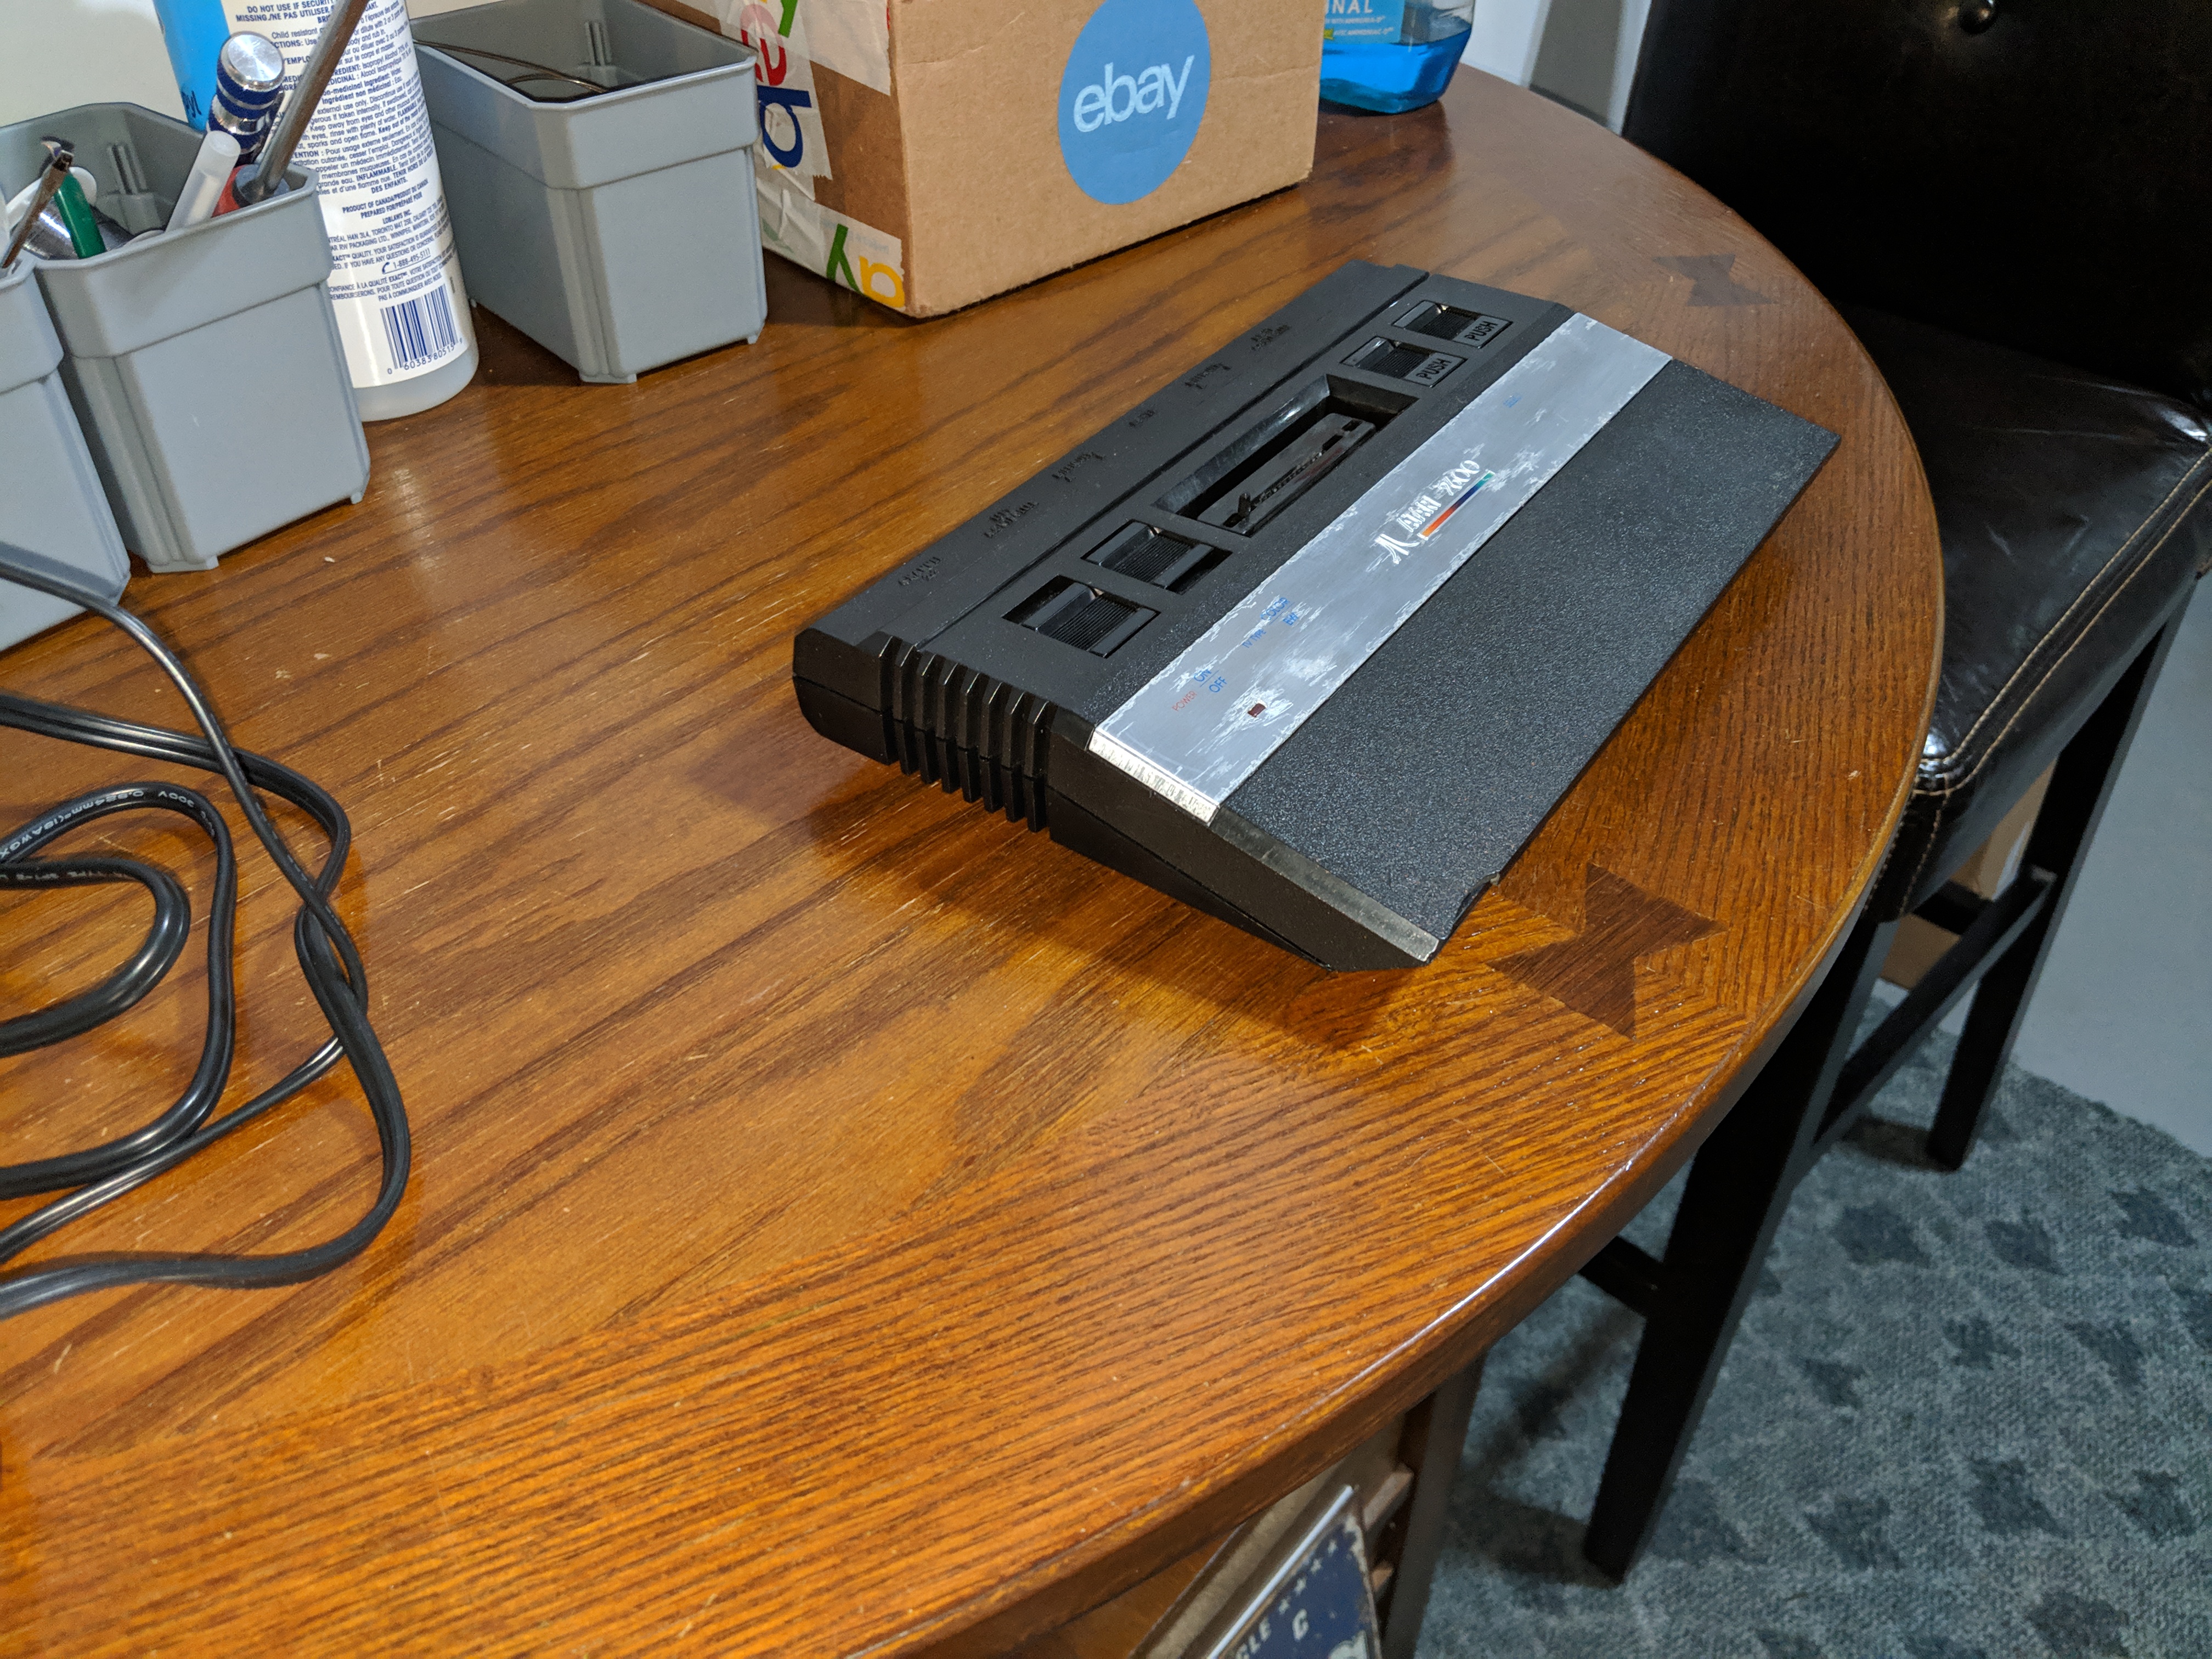 So, the good, bad and ugly. The aluminum trim has been marked by the corrosion. I could (in theory) polish it out, but it's better than it was. Polishing would remove whats left of the painted on markings. I have seen pictures of some 2600jr's with black trim instead of the aluminum, I assume it has been painted, looked good in the pictures though. The reset switch is not working, the Mylar foil switches are failing. A common fail point on these units. I have found new replacement Mylar switches online, but I was thinking that some nicely mounted micro switches might look and work just fine. This unit isn't going to be a museum piece, it's going to be used, so I wasn't looking for perfection. But it looks pretty good, compared to what it looked like a few days ago. Cheers |
|
|
|
Post by Blaine on Feb 11, 2019 20:15:18 GMT -7
|
|
|
|
Post by Blaine on Mar 3, 2019 17:56:20 GMT -7
I decided instead of replacing the Mylar foil switches with more Mylar foil, to use real momentary contact switches. The idea came from a post on atariage forums - HereI ordered a little bag of switches from Ebay - HereWiring was pretty easy, 3 wires for 2 switches, just follow the painted conductors on the Mylar and where they attach to the 2600 main board, solder in new replacement wires. Then on the top half of the case mark and drill out 2 holes for the switches and mount them on to the case. Be careful not to let the drill 'walk' on the plastic like I did, you'll see my holes aren't quite lined up. I'll need to pop the switches out and spend a little time with a file to straighten things up. Also, be careful not to overheat the legs of the switches with your soldering iron (that went sideways fast), I have ordered more black switches. So after putting it all back together, testing shows all working as it should. So I'll post a few pictures post repair, once the new switch comes and I spend a little time cleaning up my mess, I'll post a couple of 'glamour' shots. 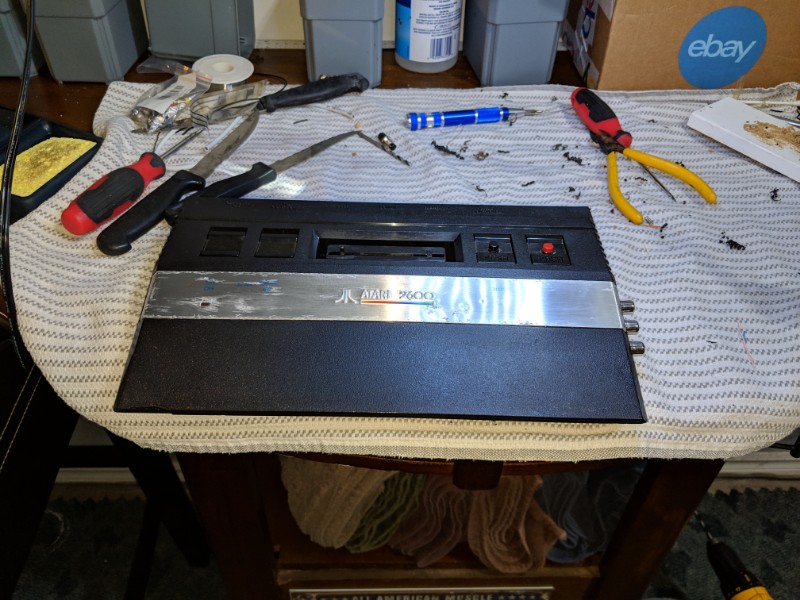  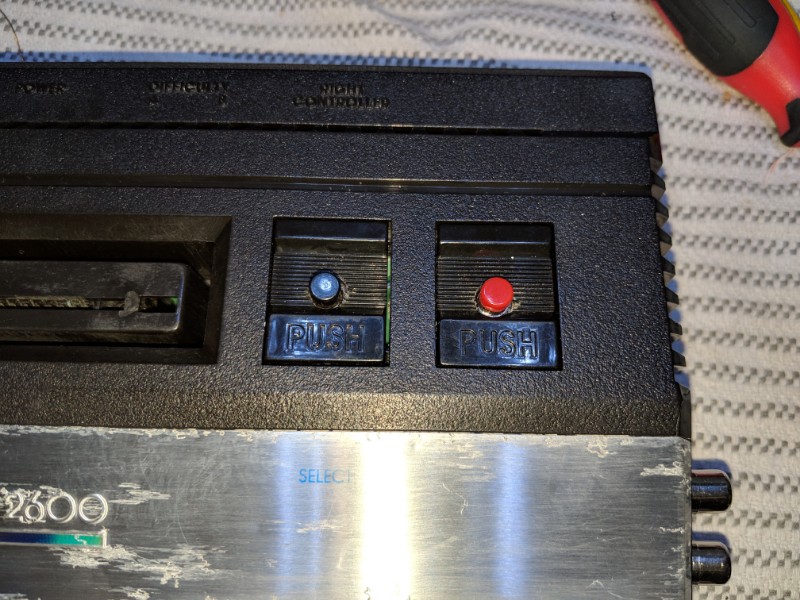 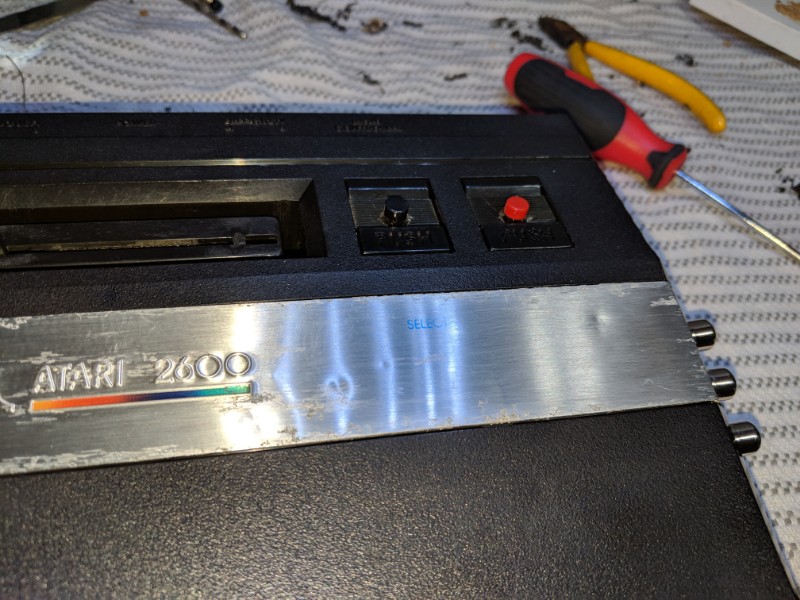 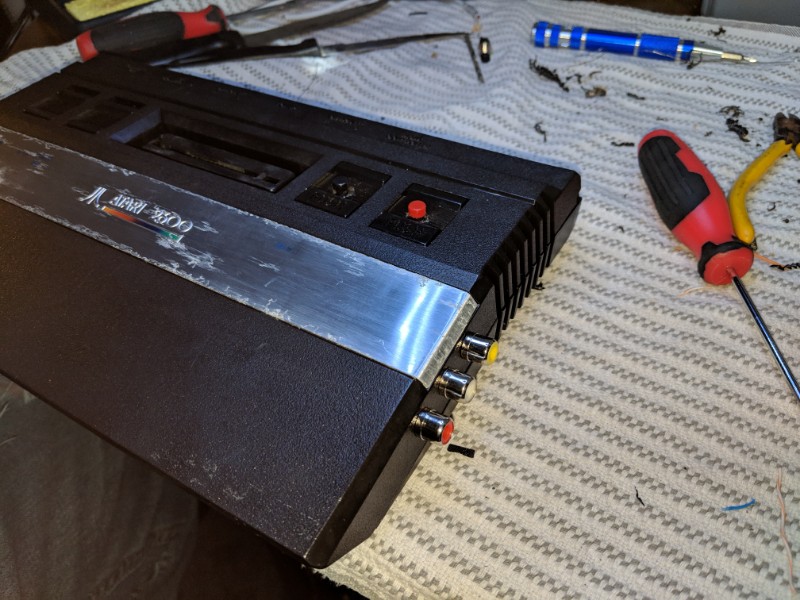 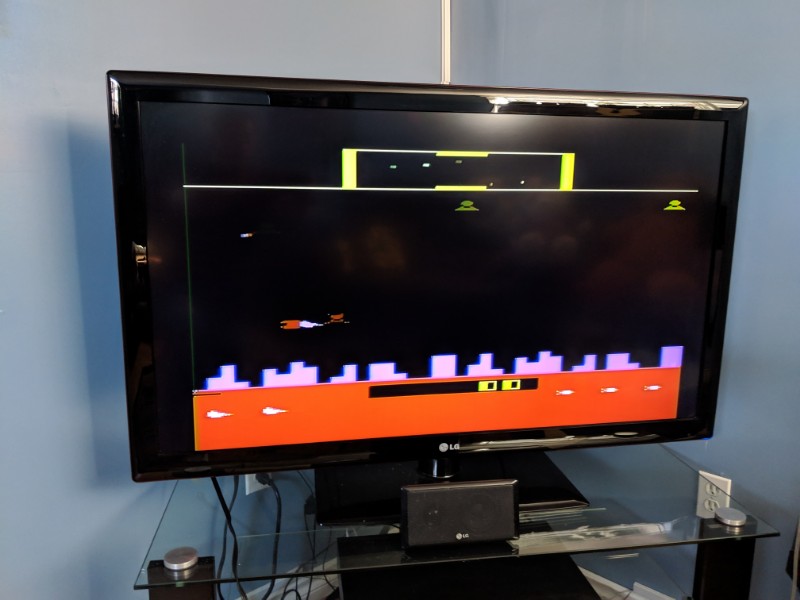 |
|
|
|
Post by abob on Mar 10, 2019 17:10:03 GMT -7
Nice project!
|
|


