|
|
Post by Blaine on Jan 17, 2019 15:40:09 GMT -7
The postman dropped off a parcel for me yesterday with a new project inside. A look from the top 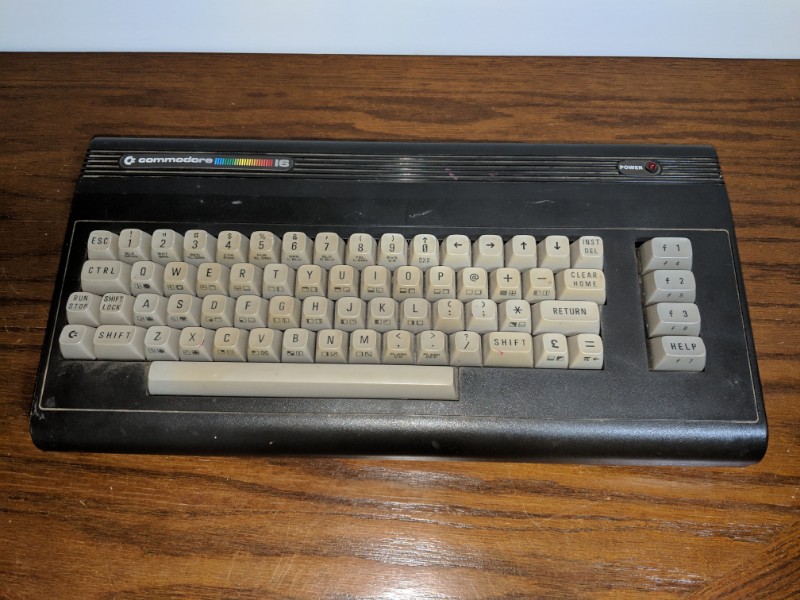 Side view 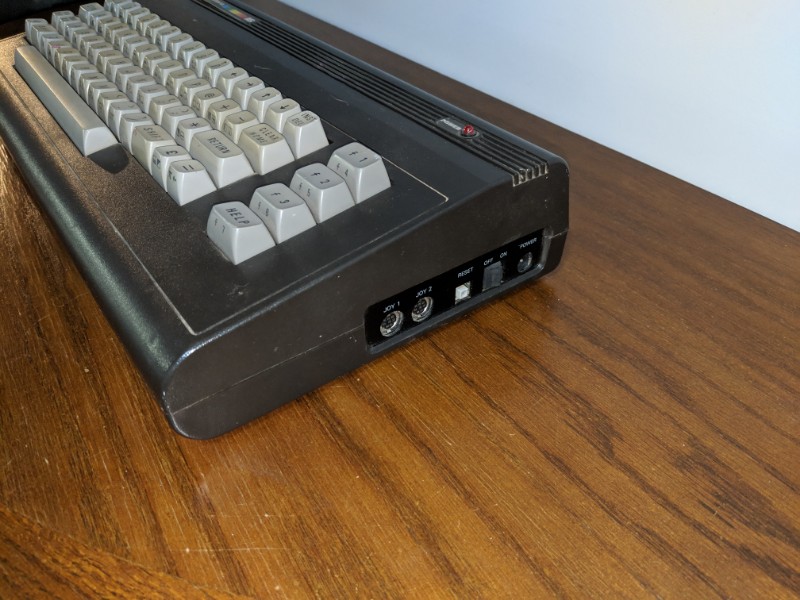 Other side. You can see the Commodore label is coming loose. 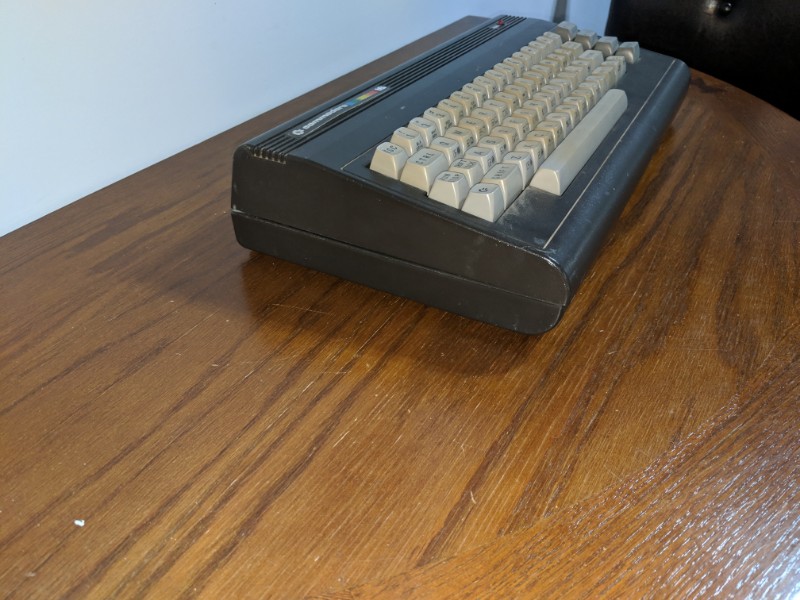 And the back, the 'esc' key seems to sit a little lower than the others. 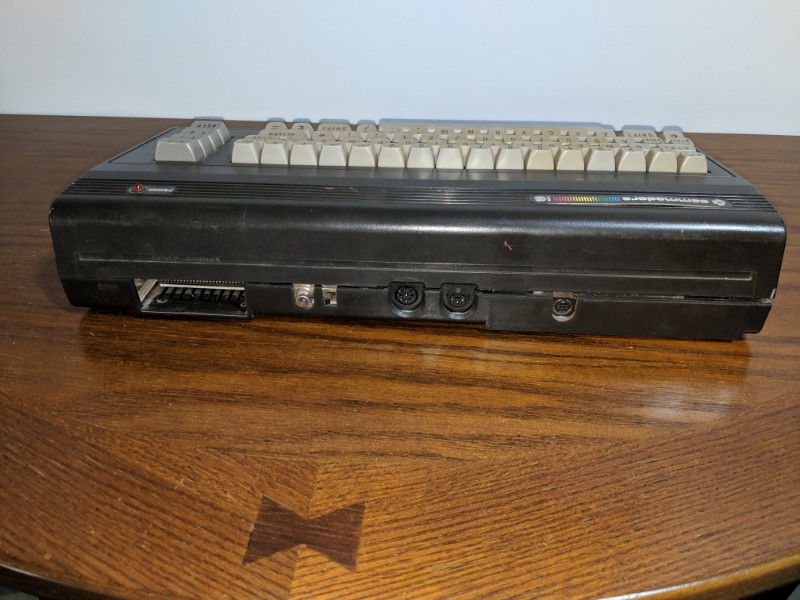 A look inside. That is a small motherboard ! 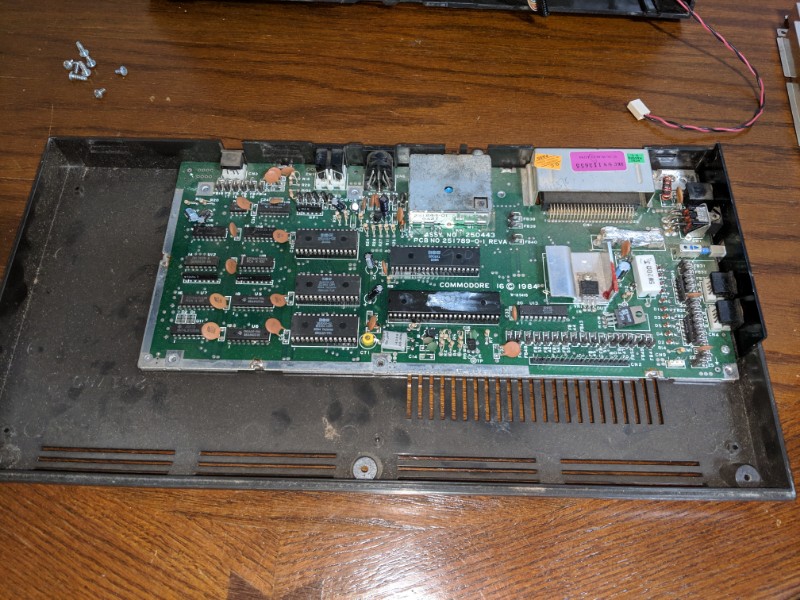 That Fuse Looks a little shady ! 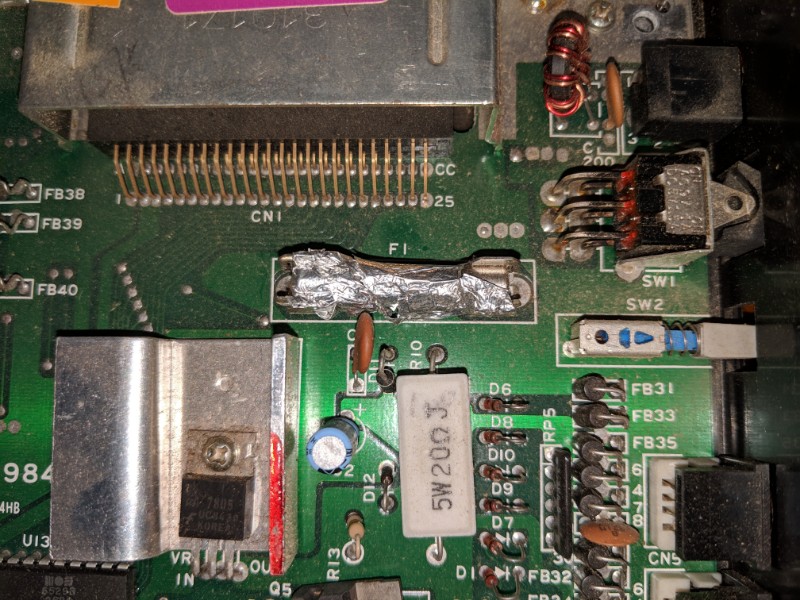 The inside of the top half. 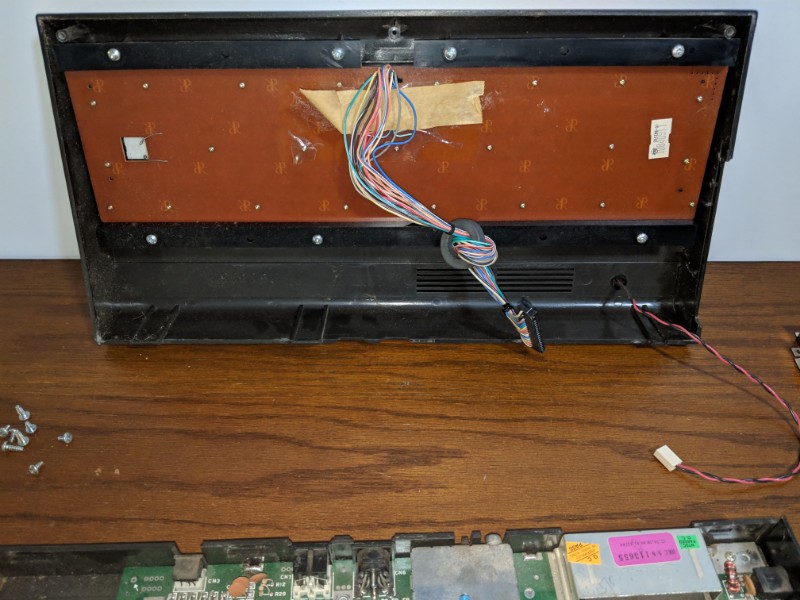 And the best part ! 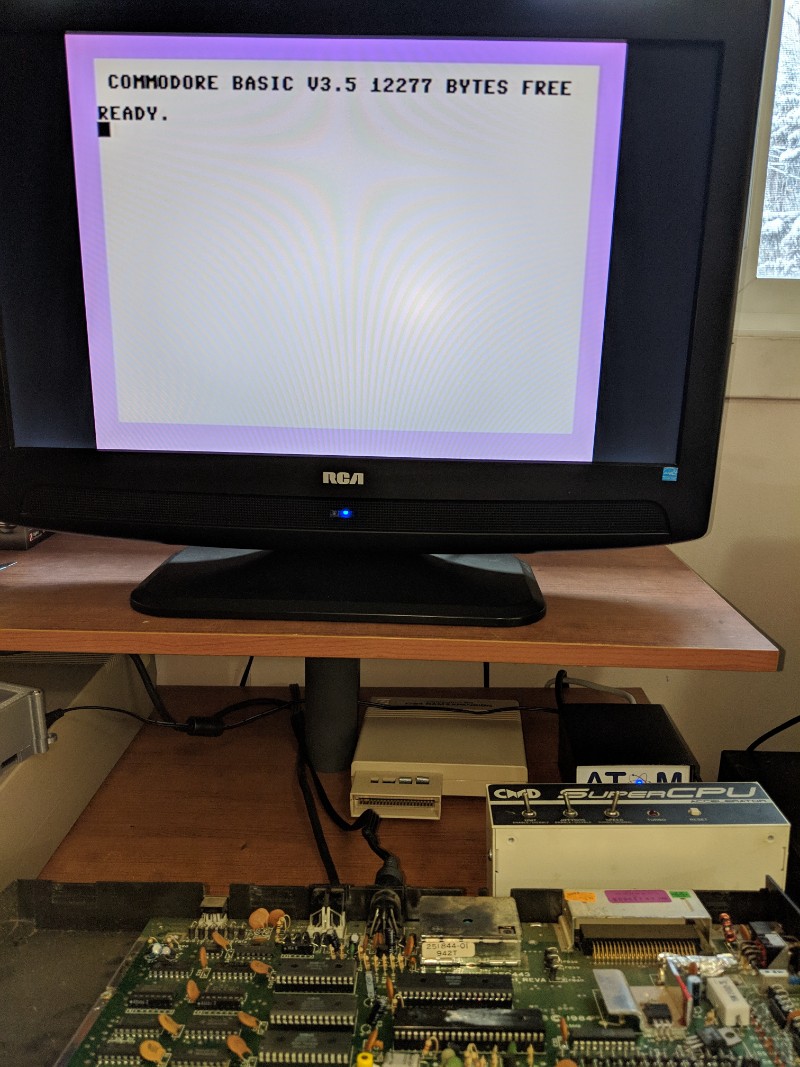 It looks like this little computer has had a hard life, but through the dust bunnies, dirt and stains, it still lives. Commodore made tough computers. Now the job is to give it big cleanup, looks like maybe a keyboard repair, the 'esc' key feels mushy like the spring is gone and a new fuse. Hopefully I can restore this little unit to its former glory. |
|
|
|
Post by Blaine on Jan 23, 2019 22:23:25 GMT -7
Time to start cleaning things up, starting with the keyboard. First a few screws to remove it from the case, then pop off the escape key and see what's up with it. 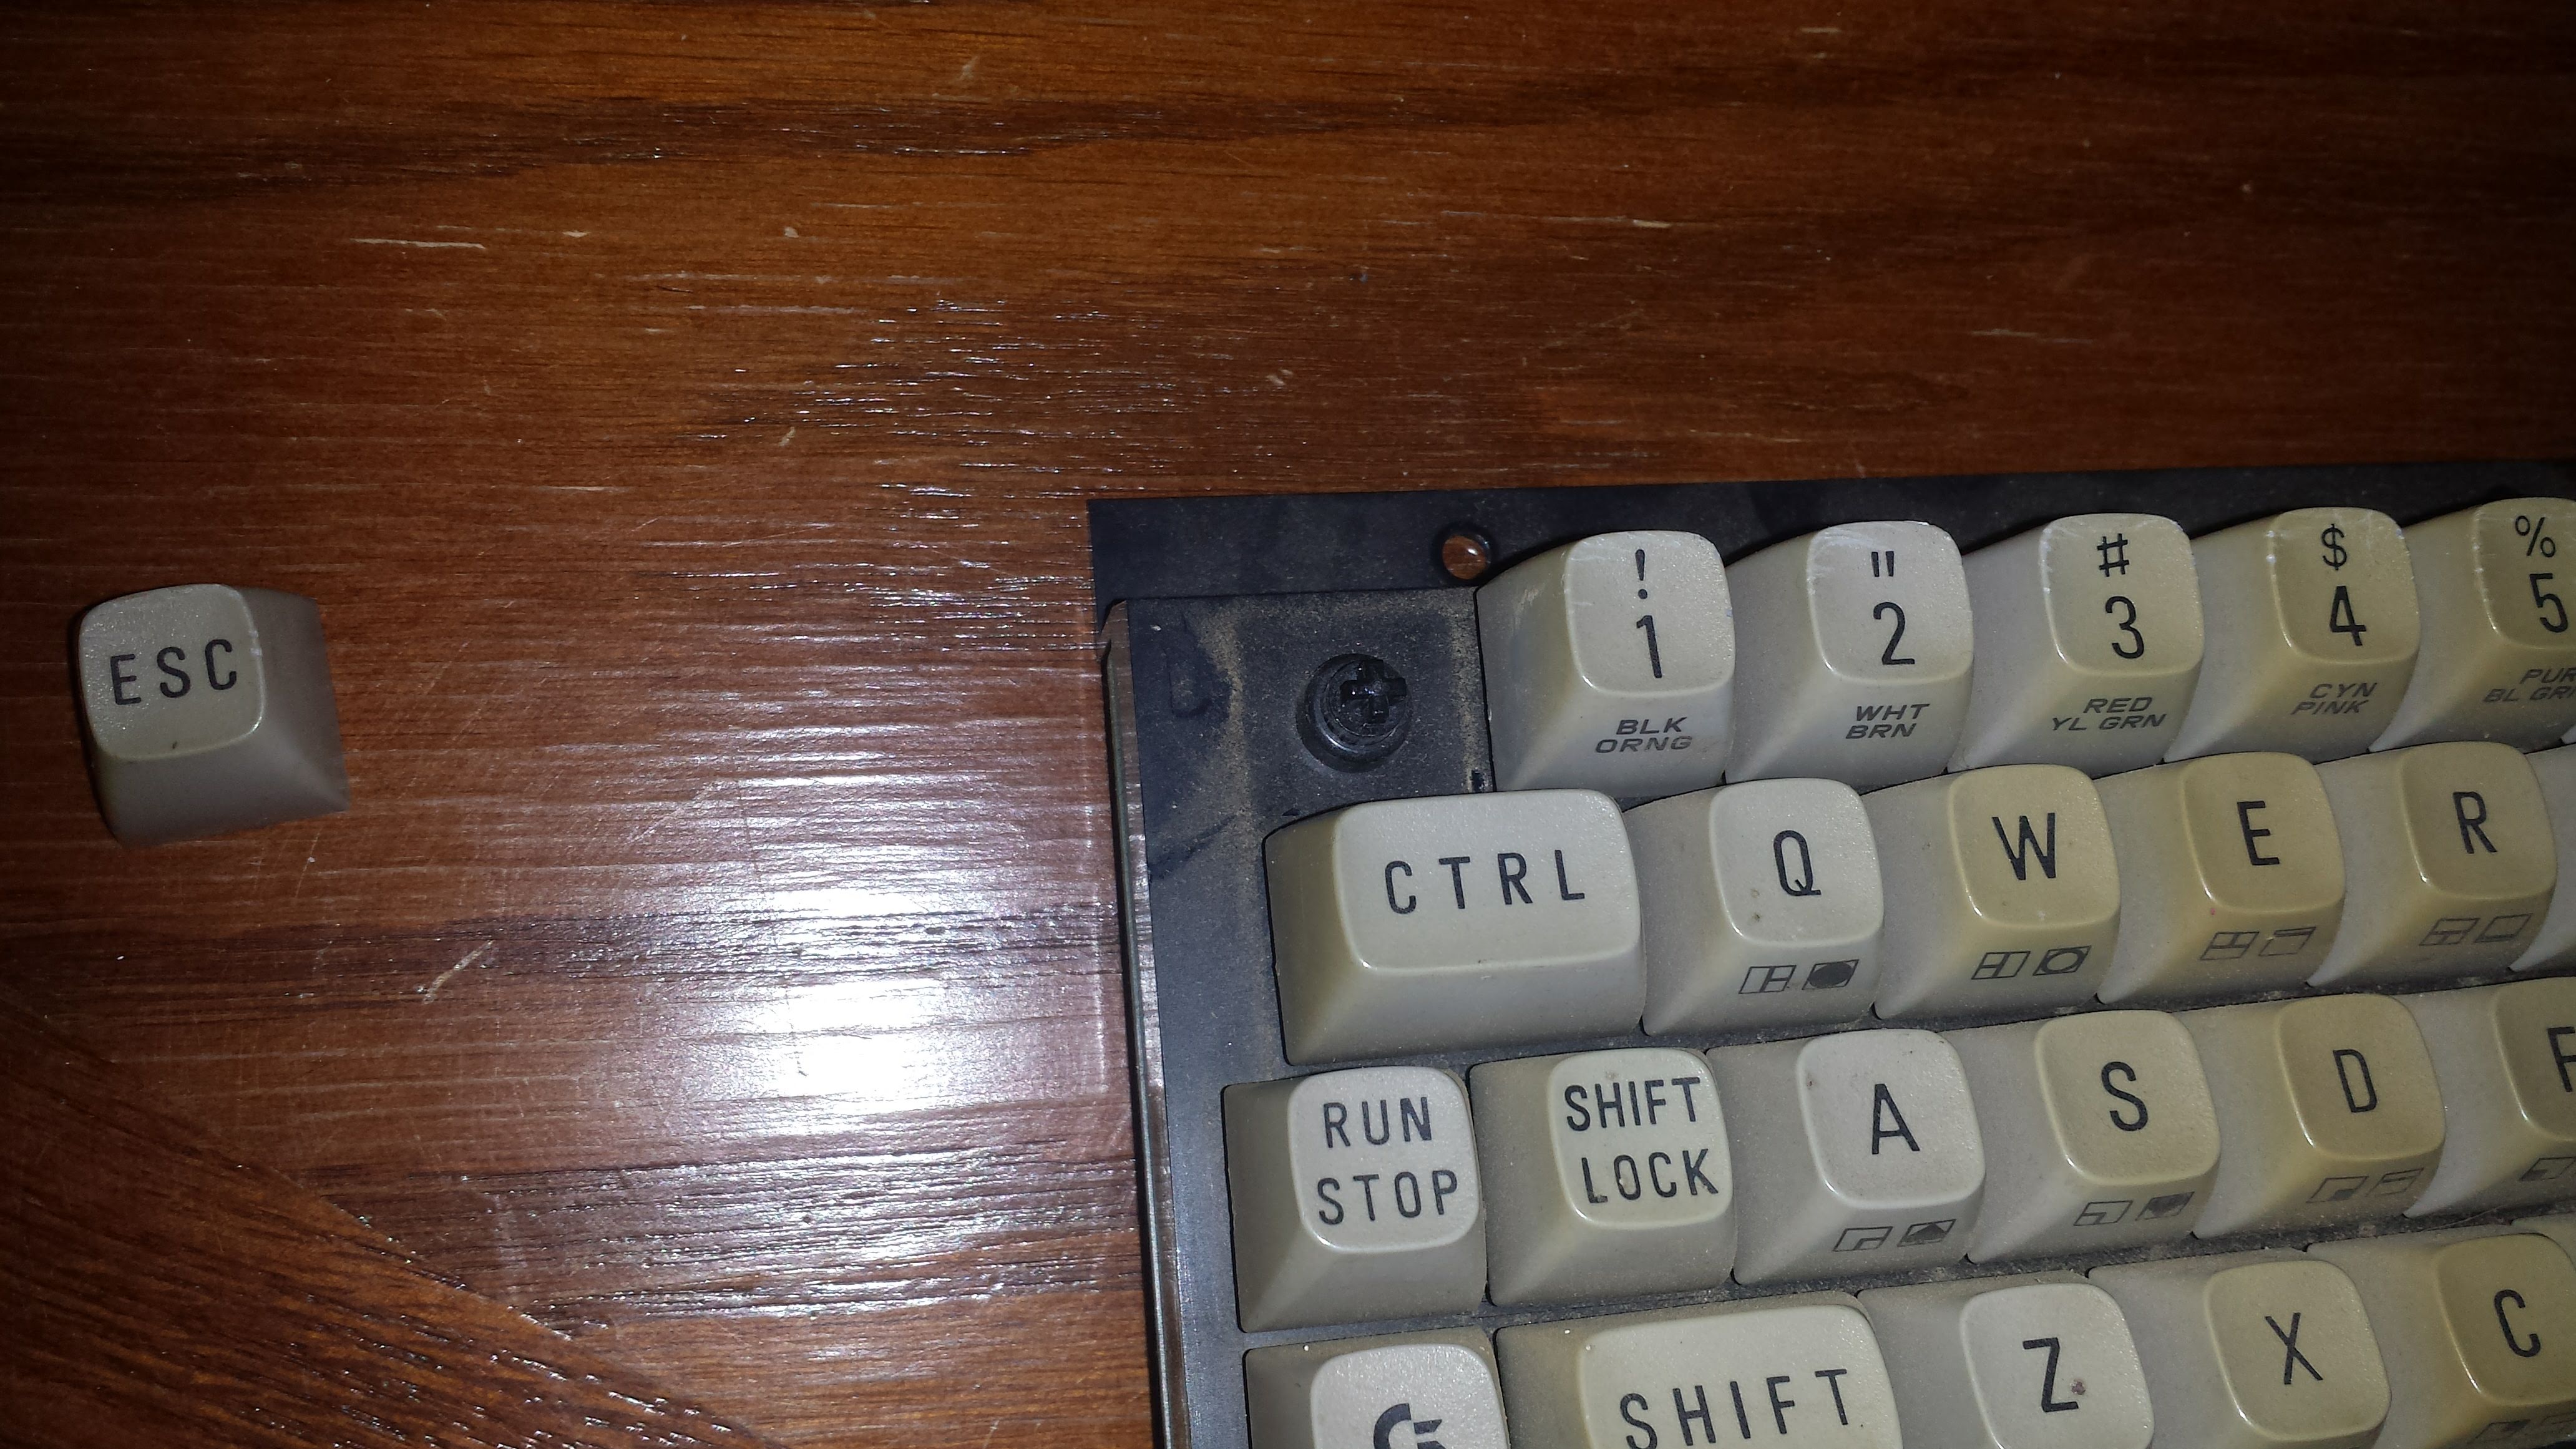 As I suspected, no spring under the key. Hopefully, I have something that will work in my bits and bobs. Now to finish getting the rest of the keys off. 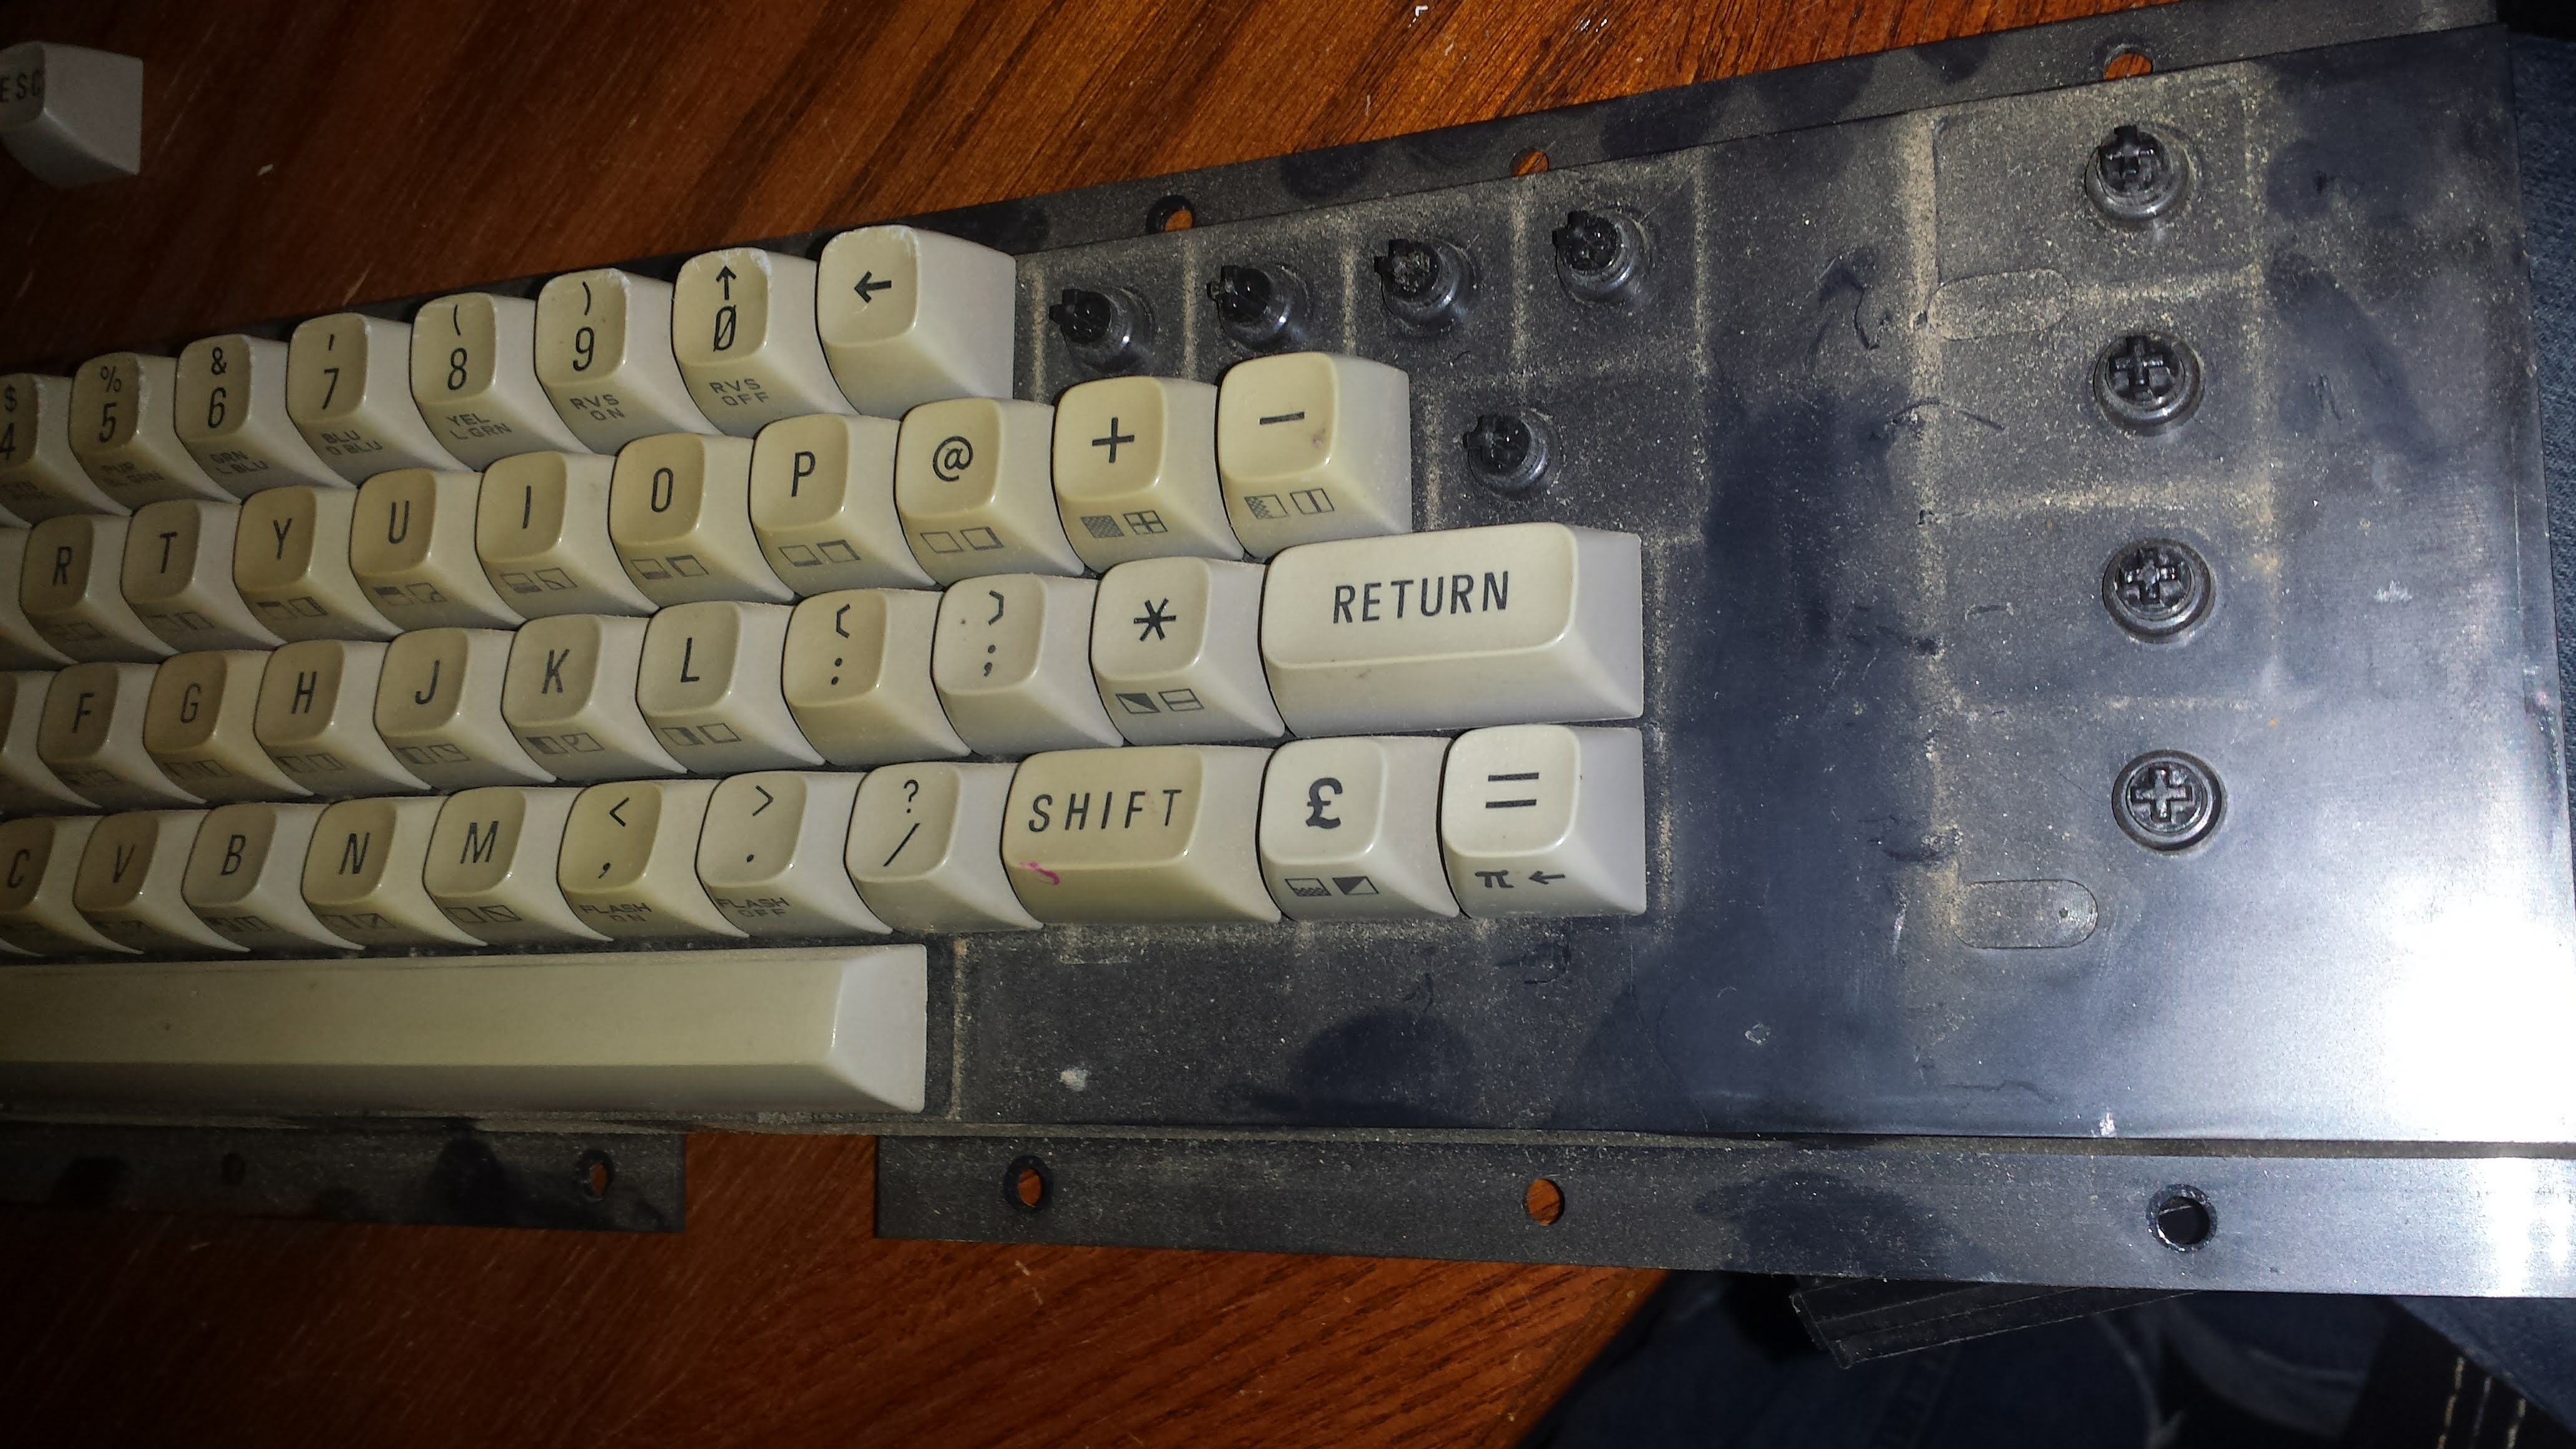 Just a wee bit dirty in there !  Continuing on ... 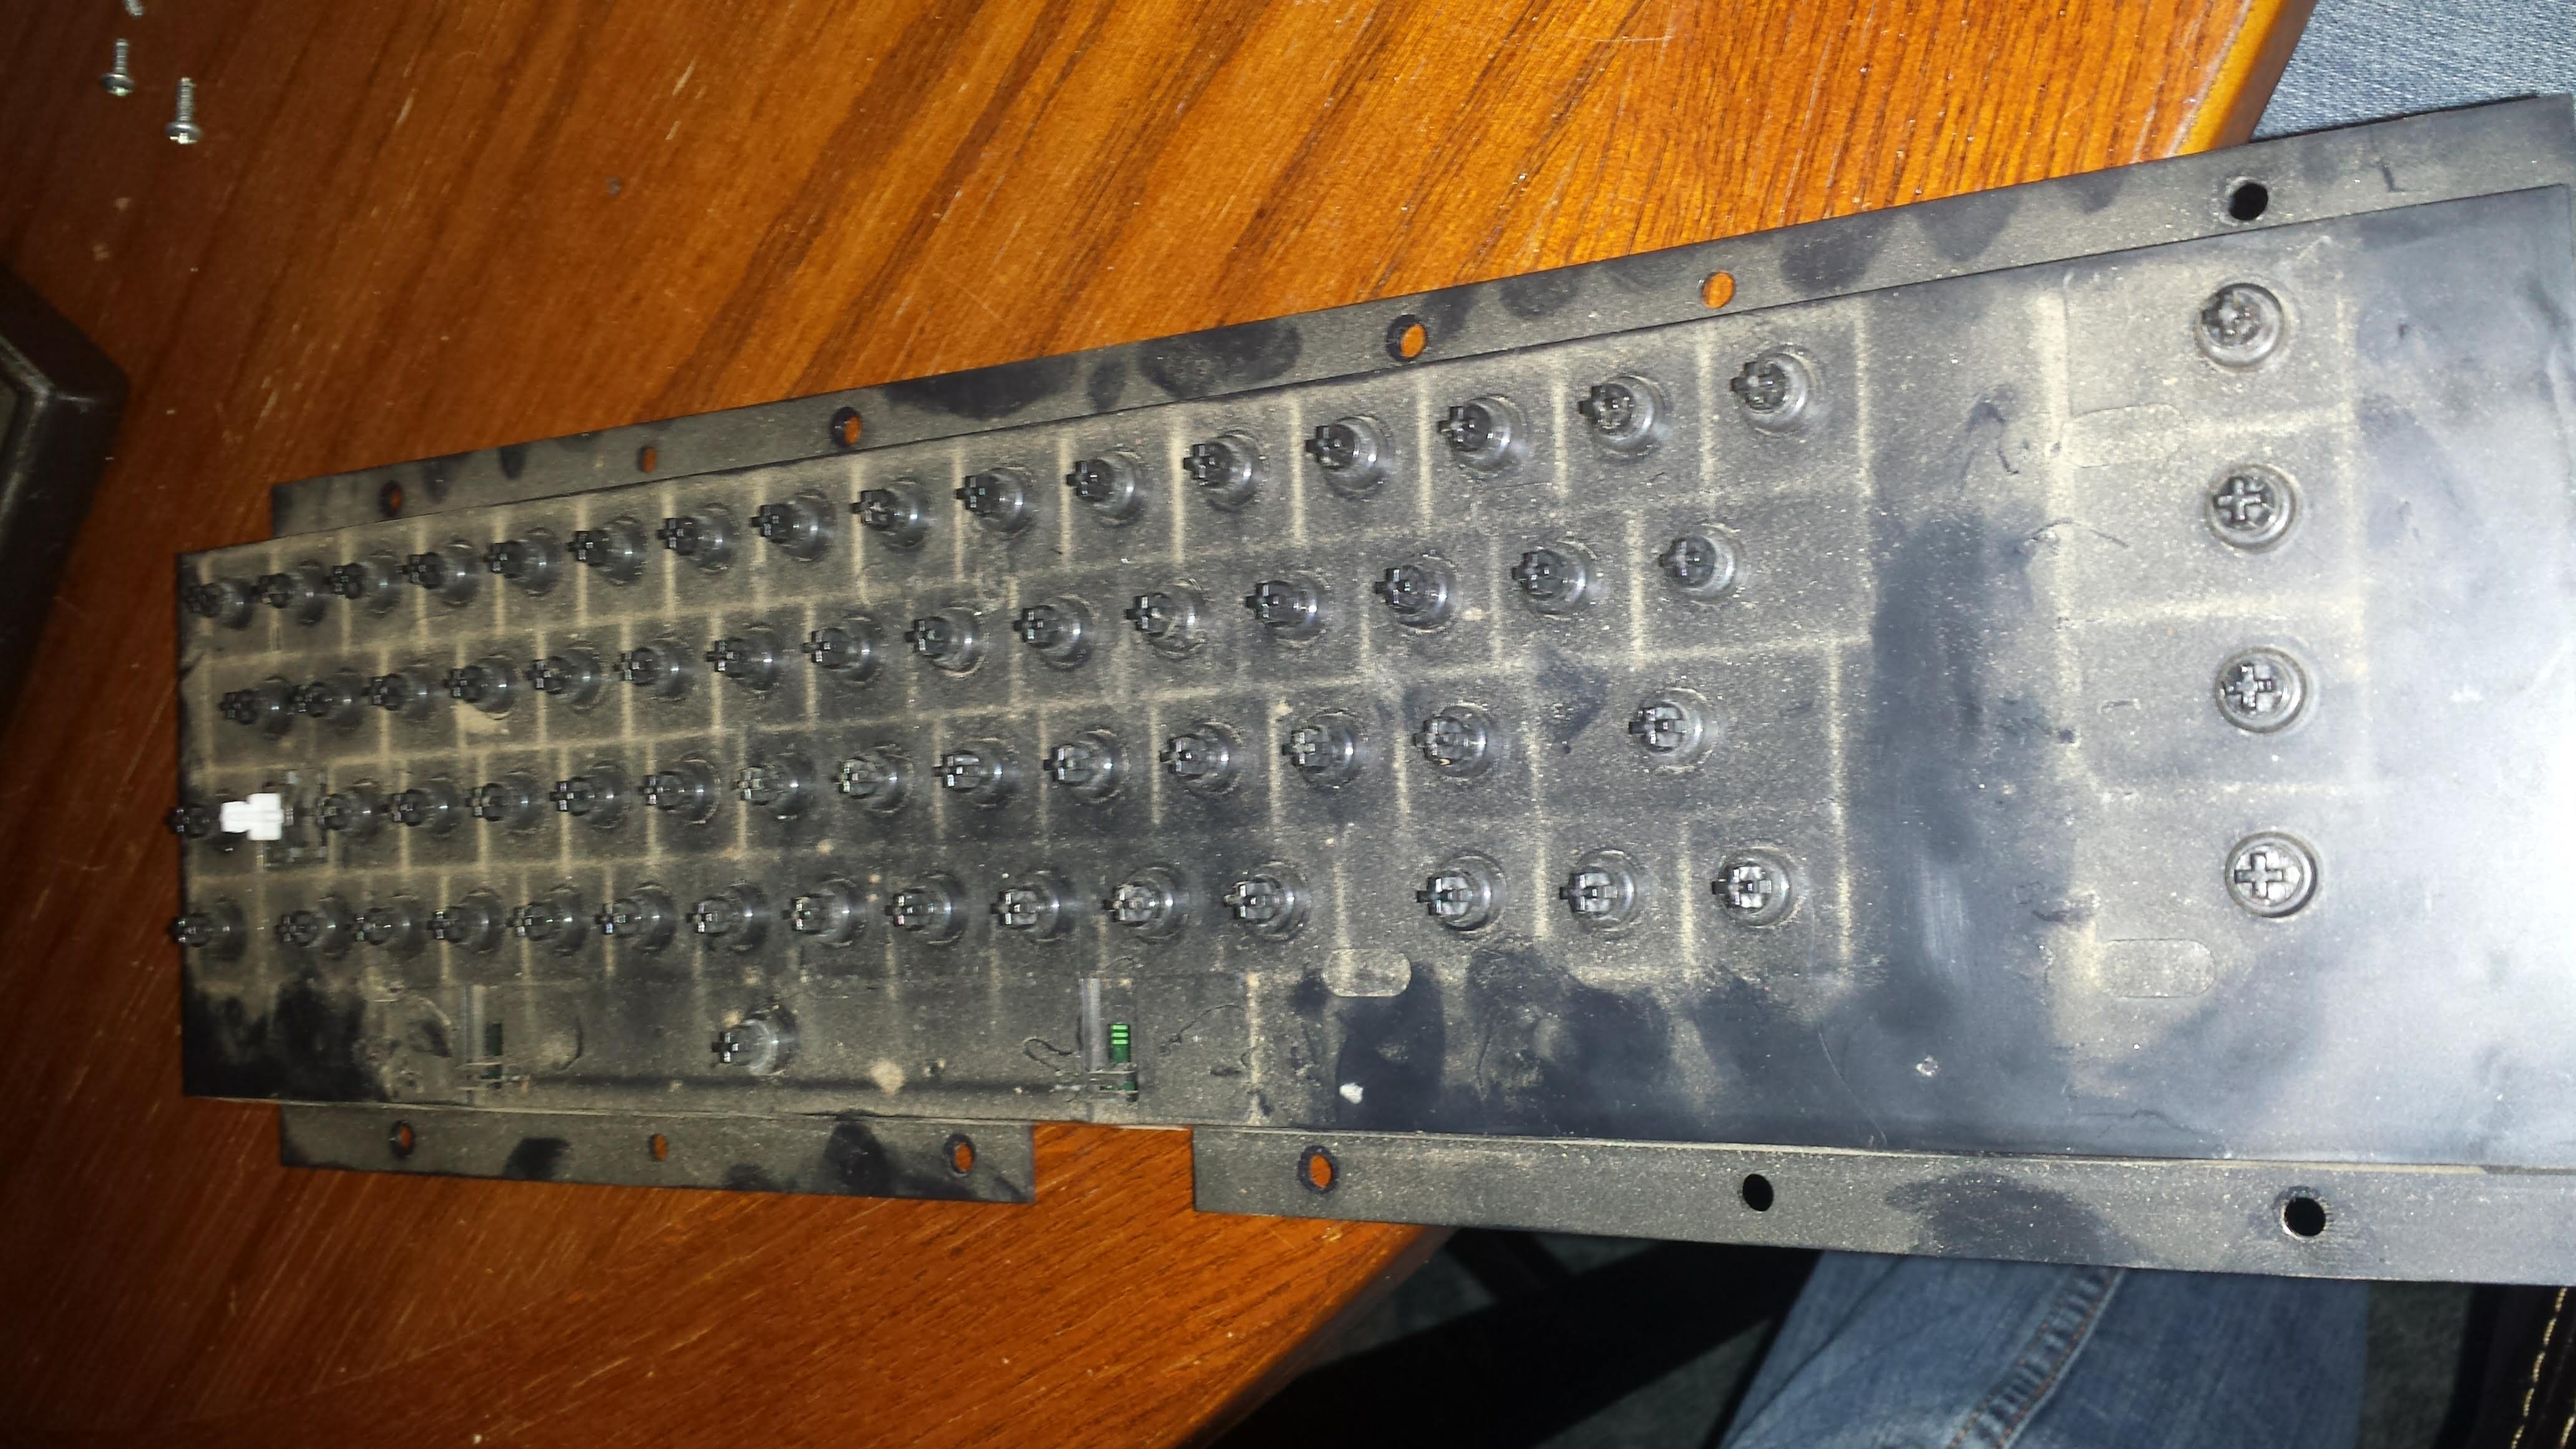 Make sure everything is in a container, don't want any lost bits ! 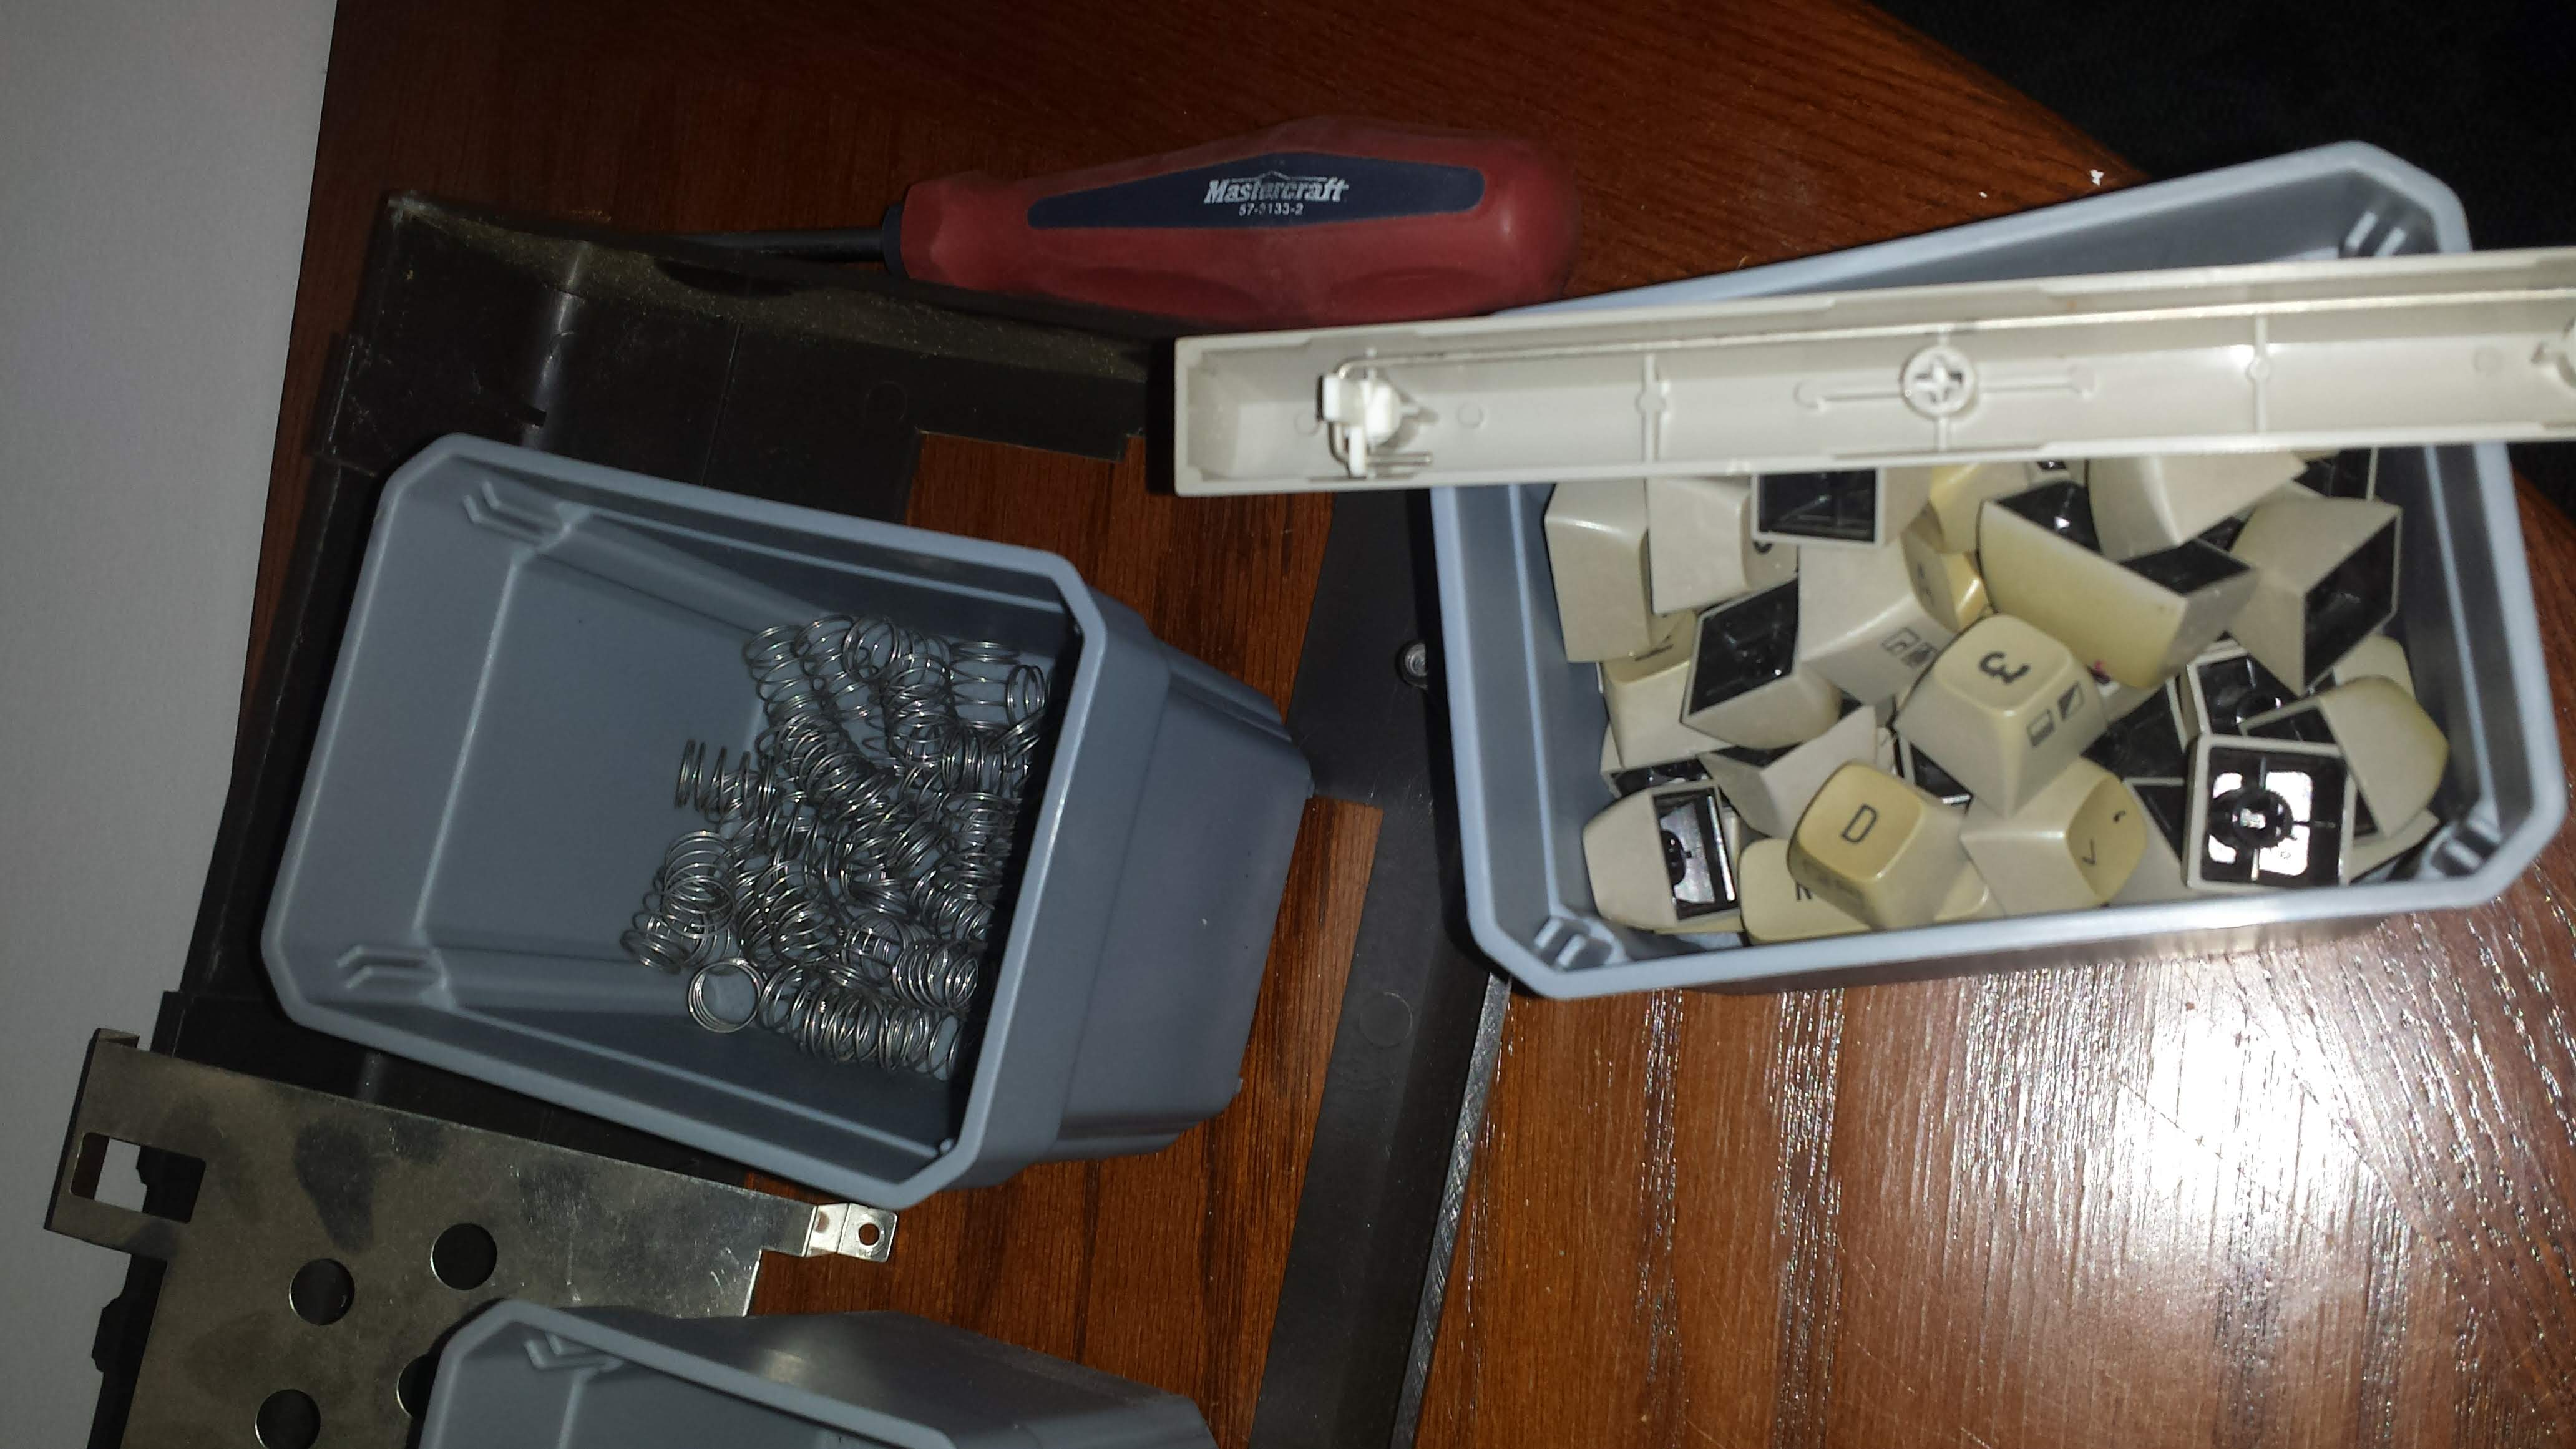 Next, flip it over. 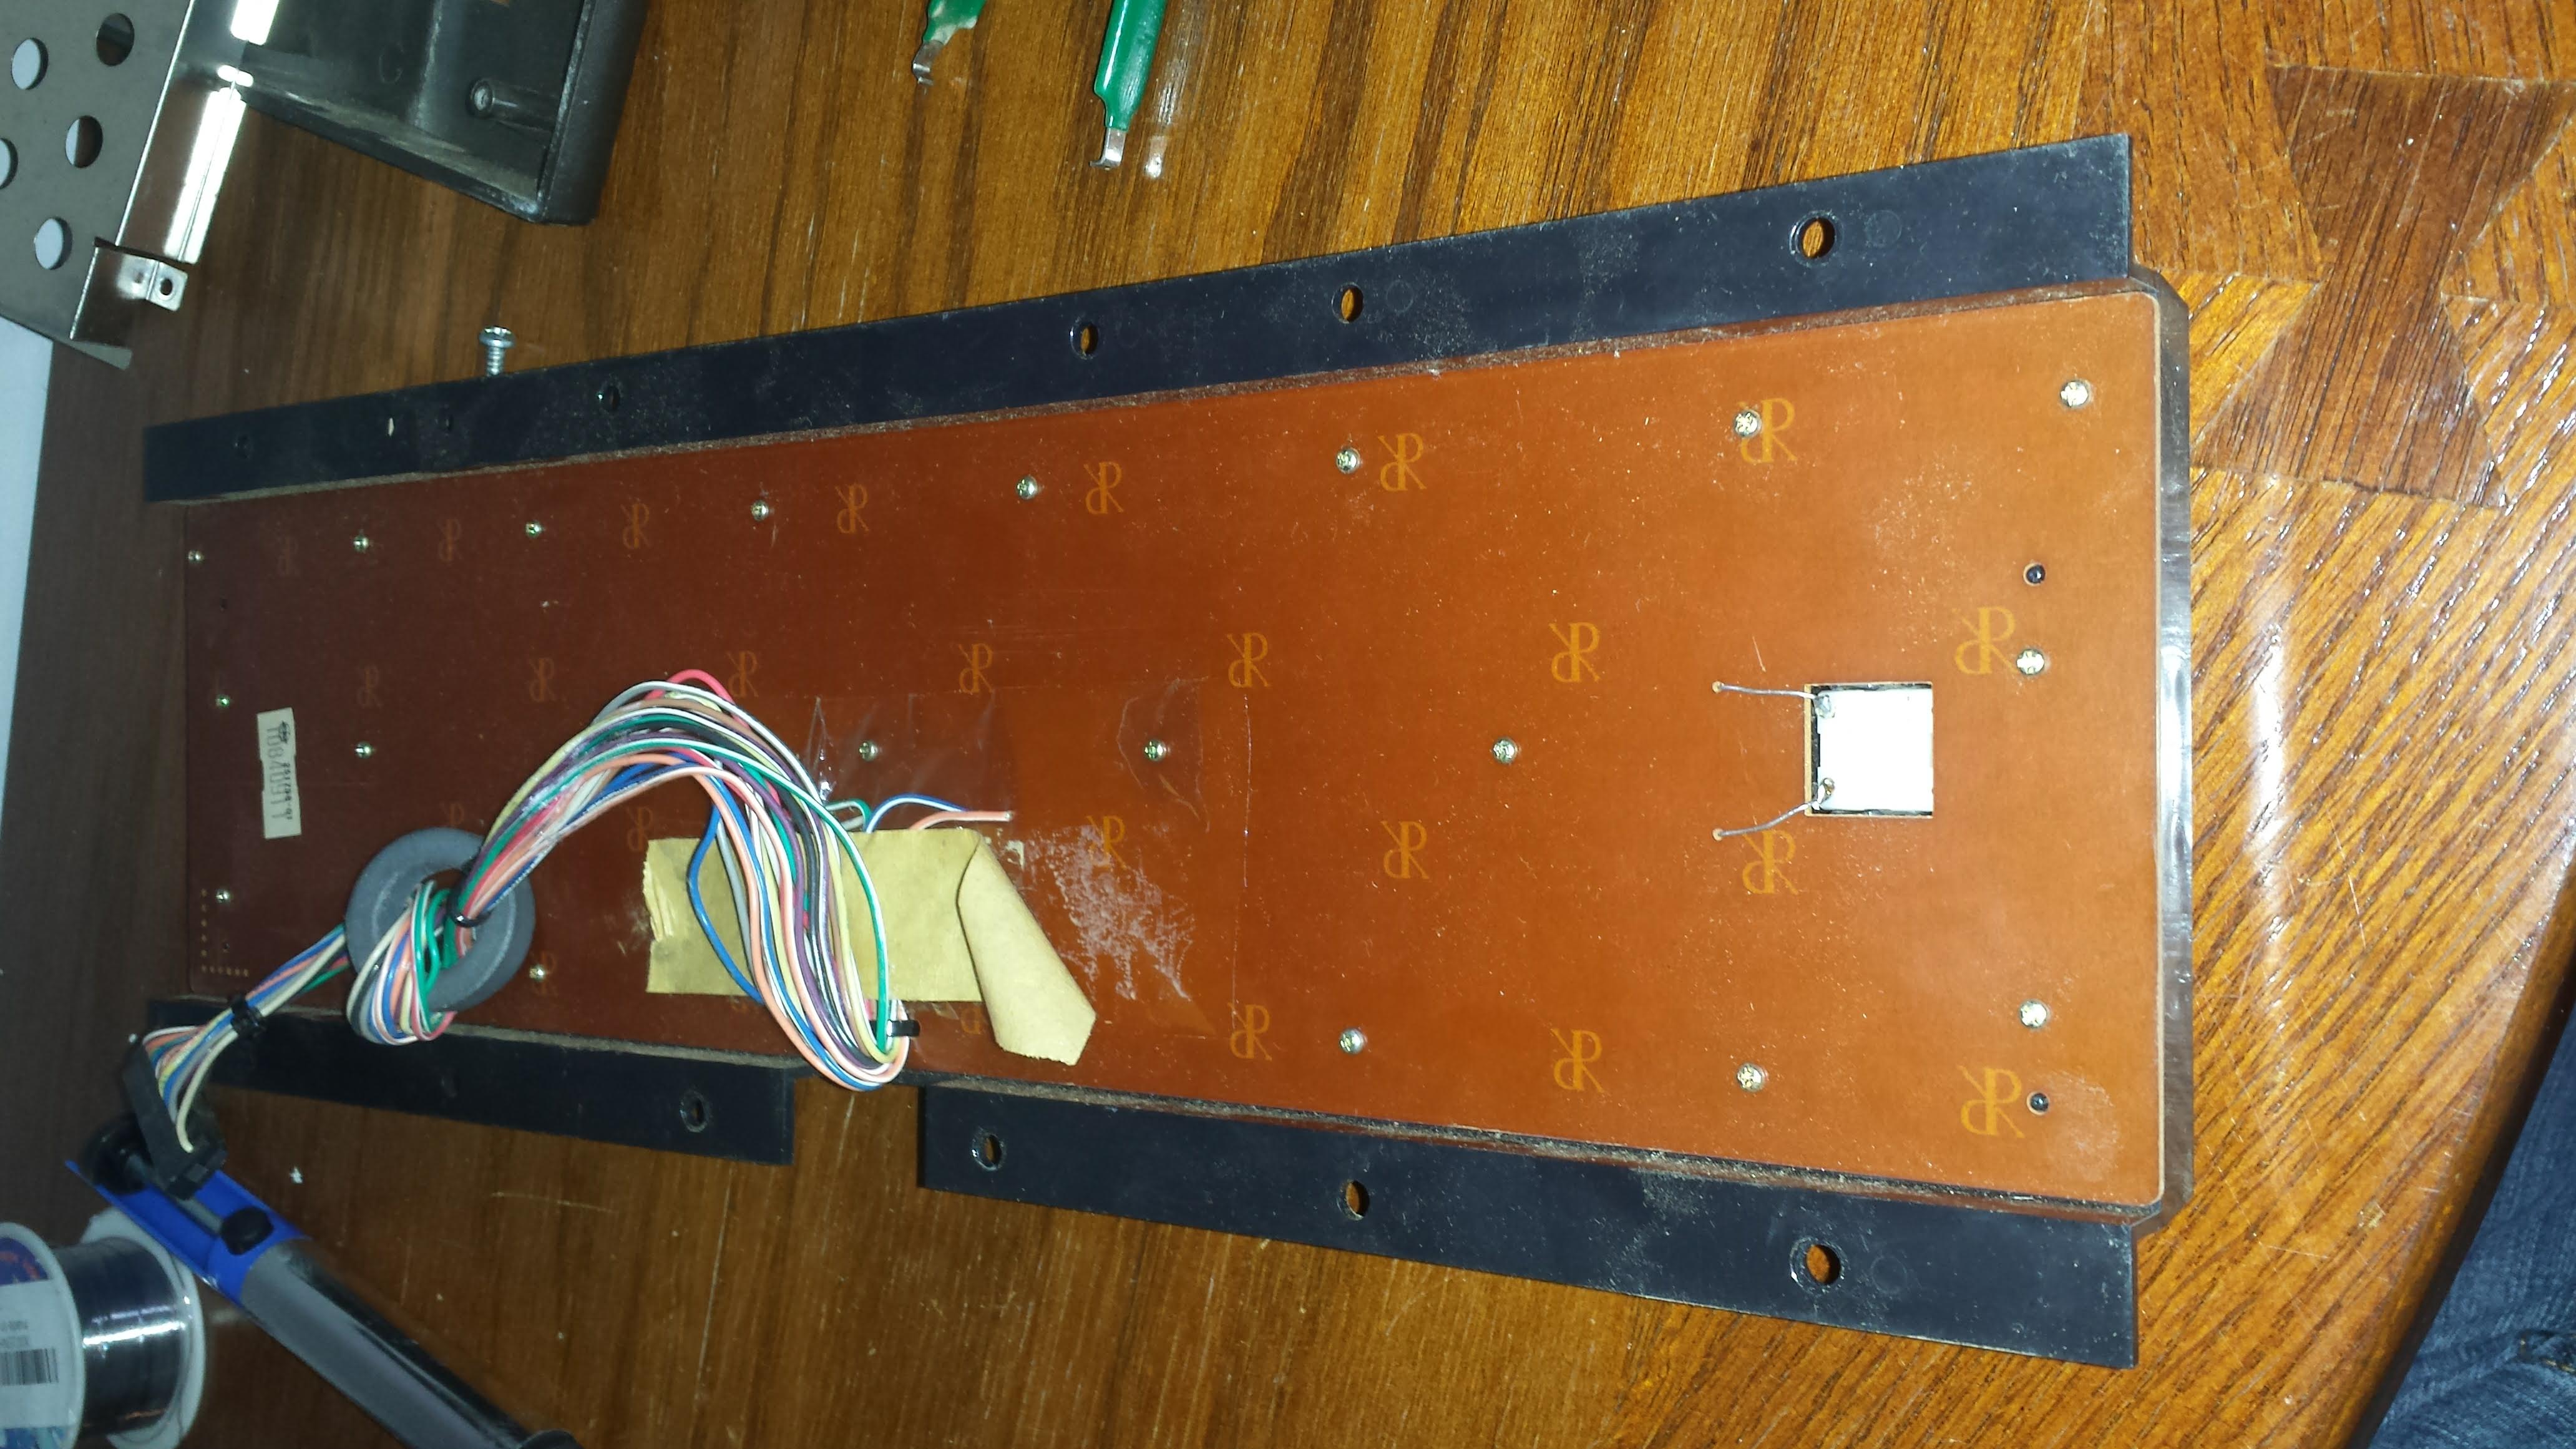 Desolder the shift lock switch. 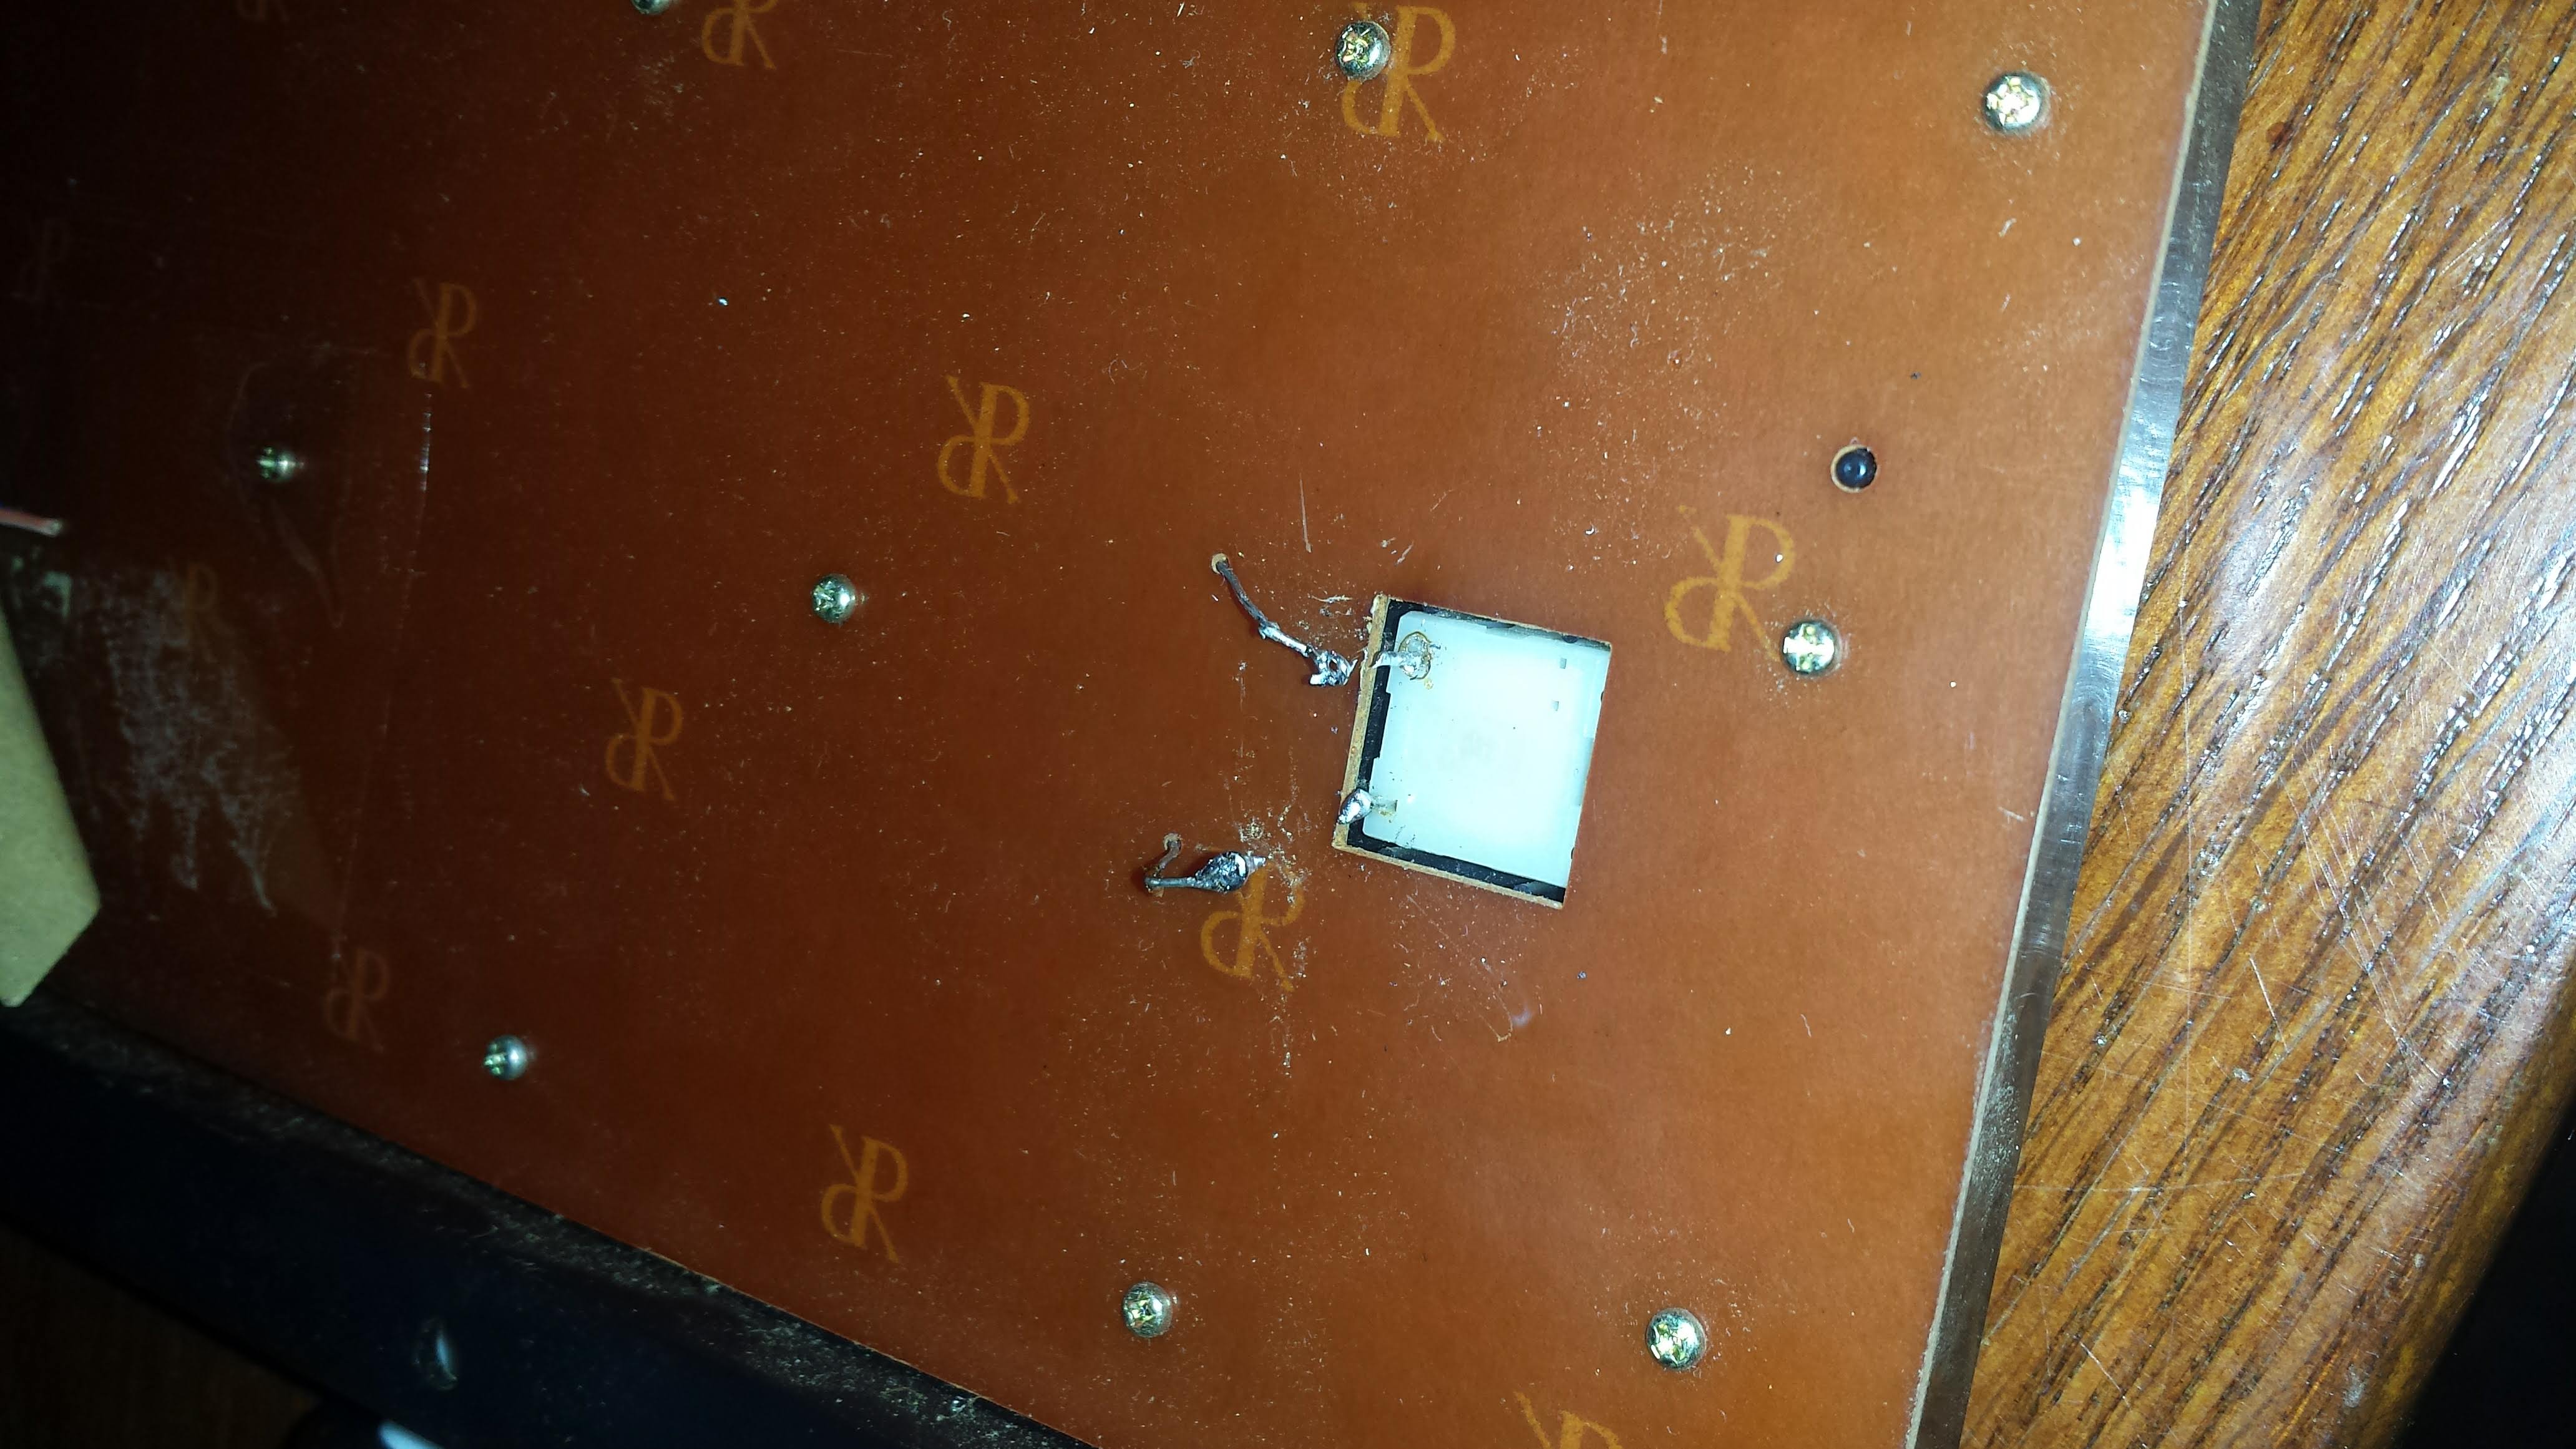 And remove all the tiny screws. 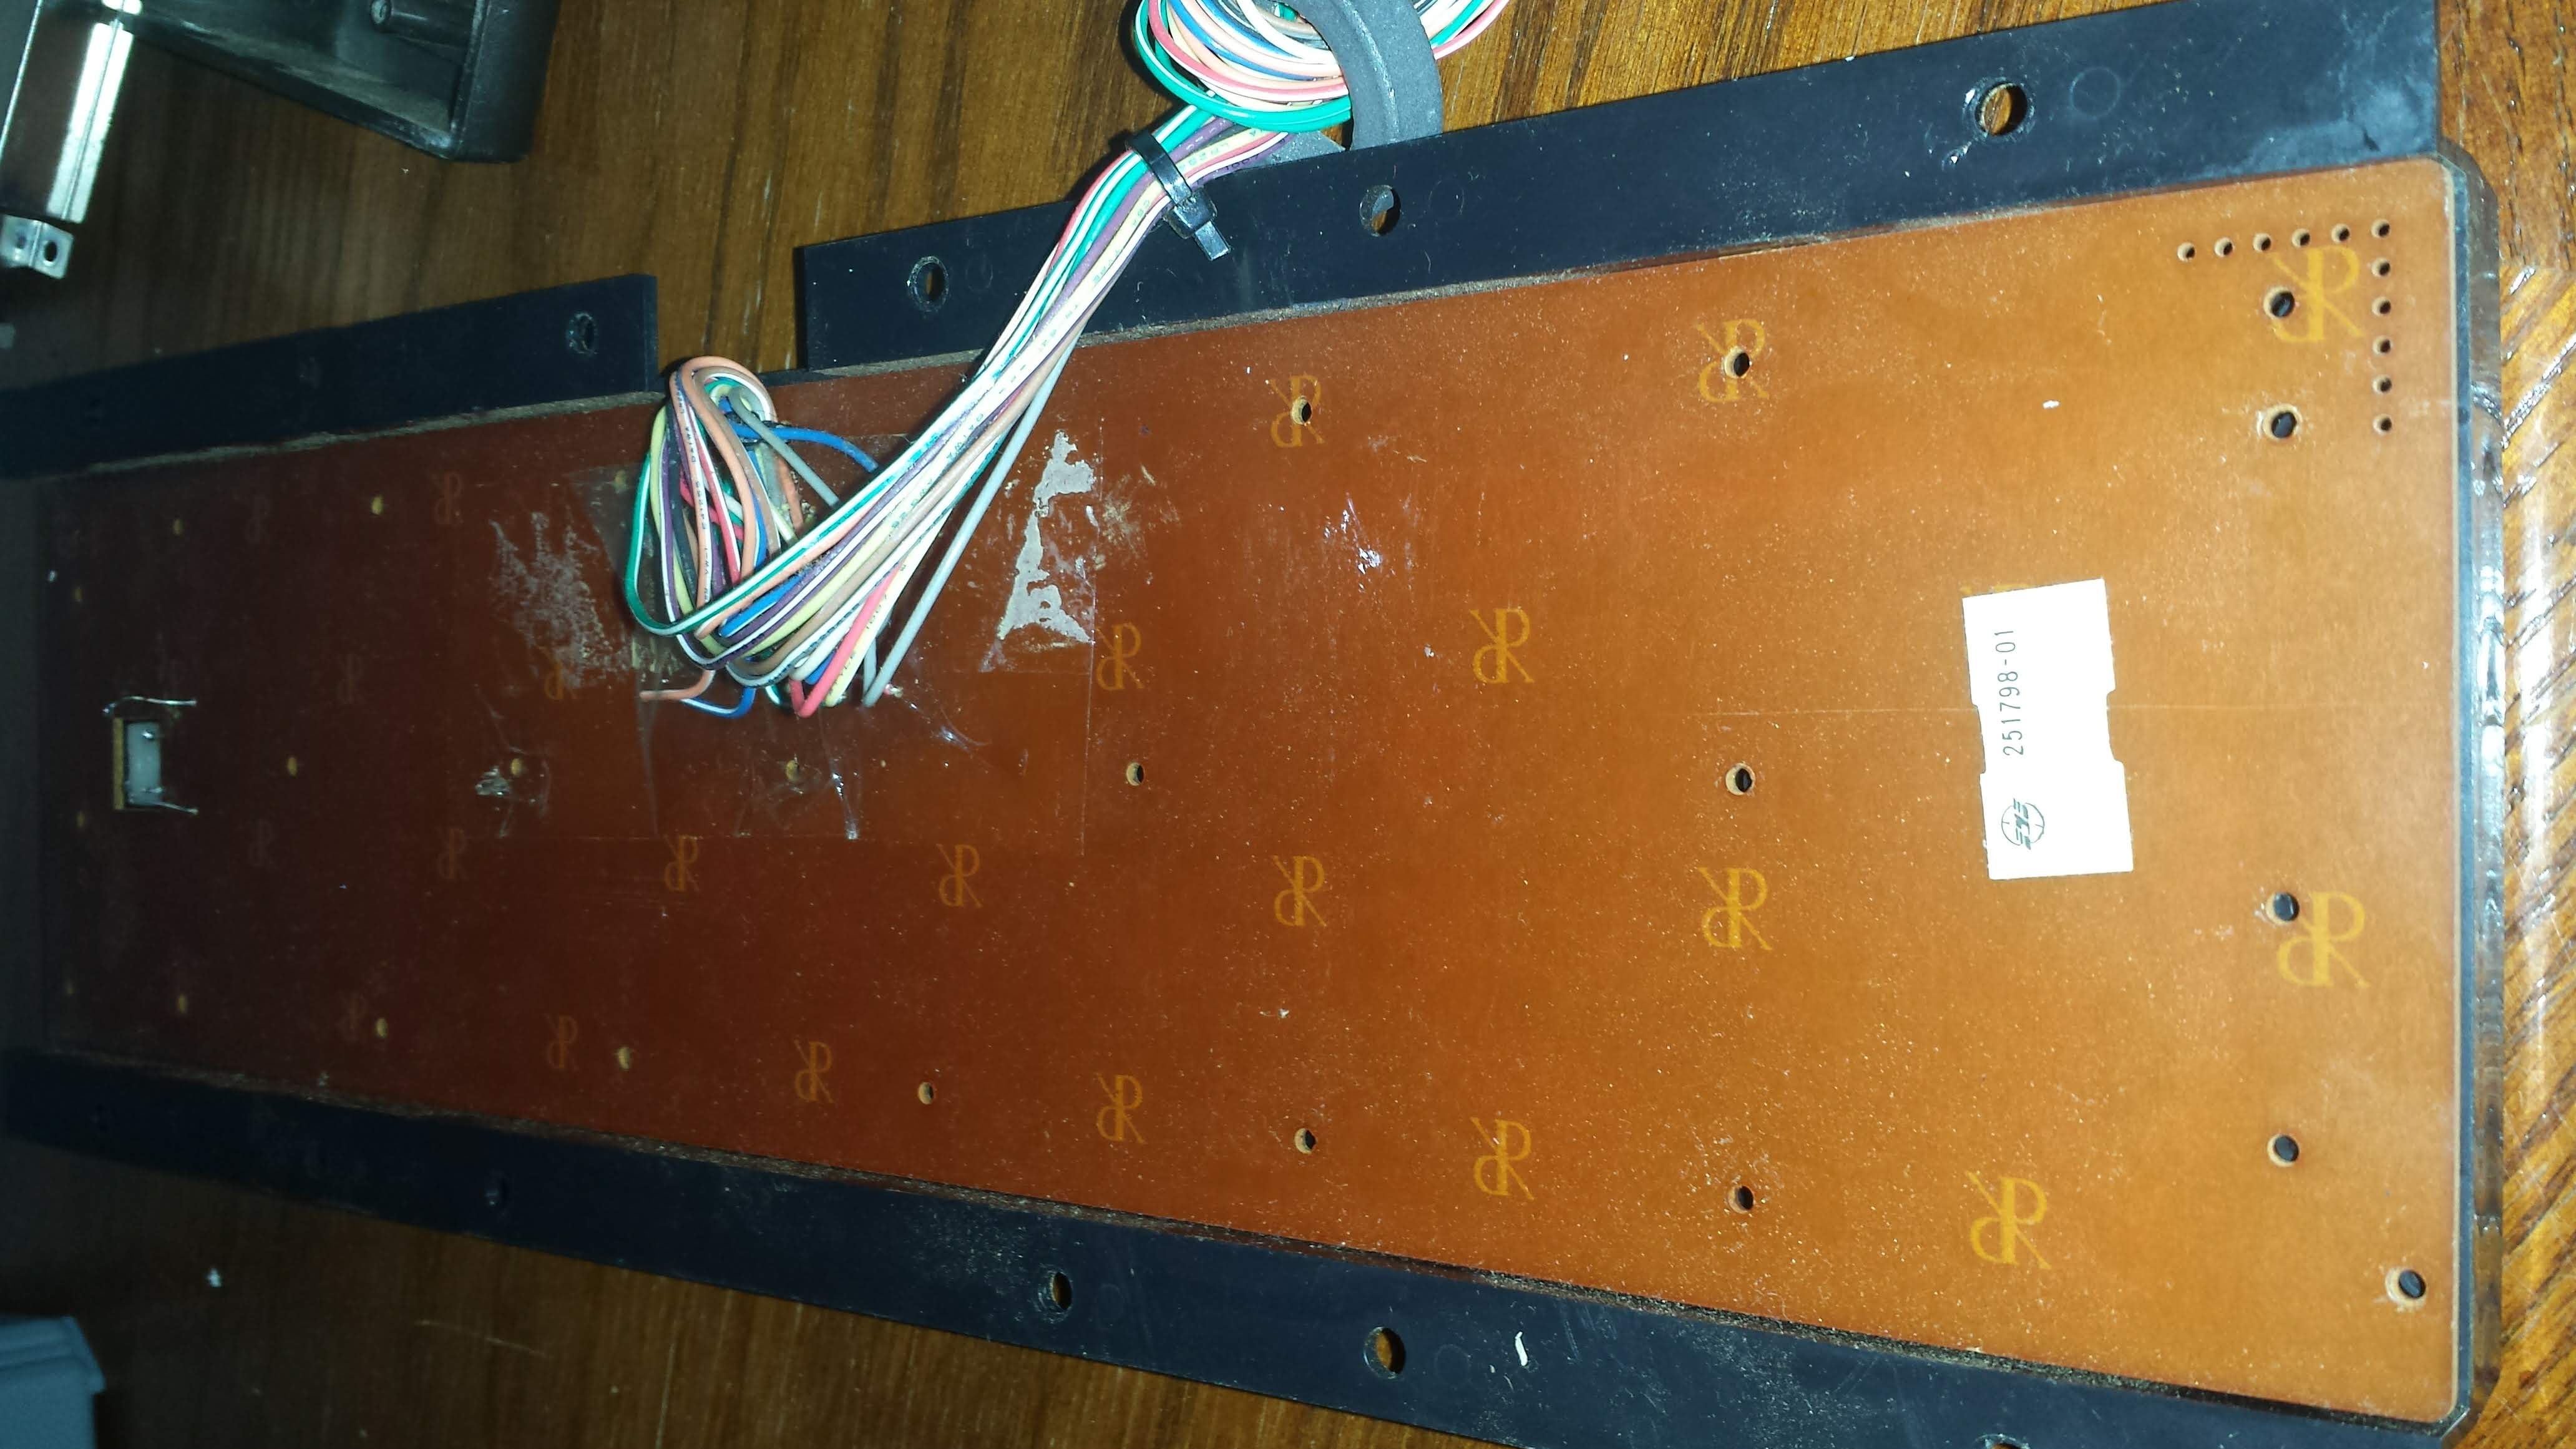 Now open it up. 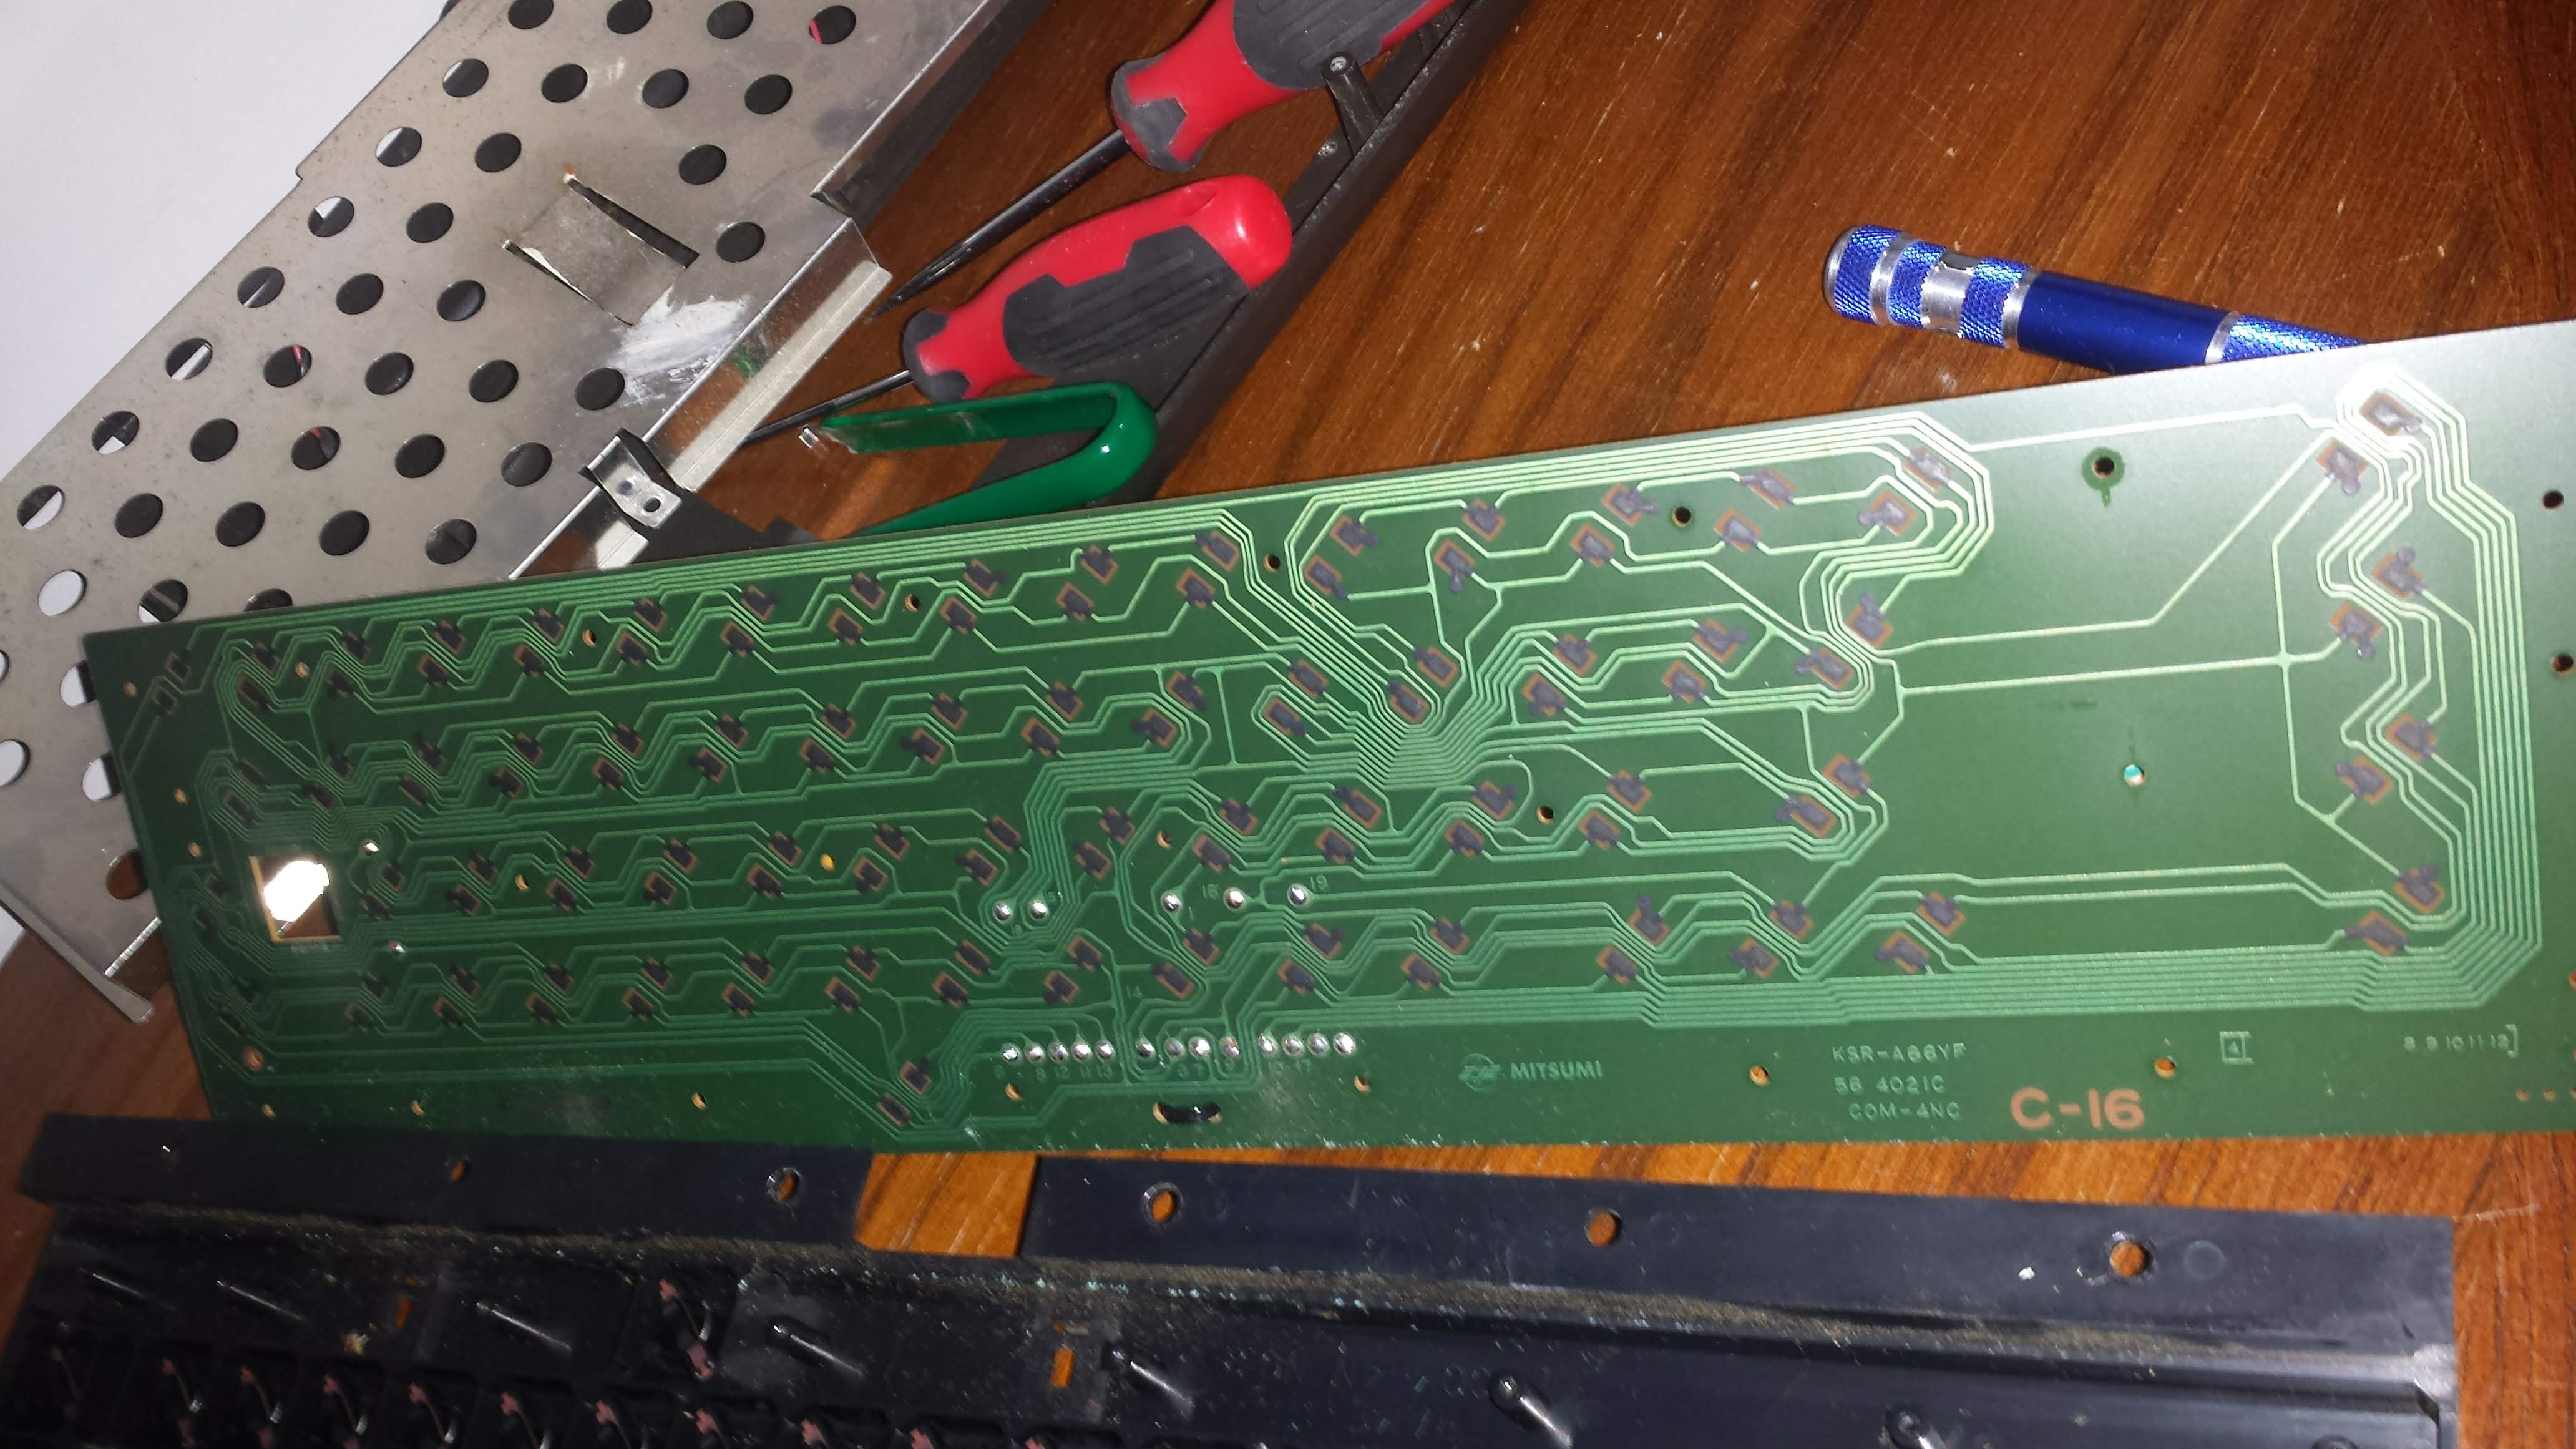 That's the circuit board with the contacts. Next, the frame with the plungers on it. 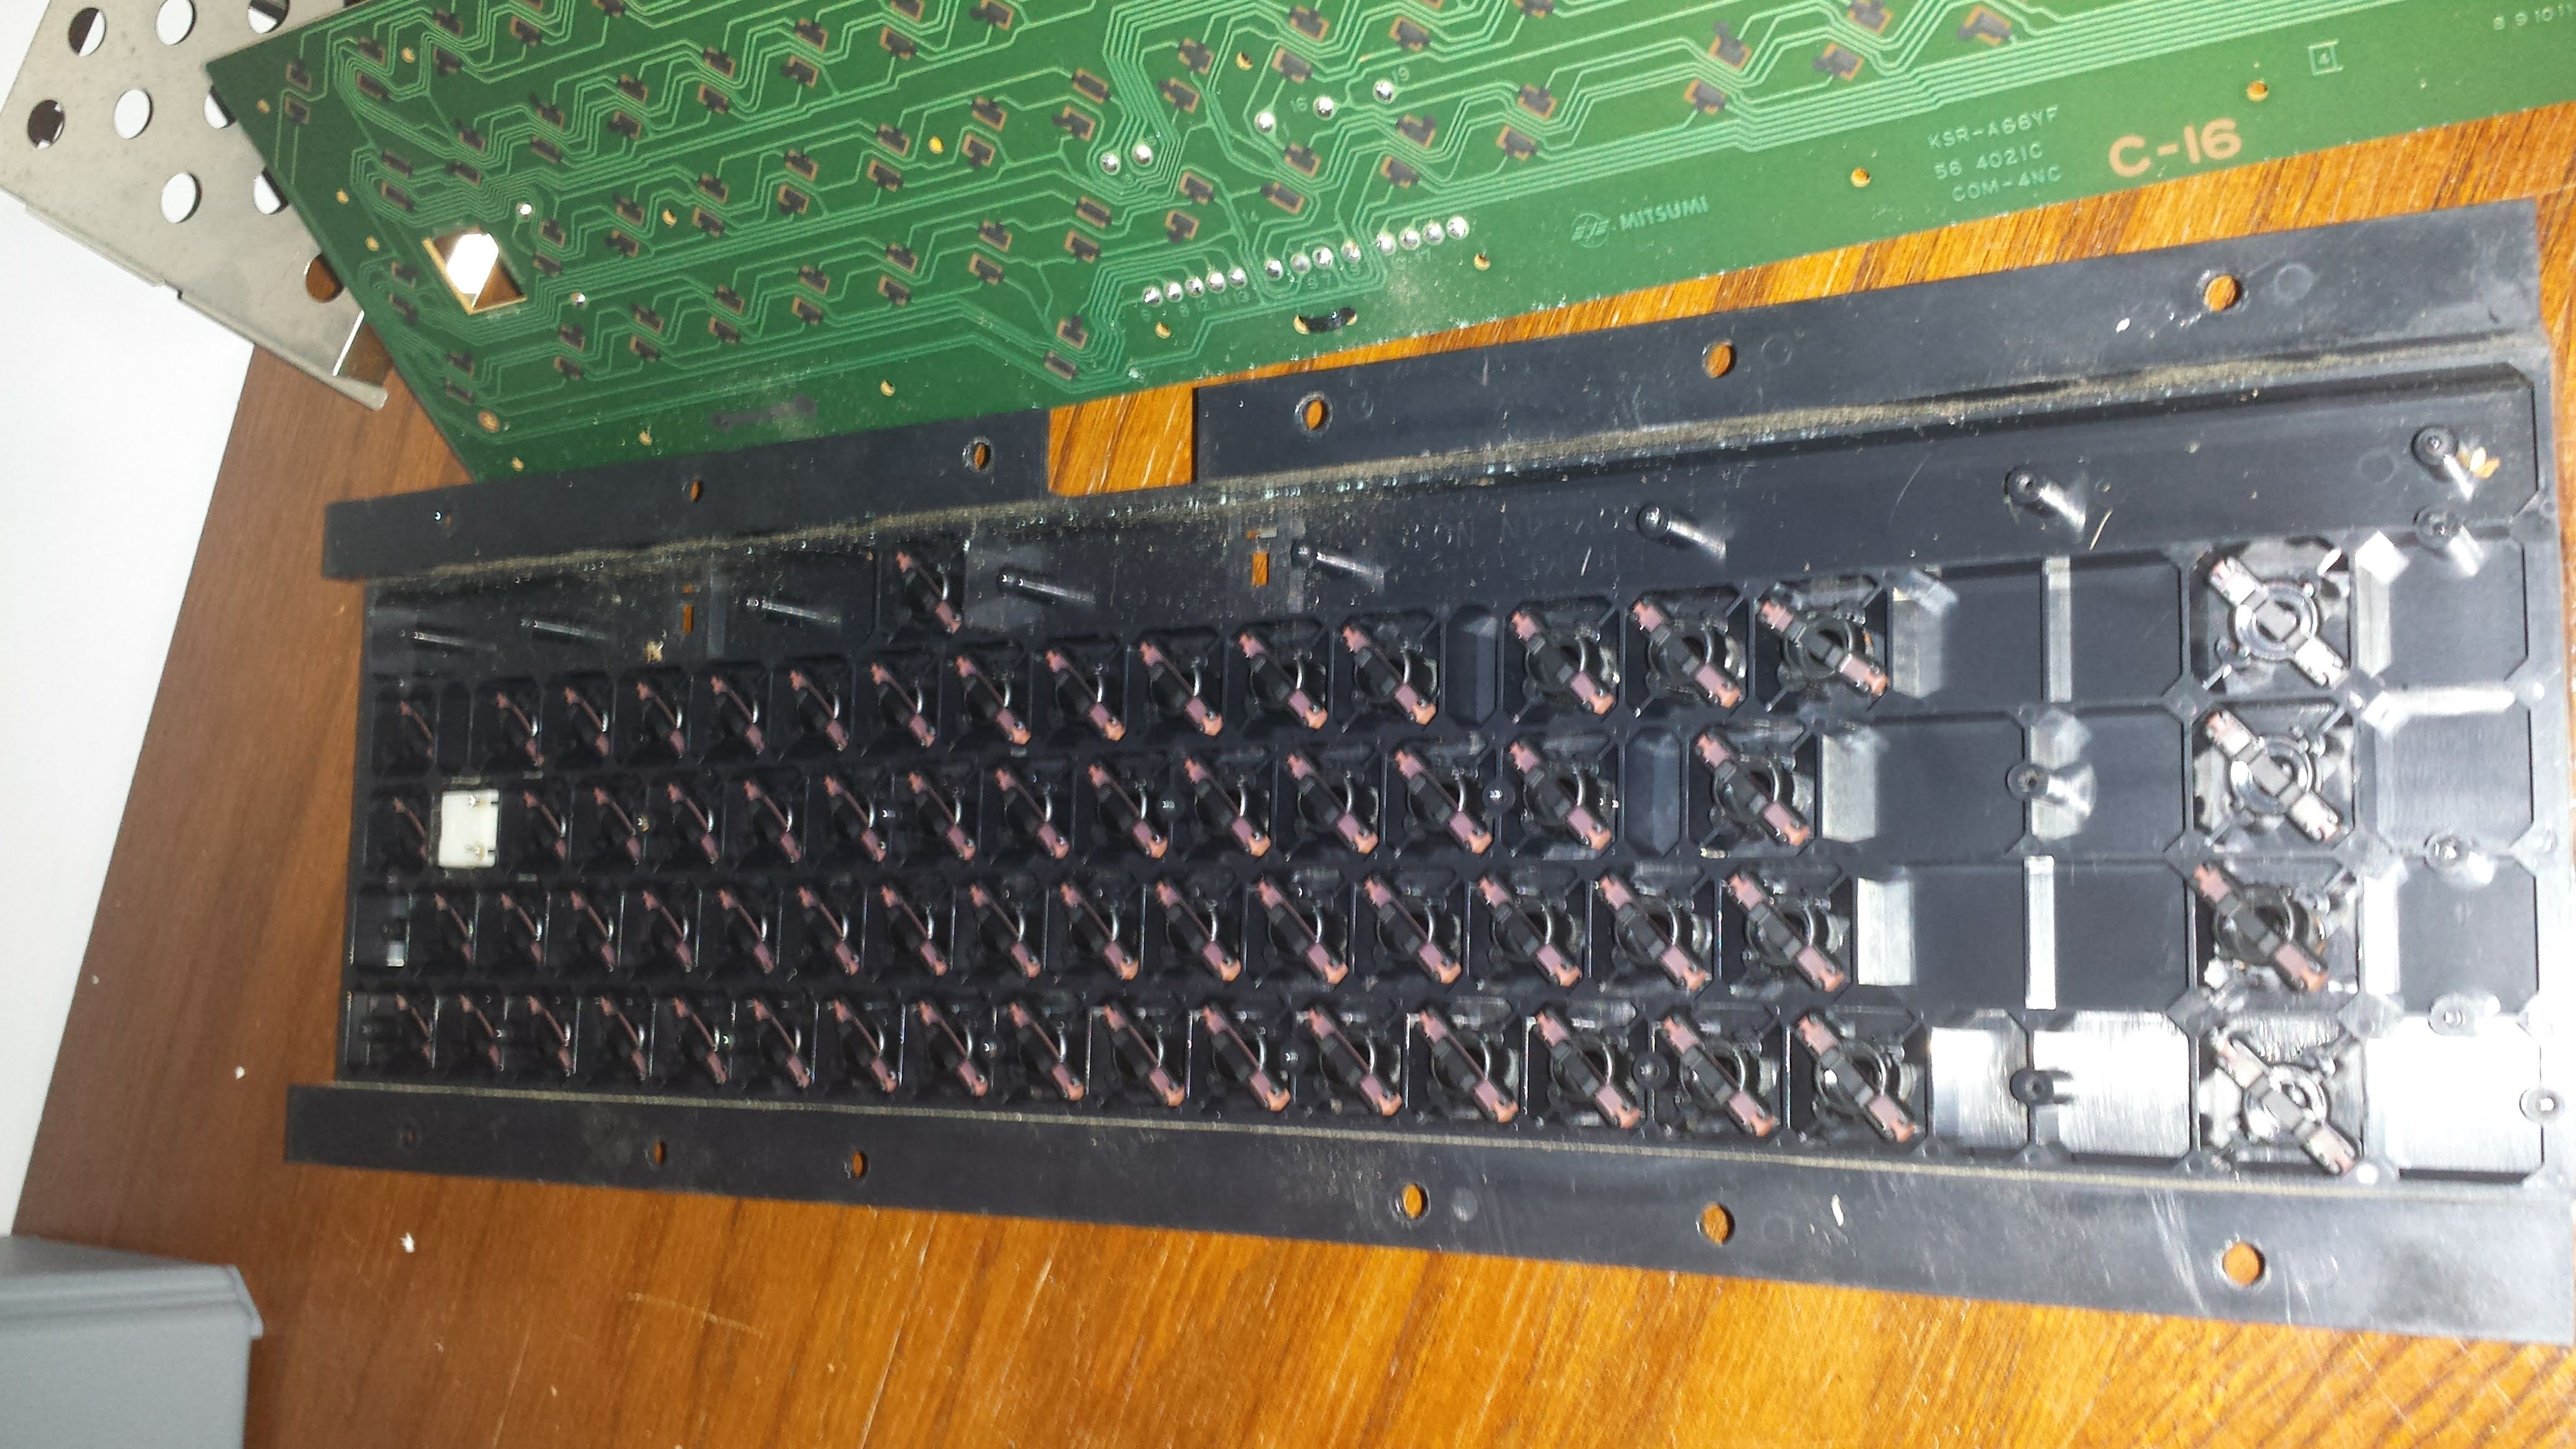 Now to spay some contact cleaner onto a soft clean rag and wipe down the circuit board and all the contacts. 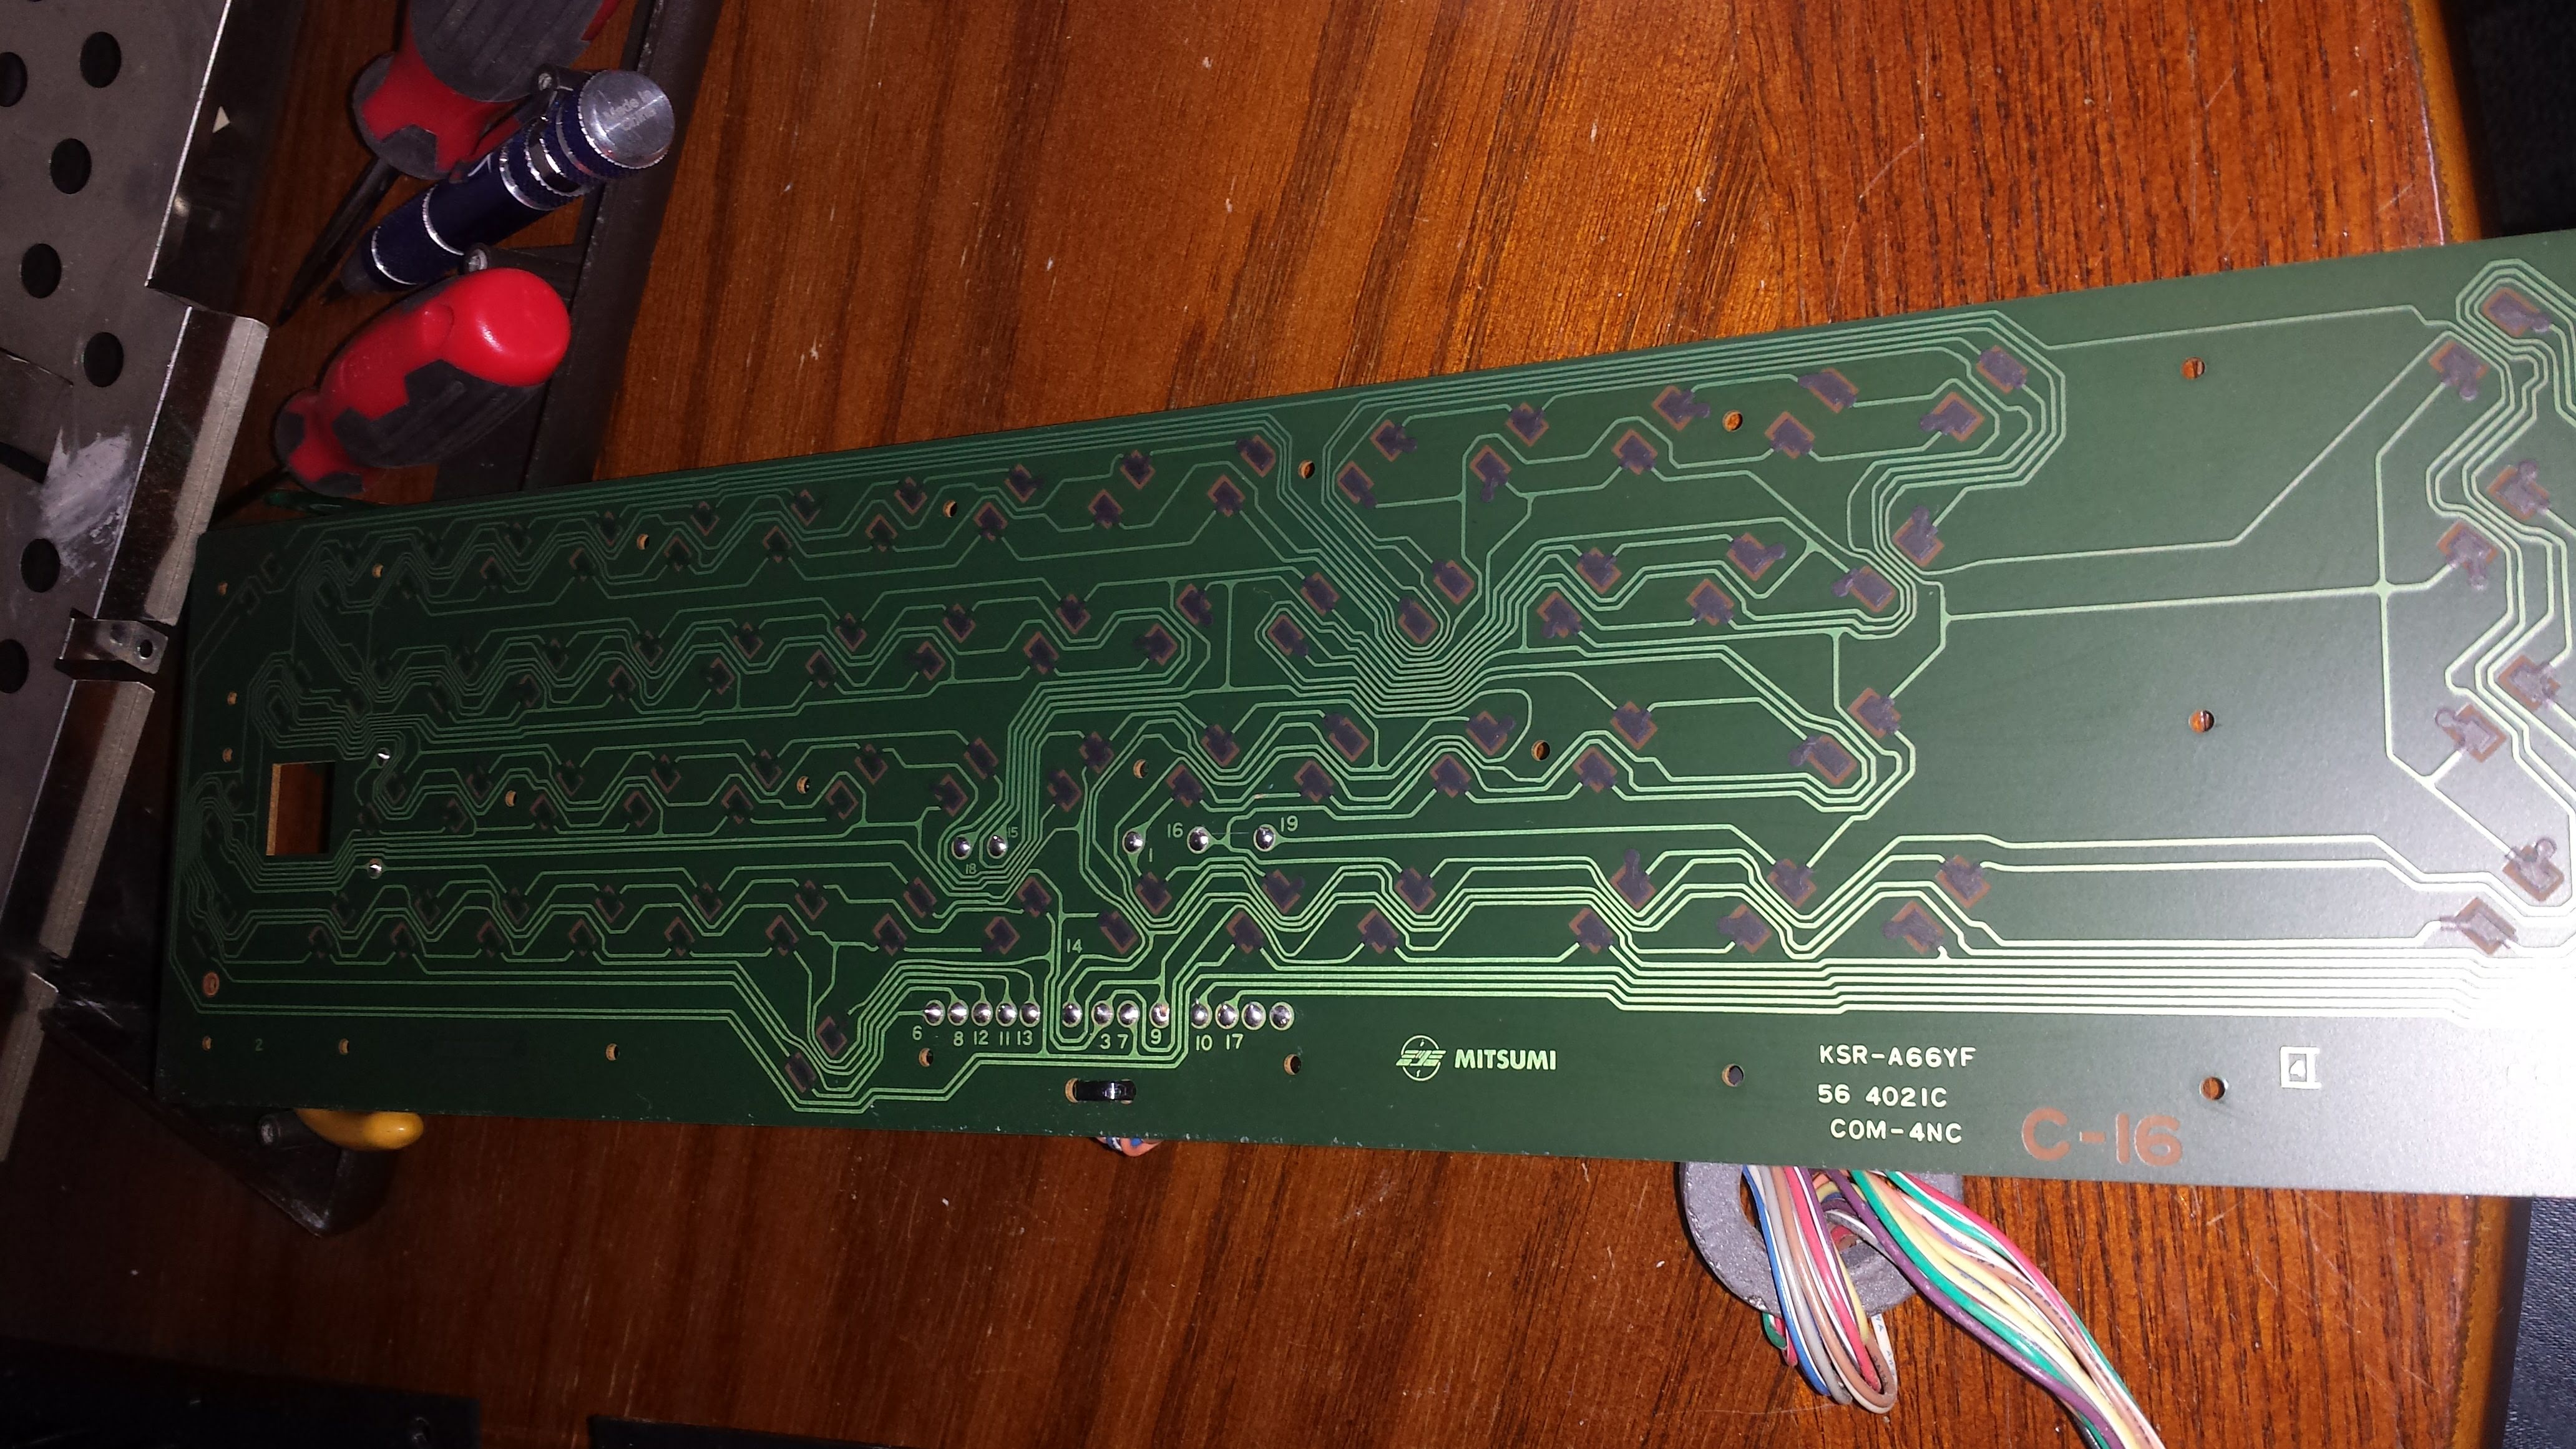 Then give all the plungers a spray of contact cleaner and set them and circuit board off to the side. 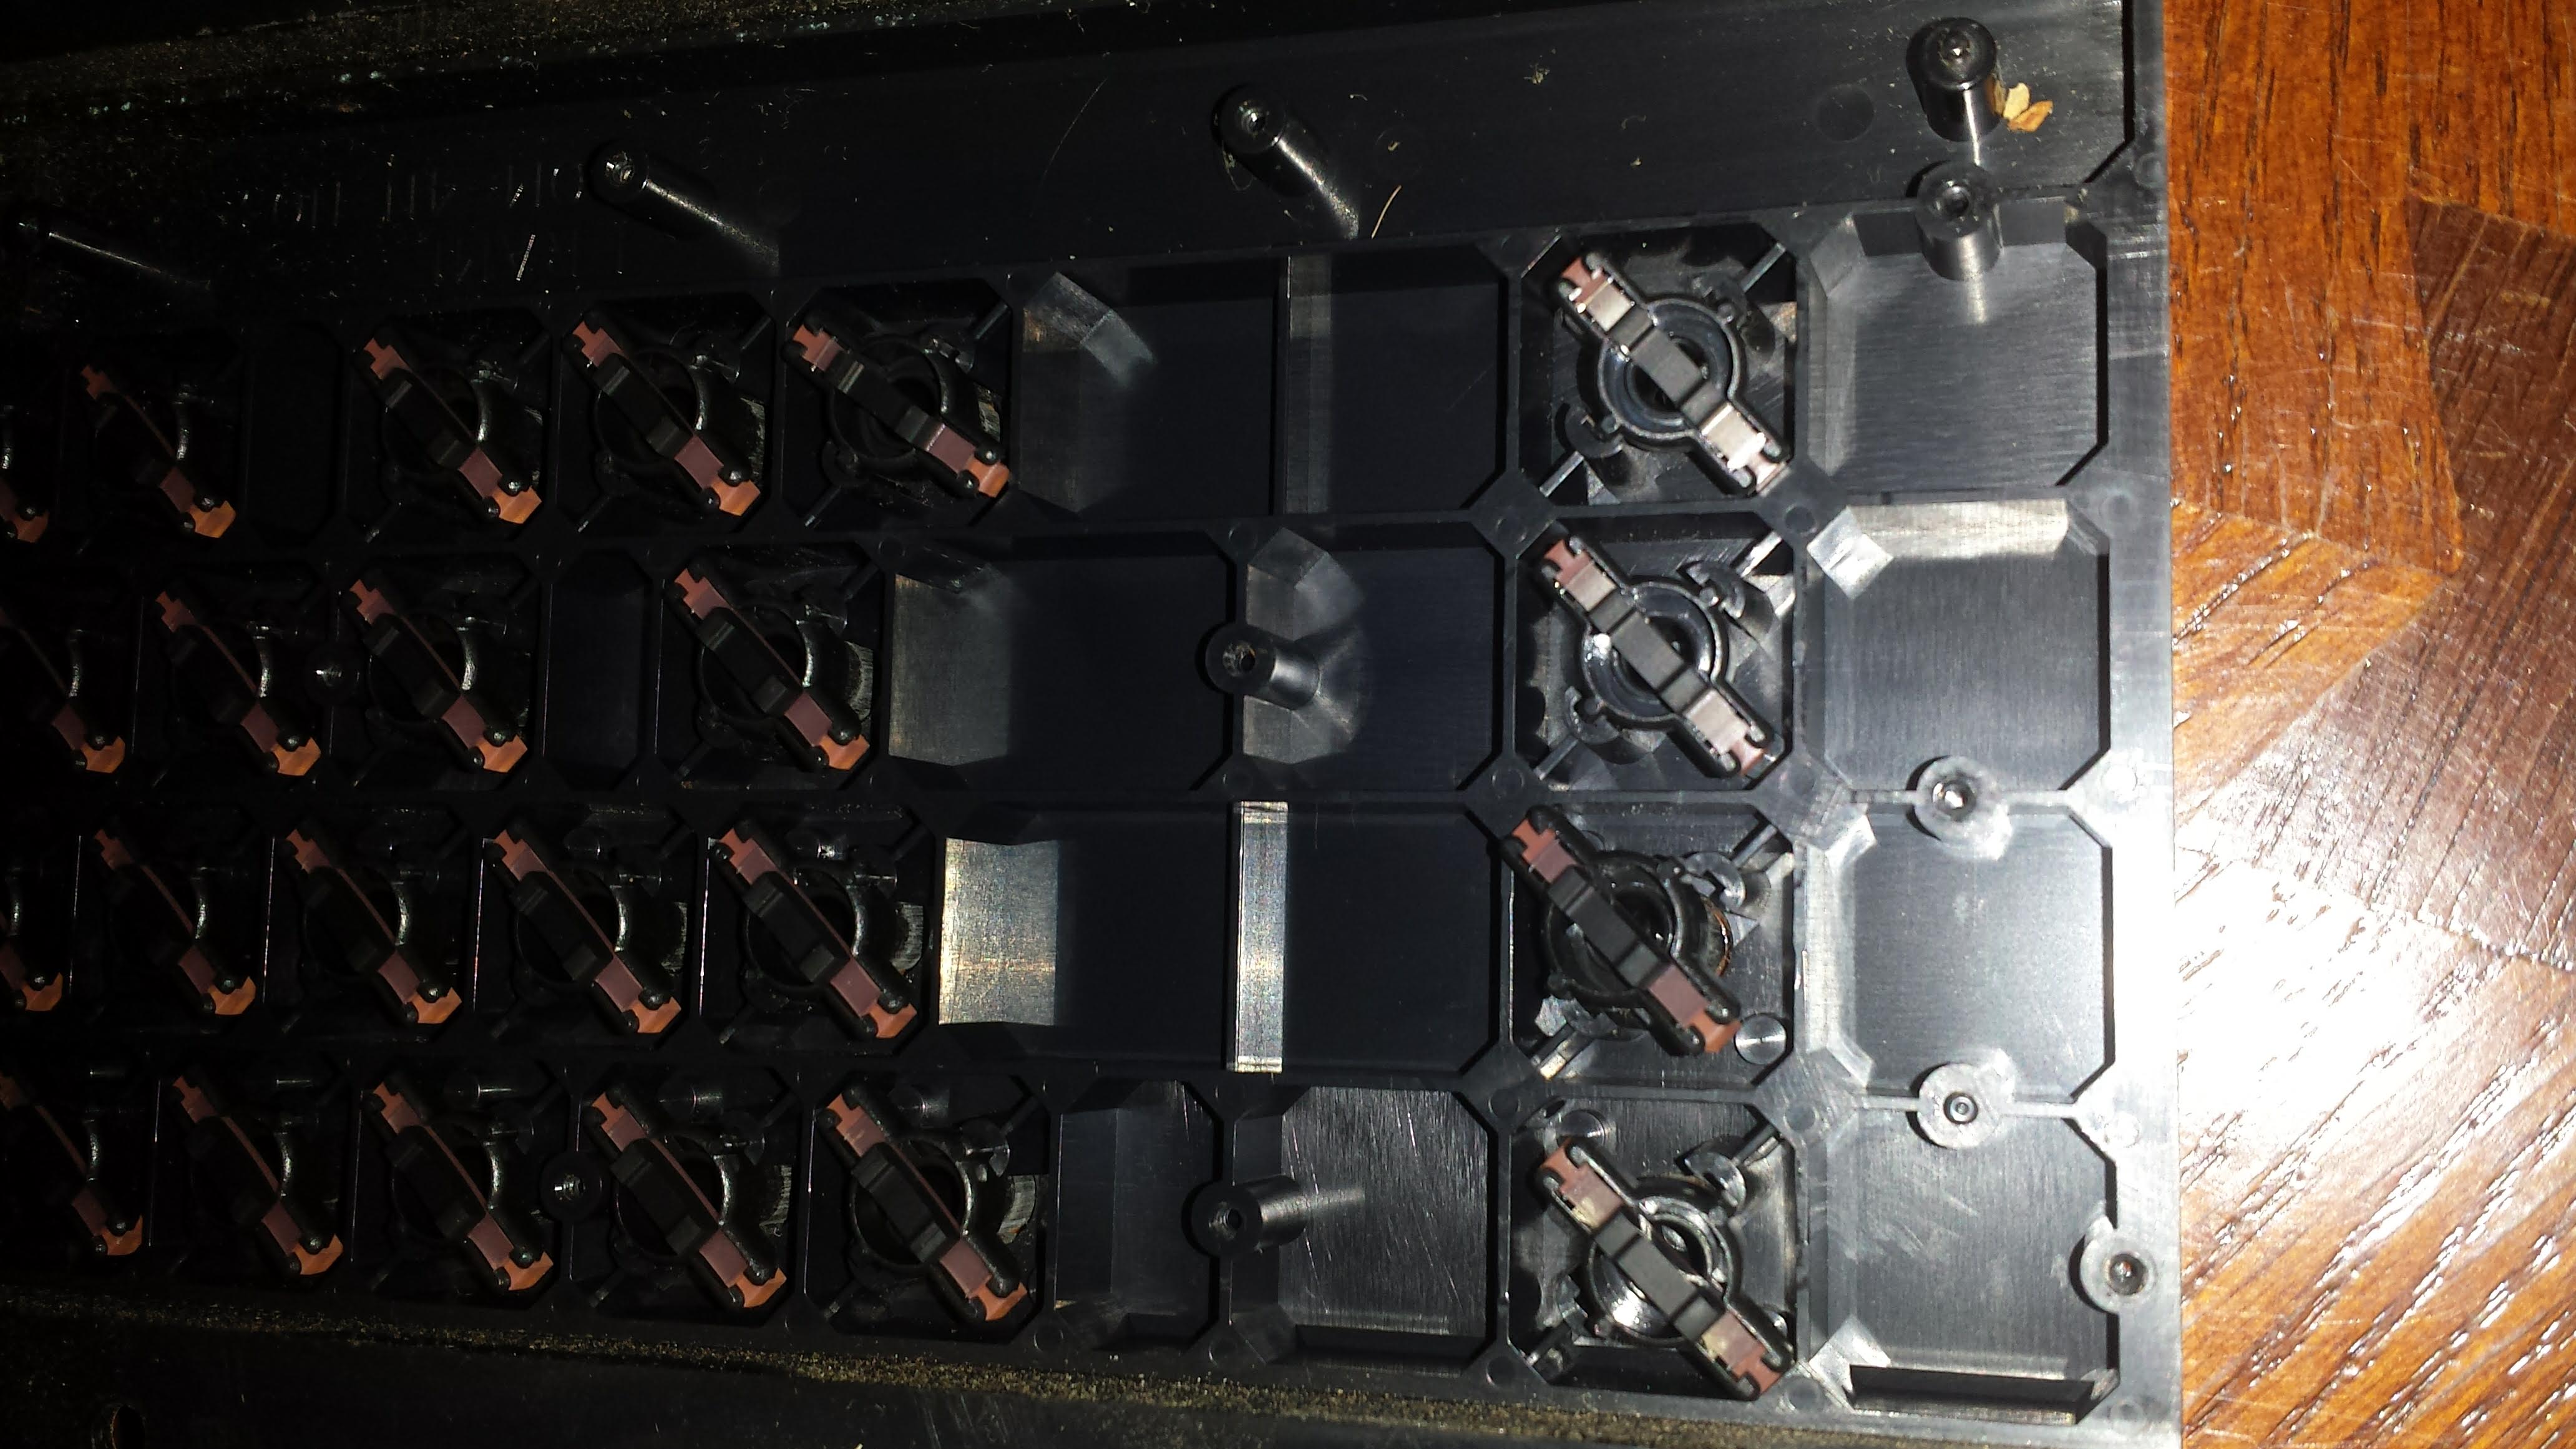 Now for the keycaps. Set them out on a towel and give them a spray with a strong cleanser, I use Fantastic or Spray 9, and give them all a good wipe off. 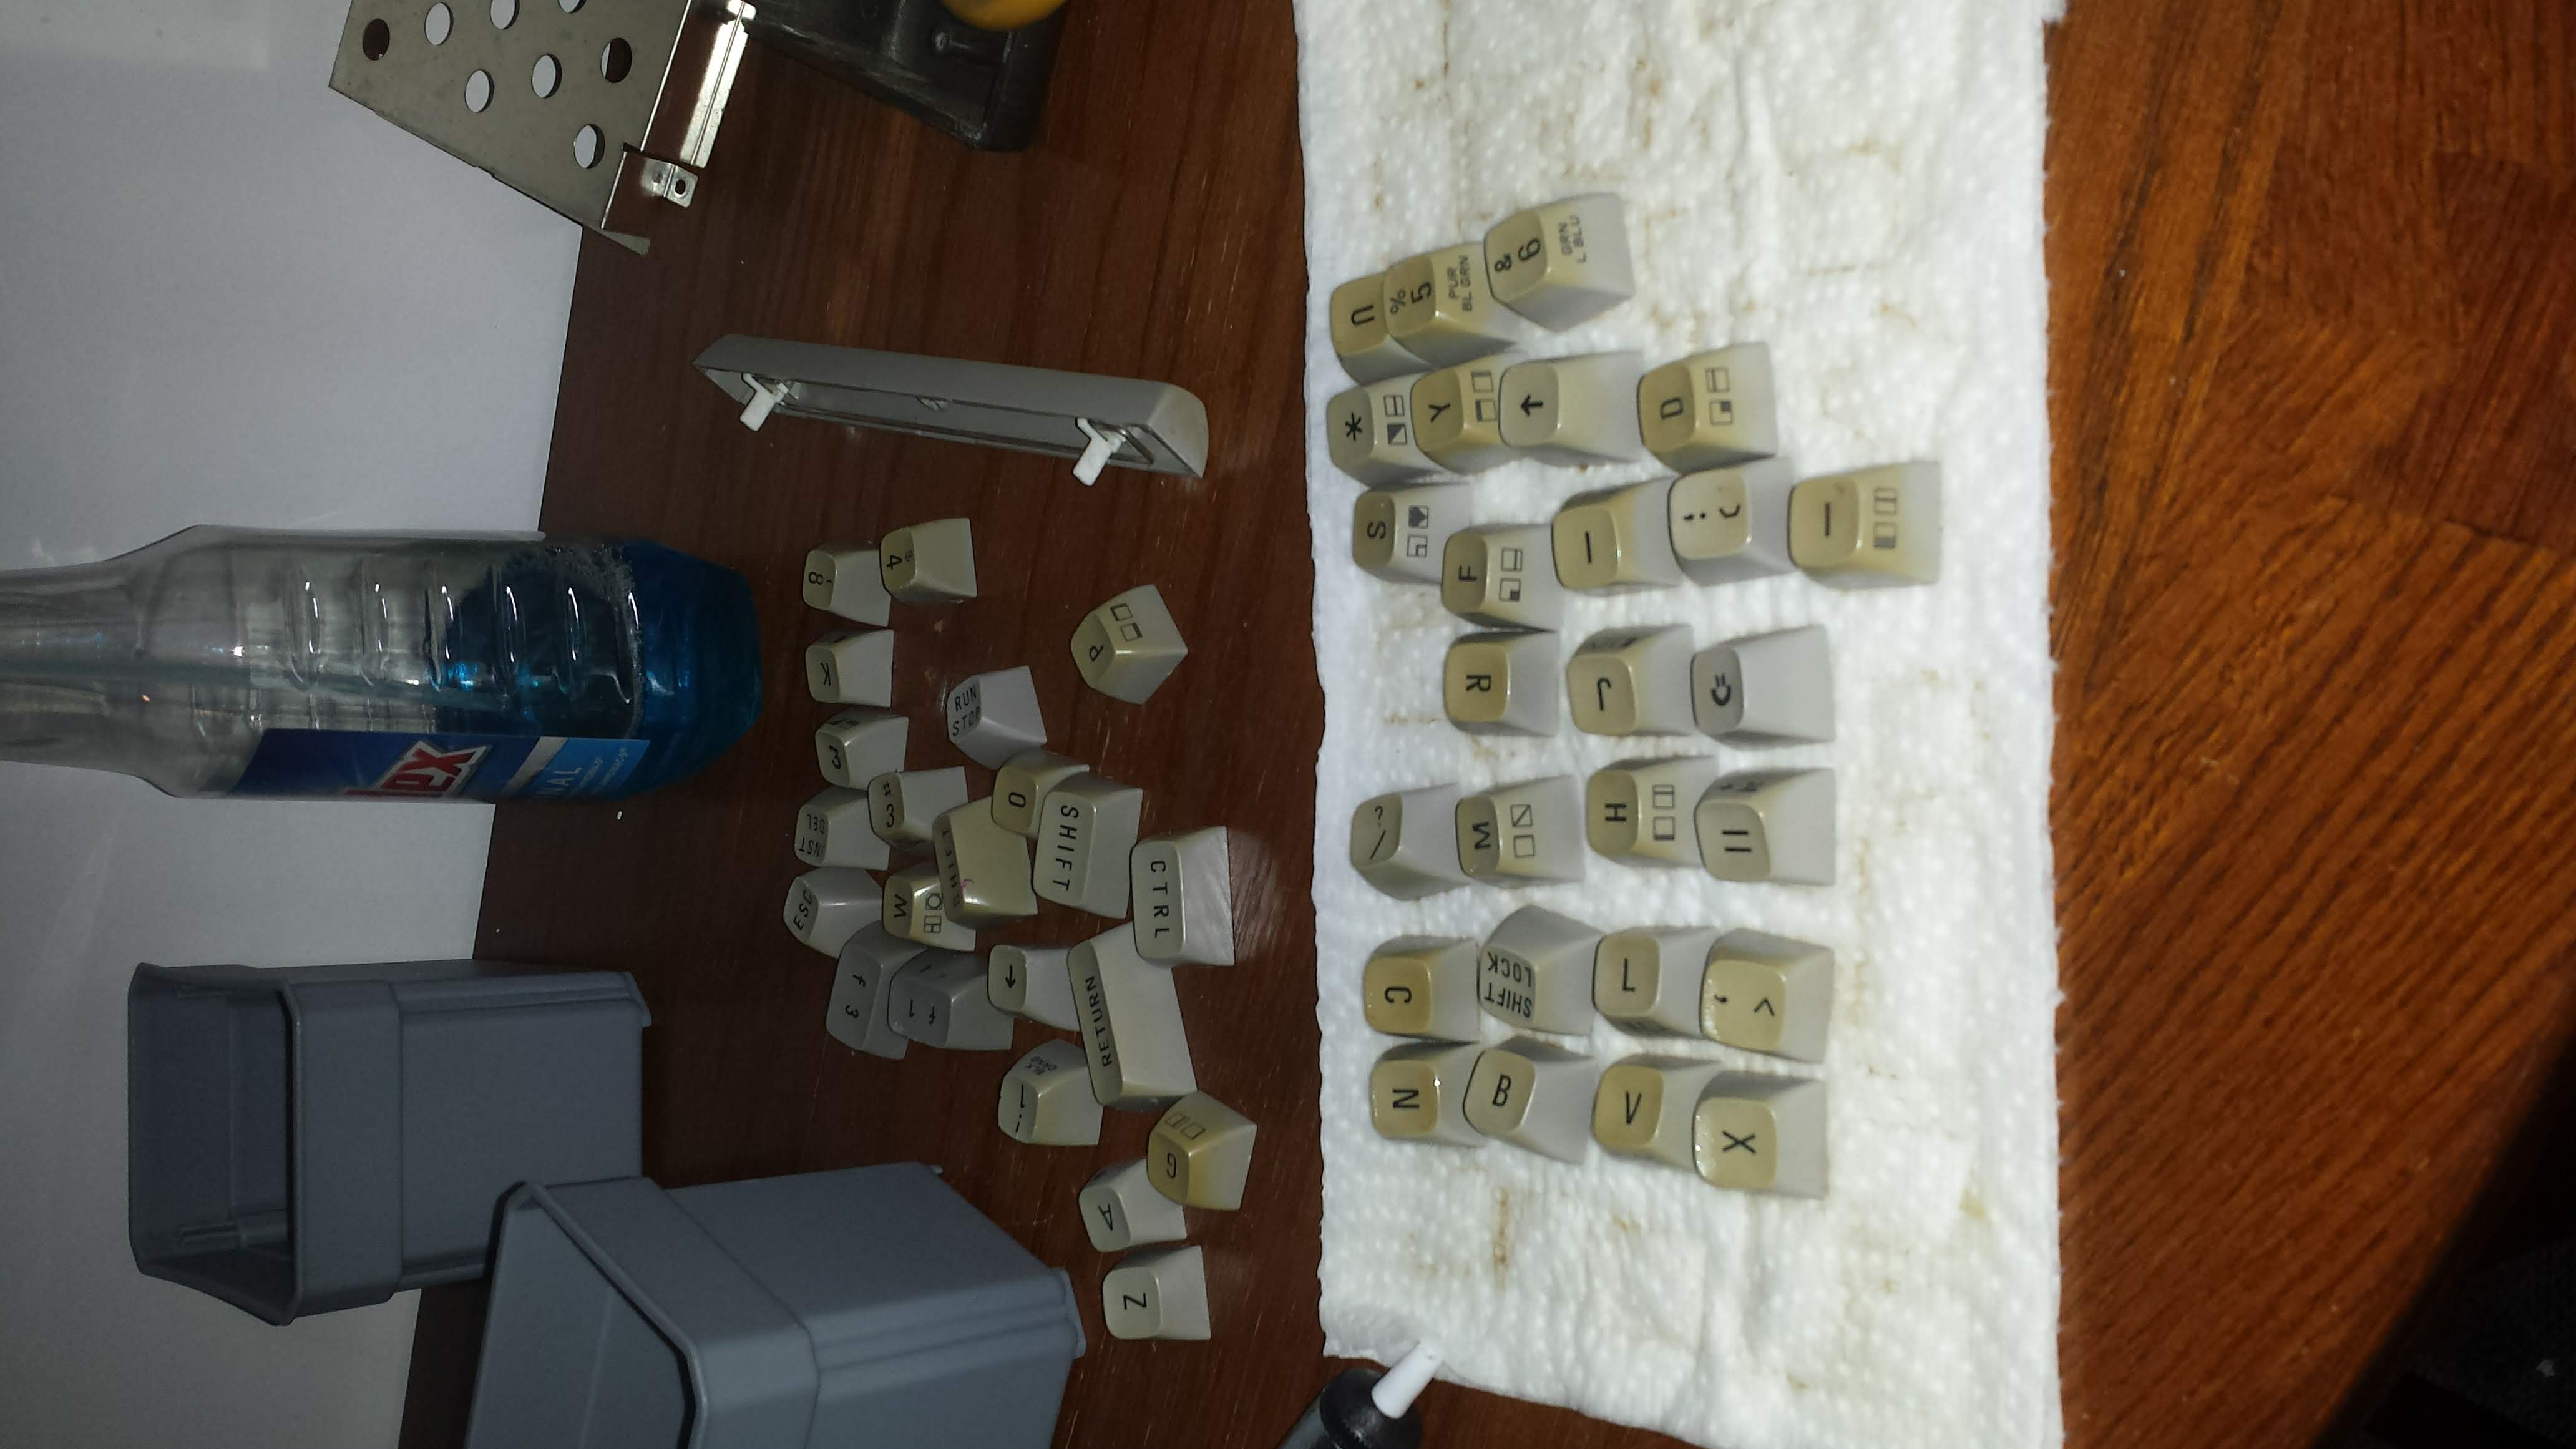 Still lots of yellowing on some of the keys, so I'll give them a little retrobrite session later. Now the plungers and circuit board are nice dry, time to reassemble. 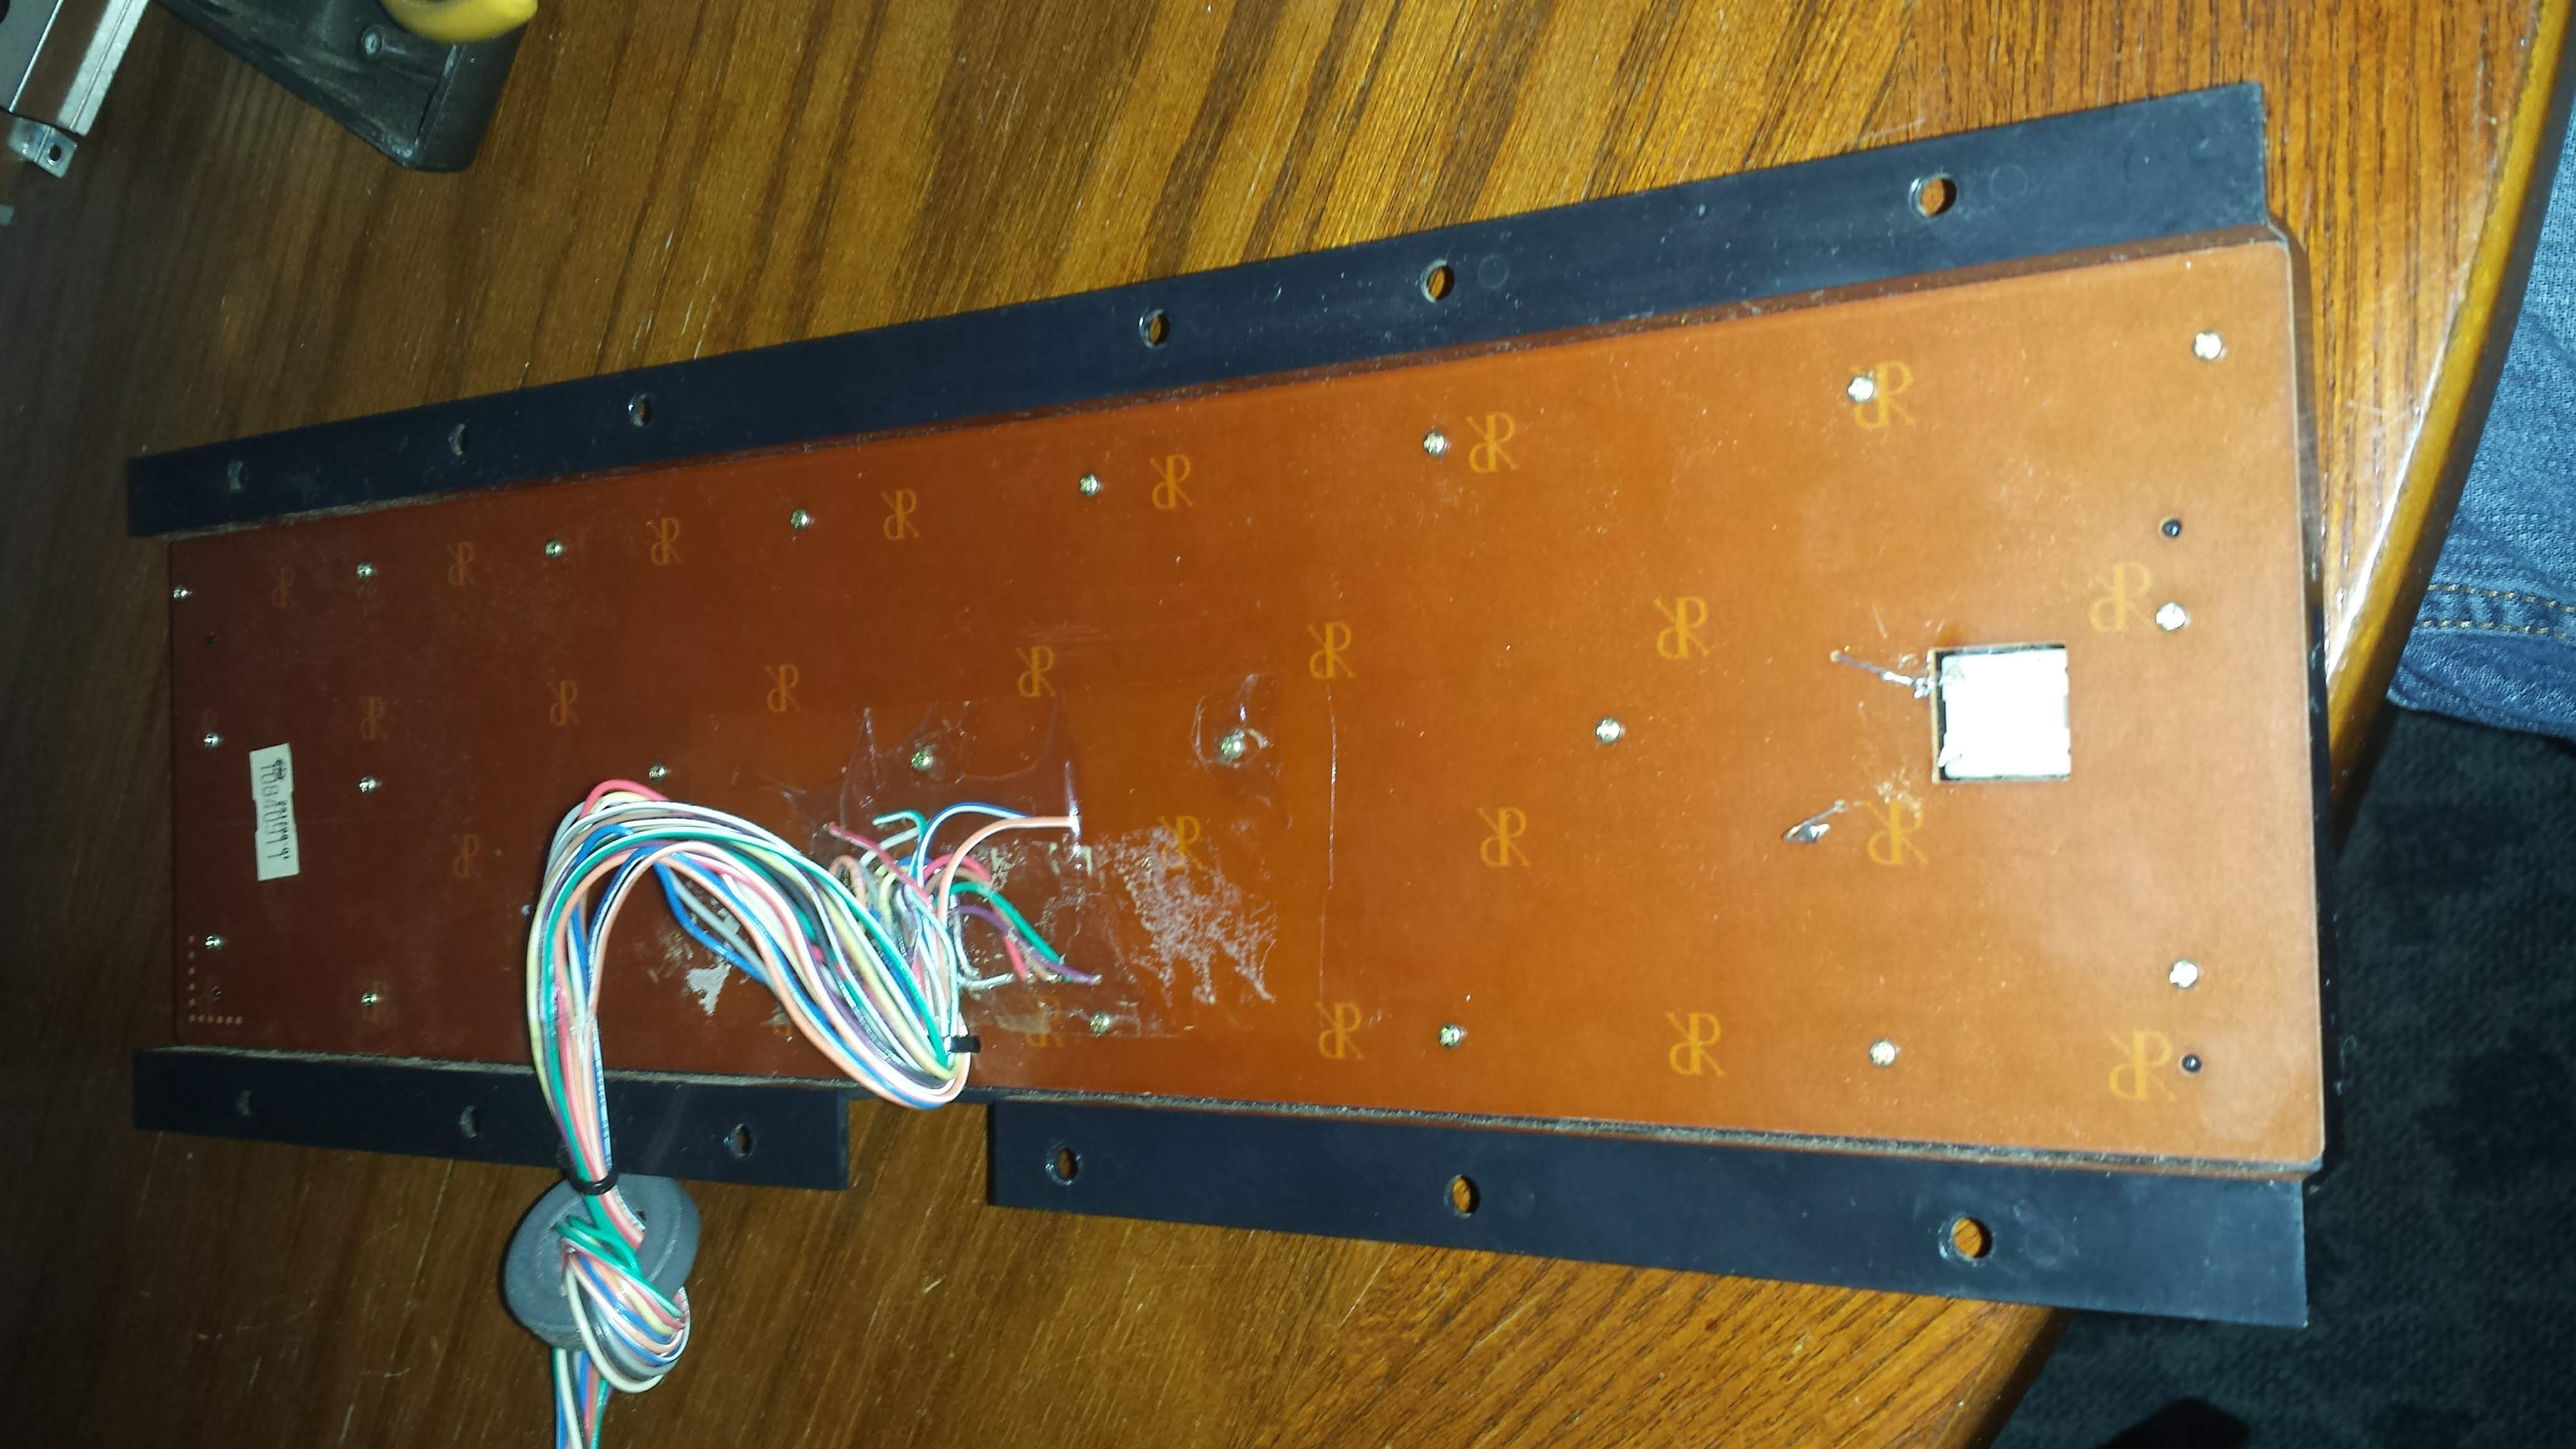 And resolder the shift lock switch. 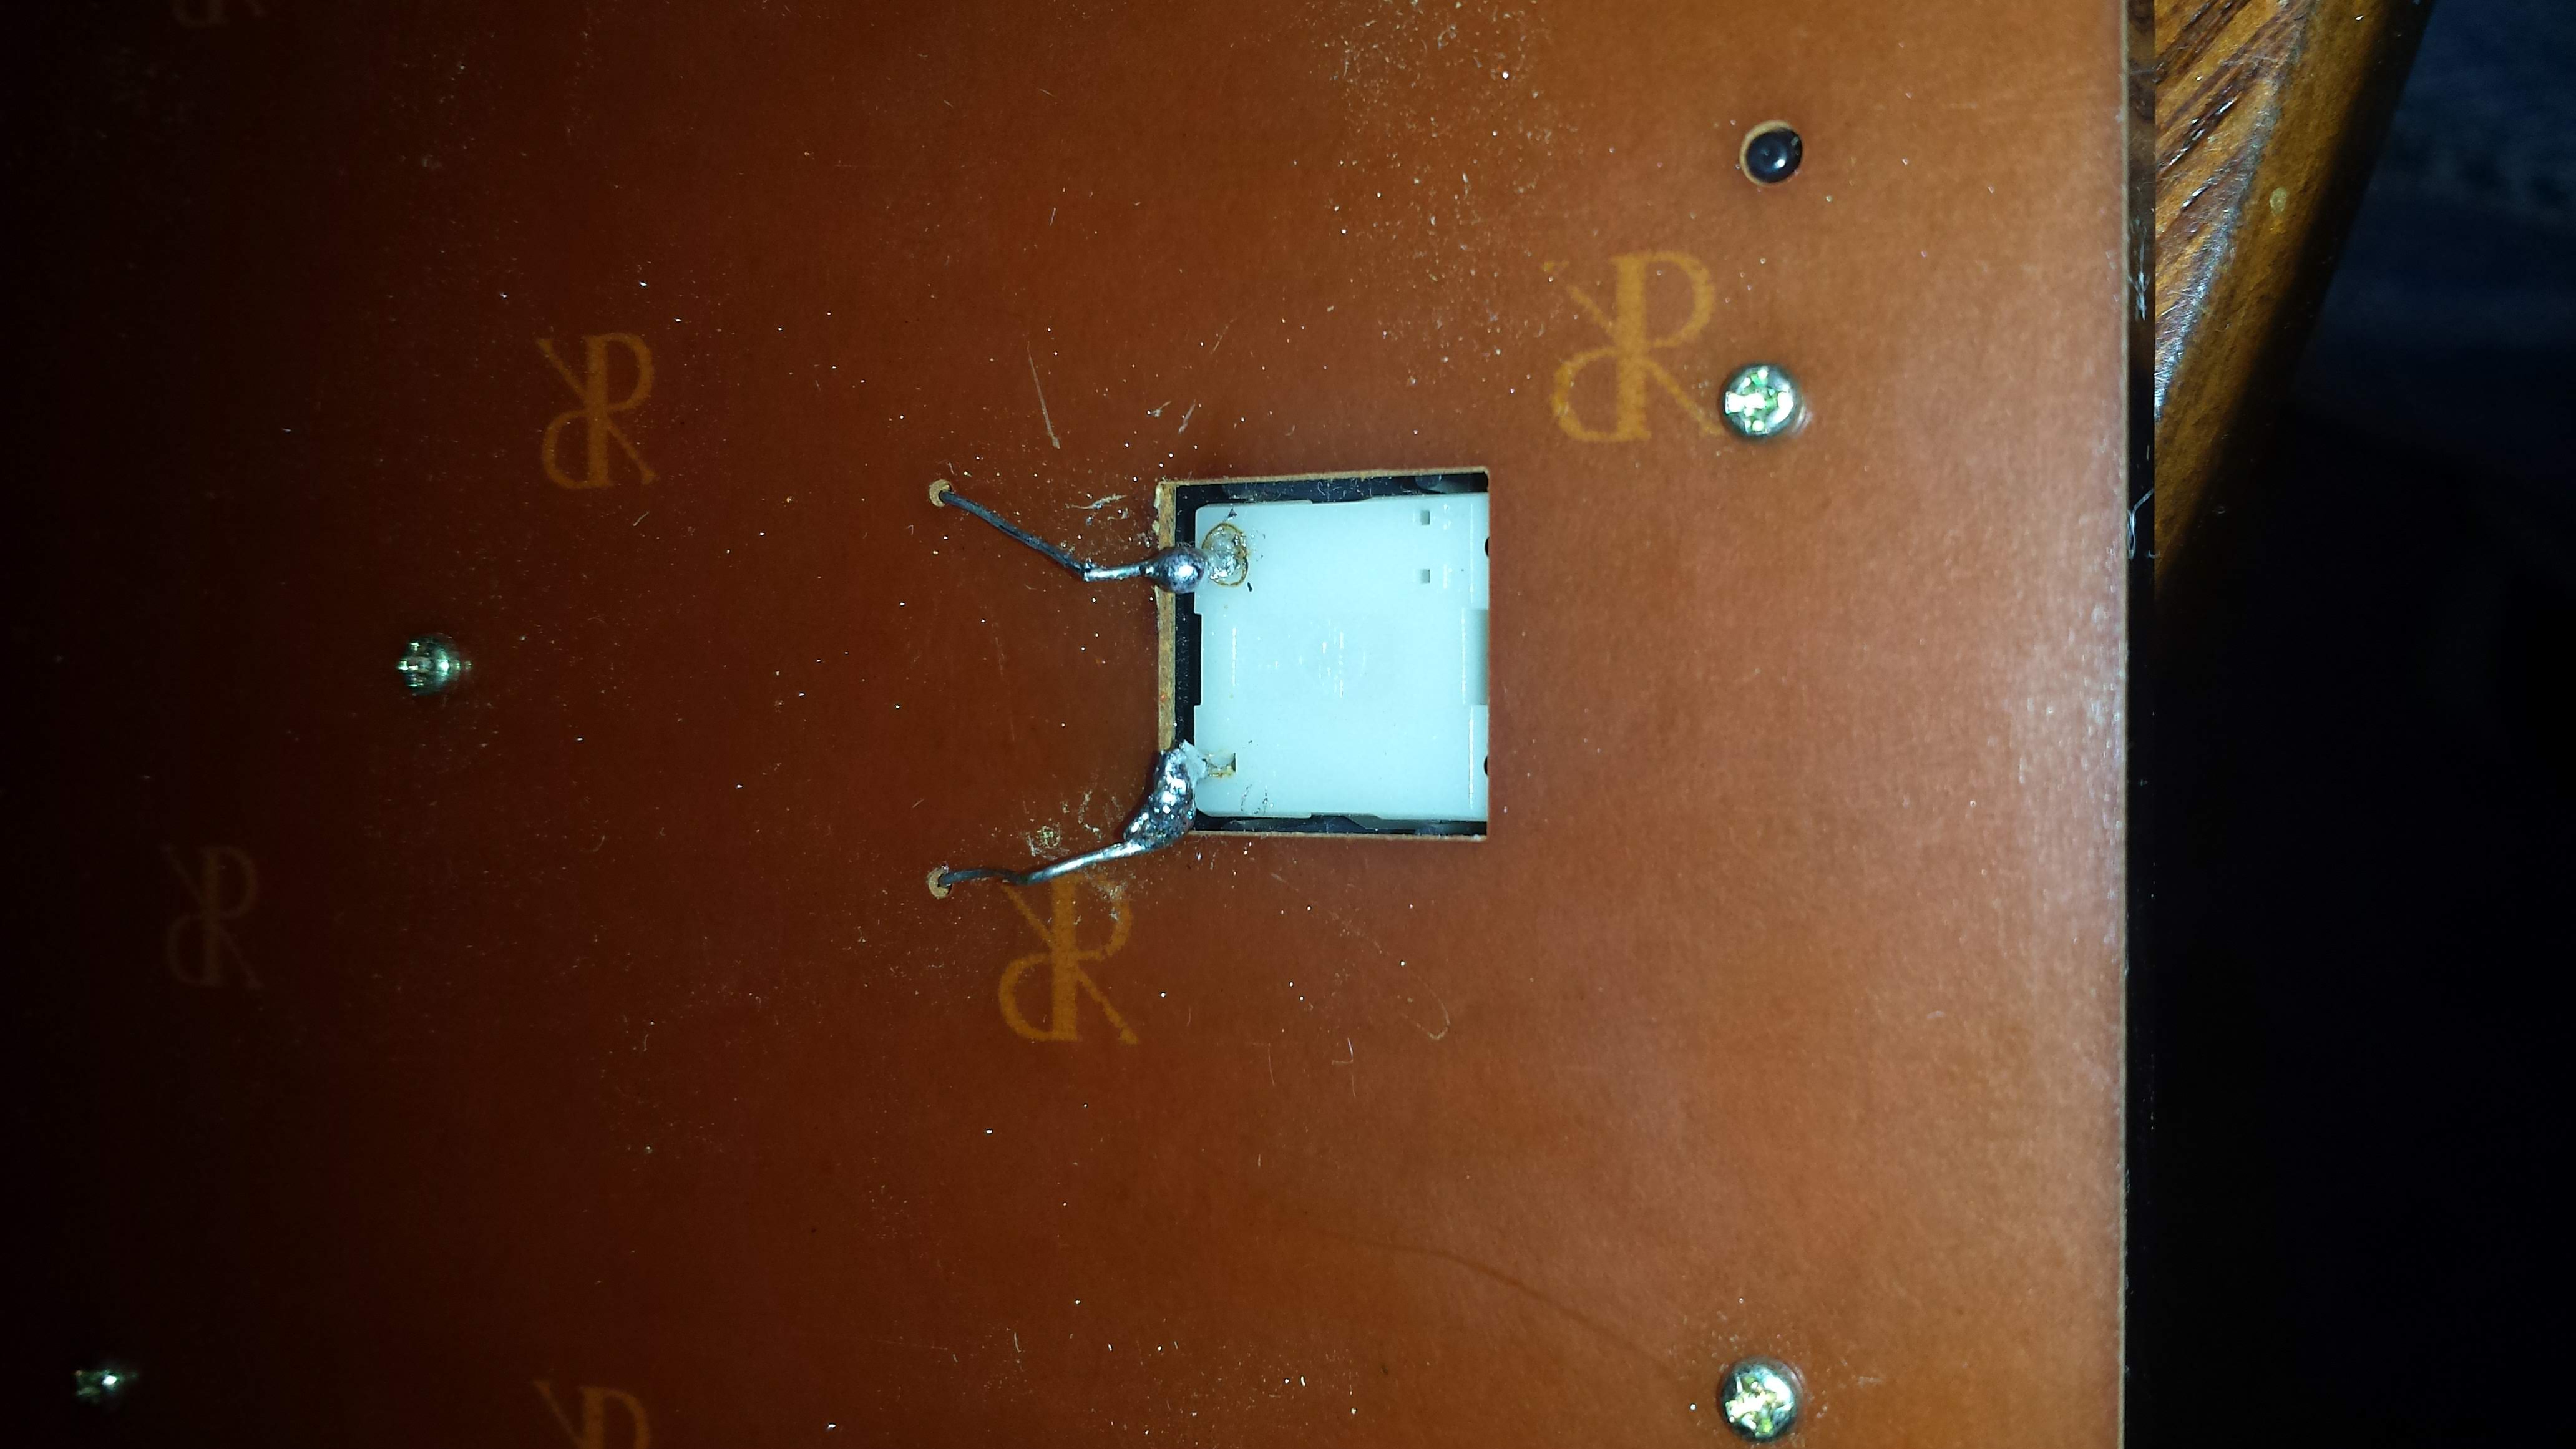 Then a good wipe down. 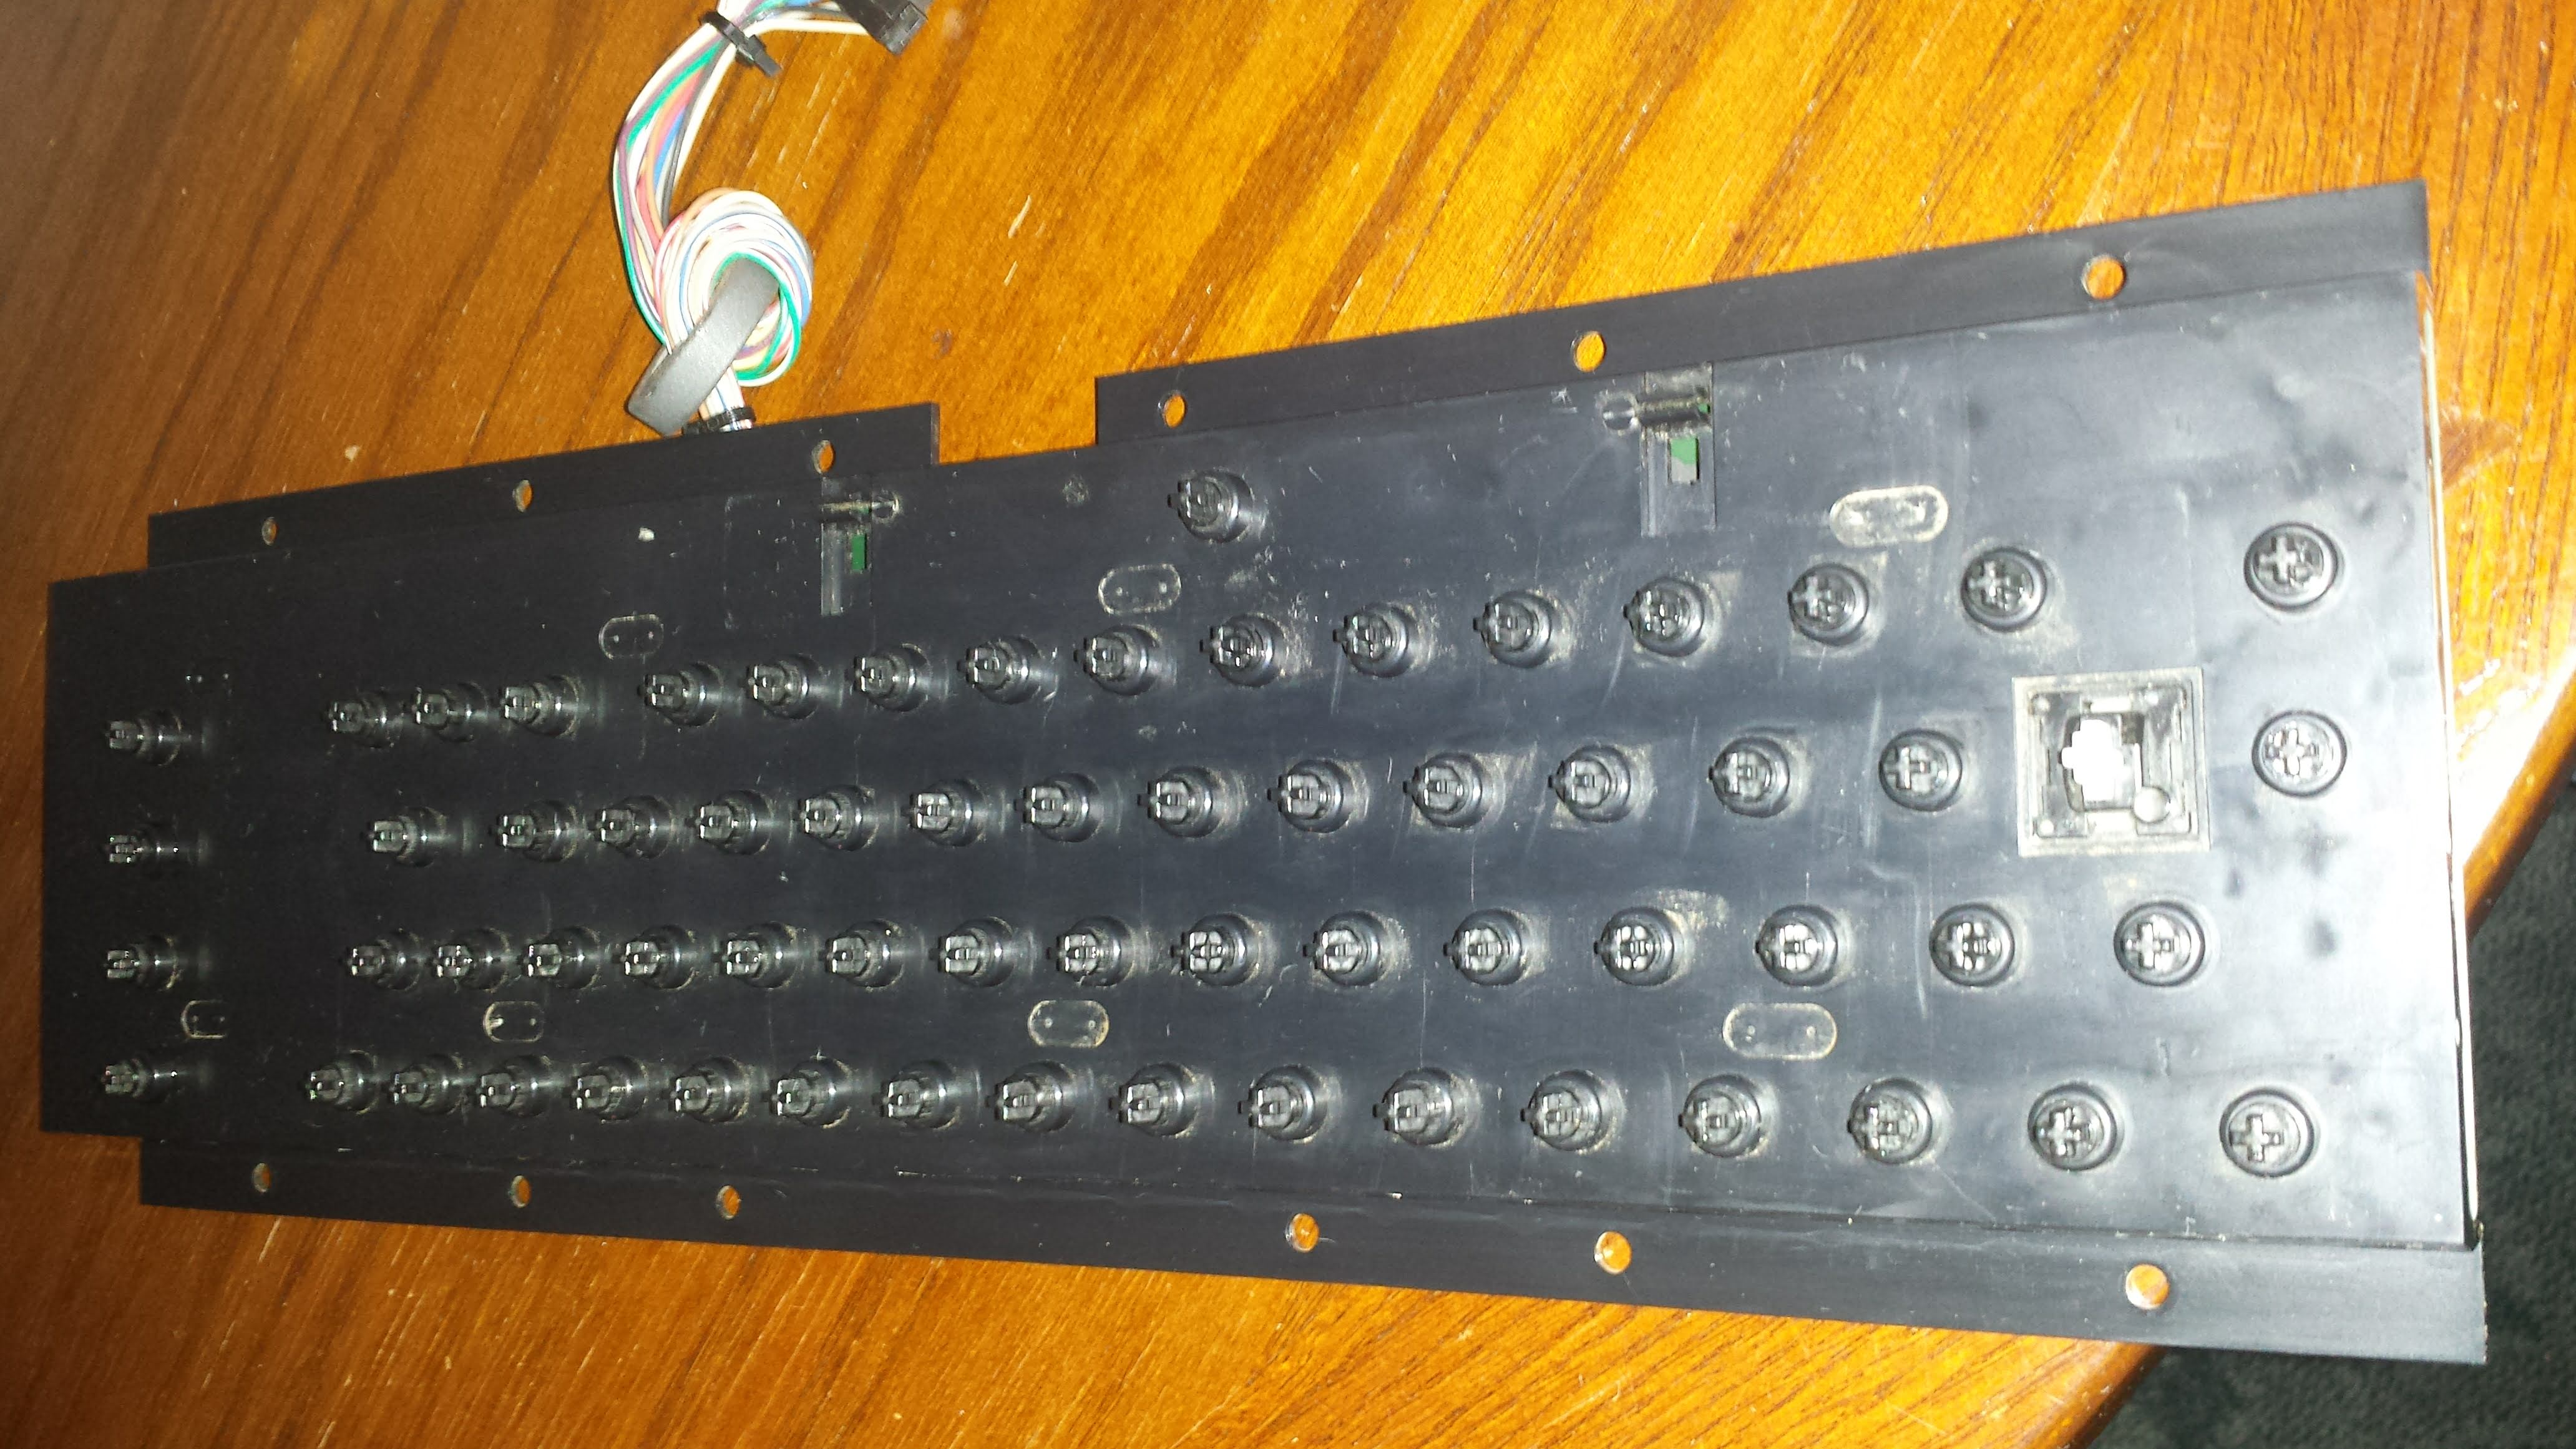 That looks much better ! Now to find a spring and maybe tomorrow a little more work on the keycaps. That's enough for tonight. |
|
|
|
Post by Blaine on Jan 27, 2019 19:33:50 GMT -7
Time to get those keycaps looking better. Some hydrogen peroxide and some bright lights and hopefully some of that yellowing will clean up. For anyone wondering why the peroxide and light, Google retrobright. This is a method of removing the yellowing of old plastics making them look new again. 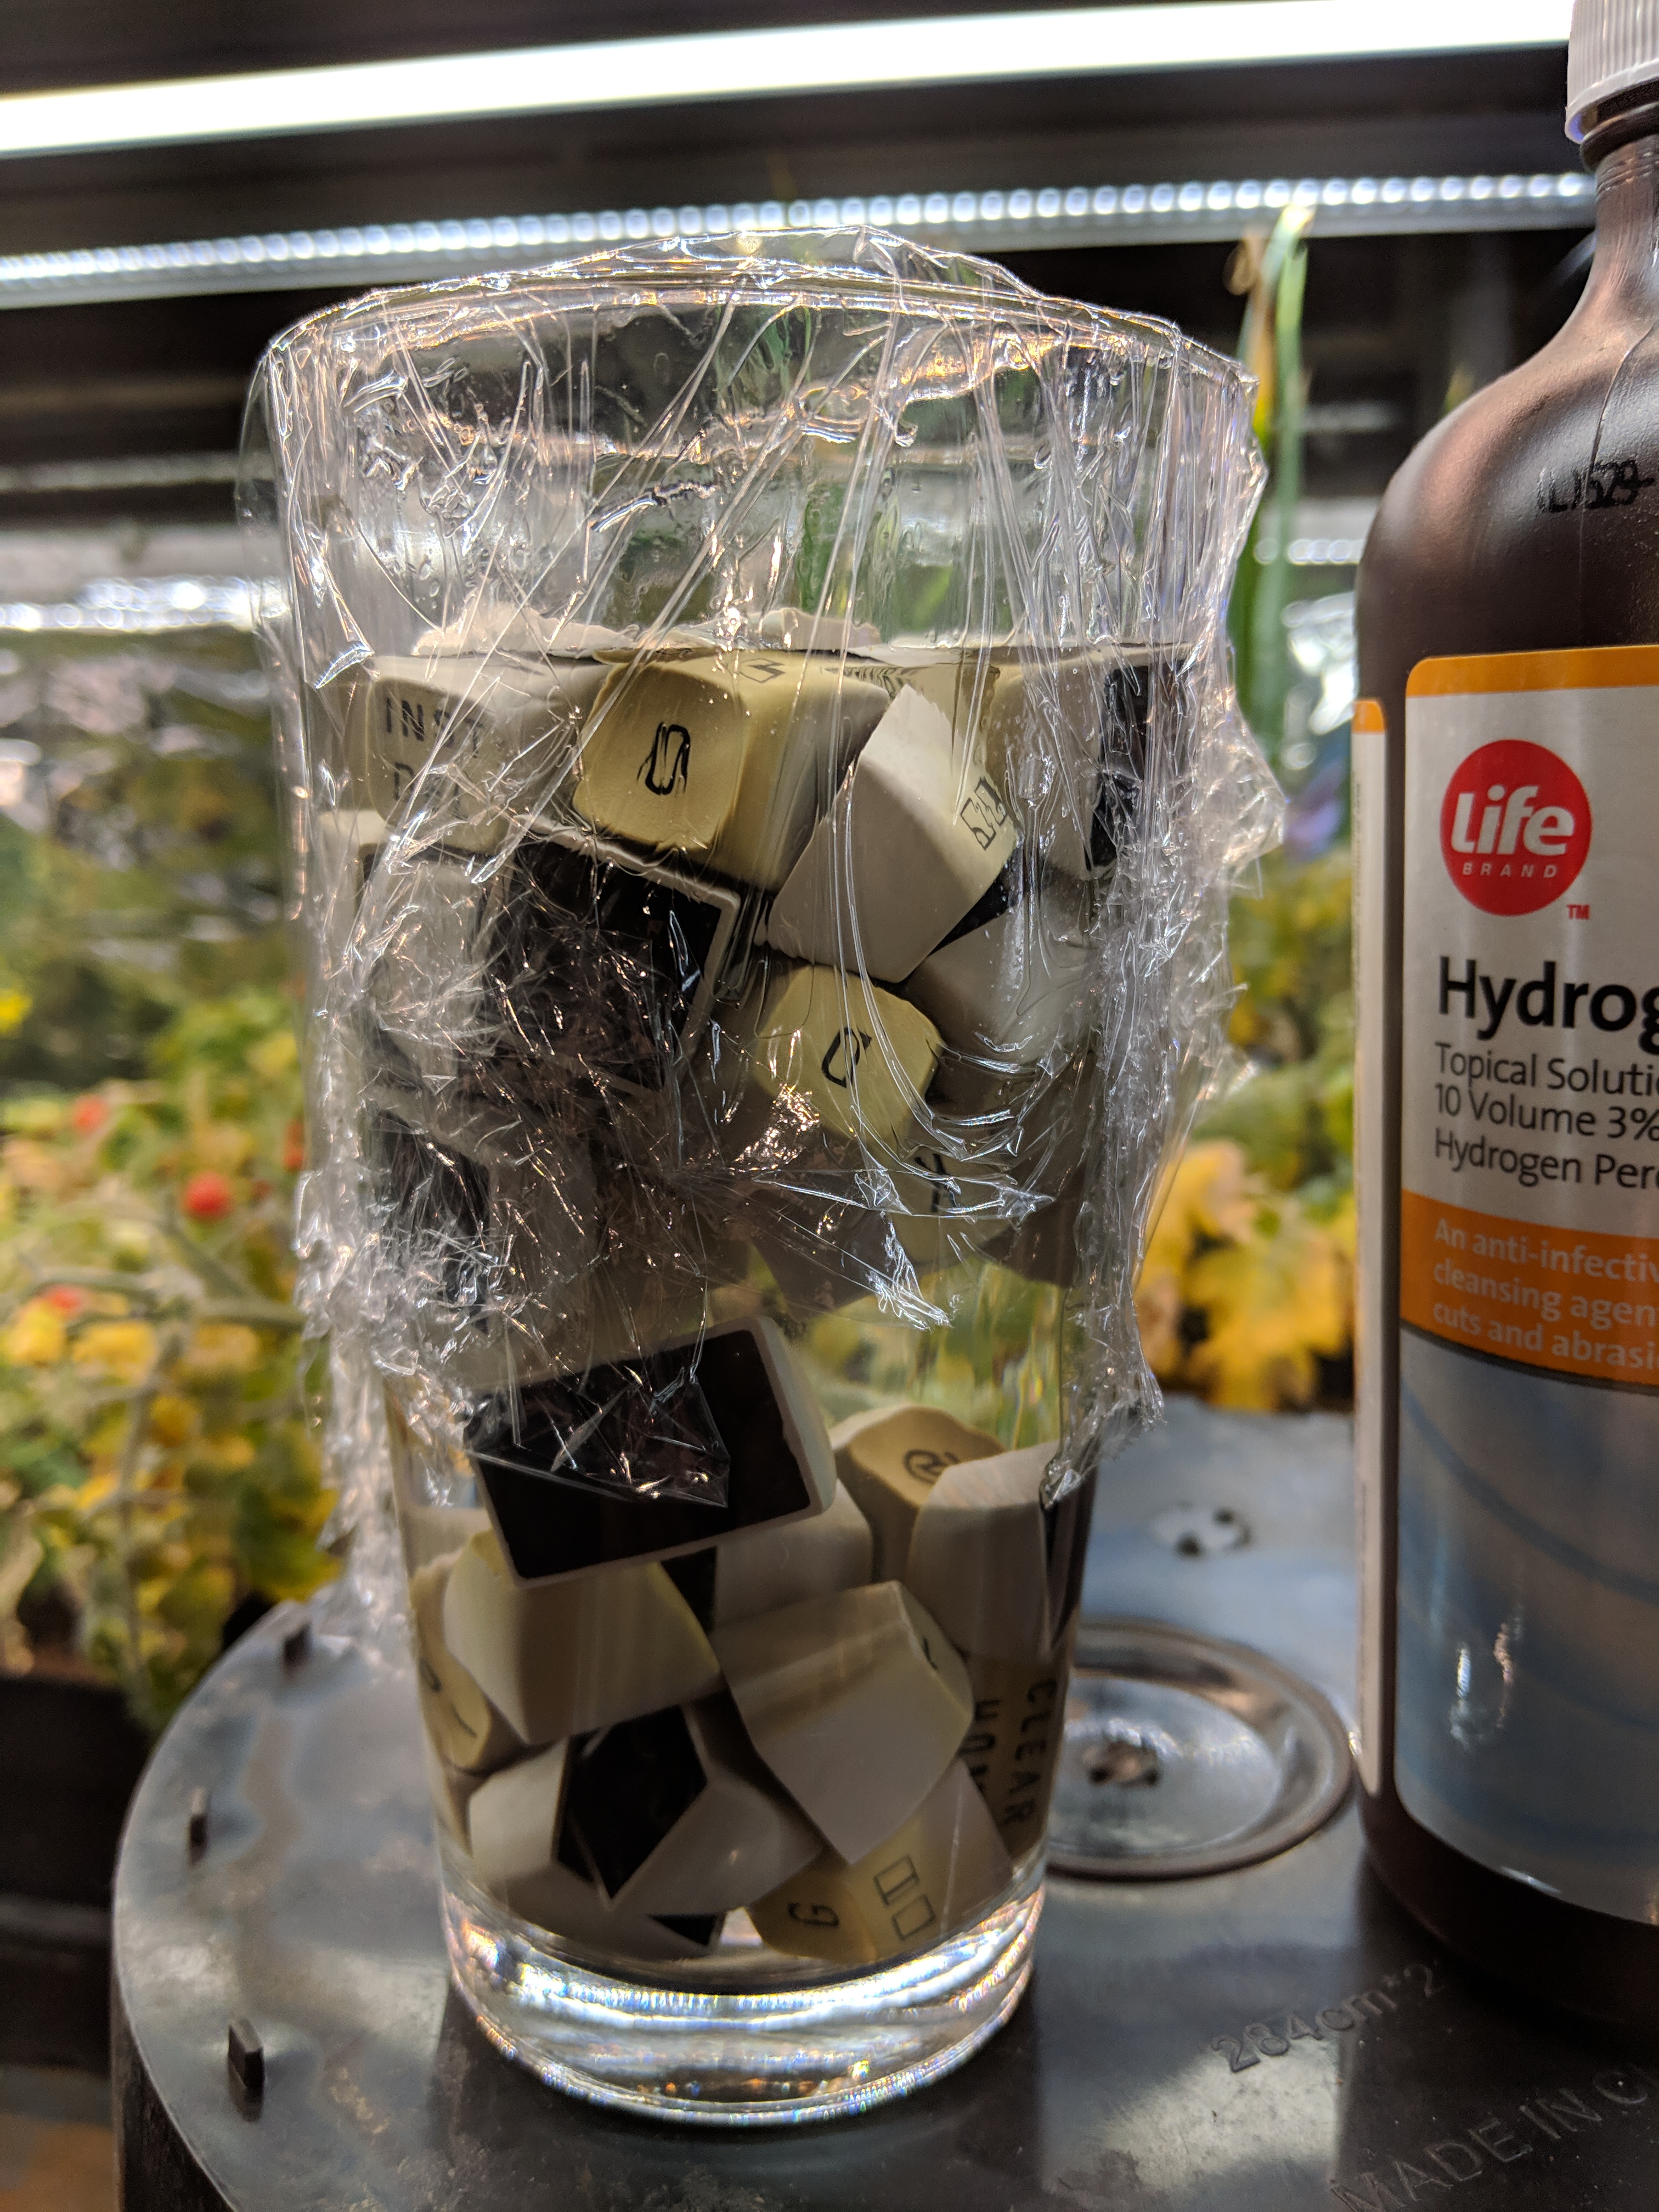 Looks like my grow lights just won't cut it for retrobrighting, so I switched to the heat method and things start to happen. 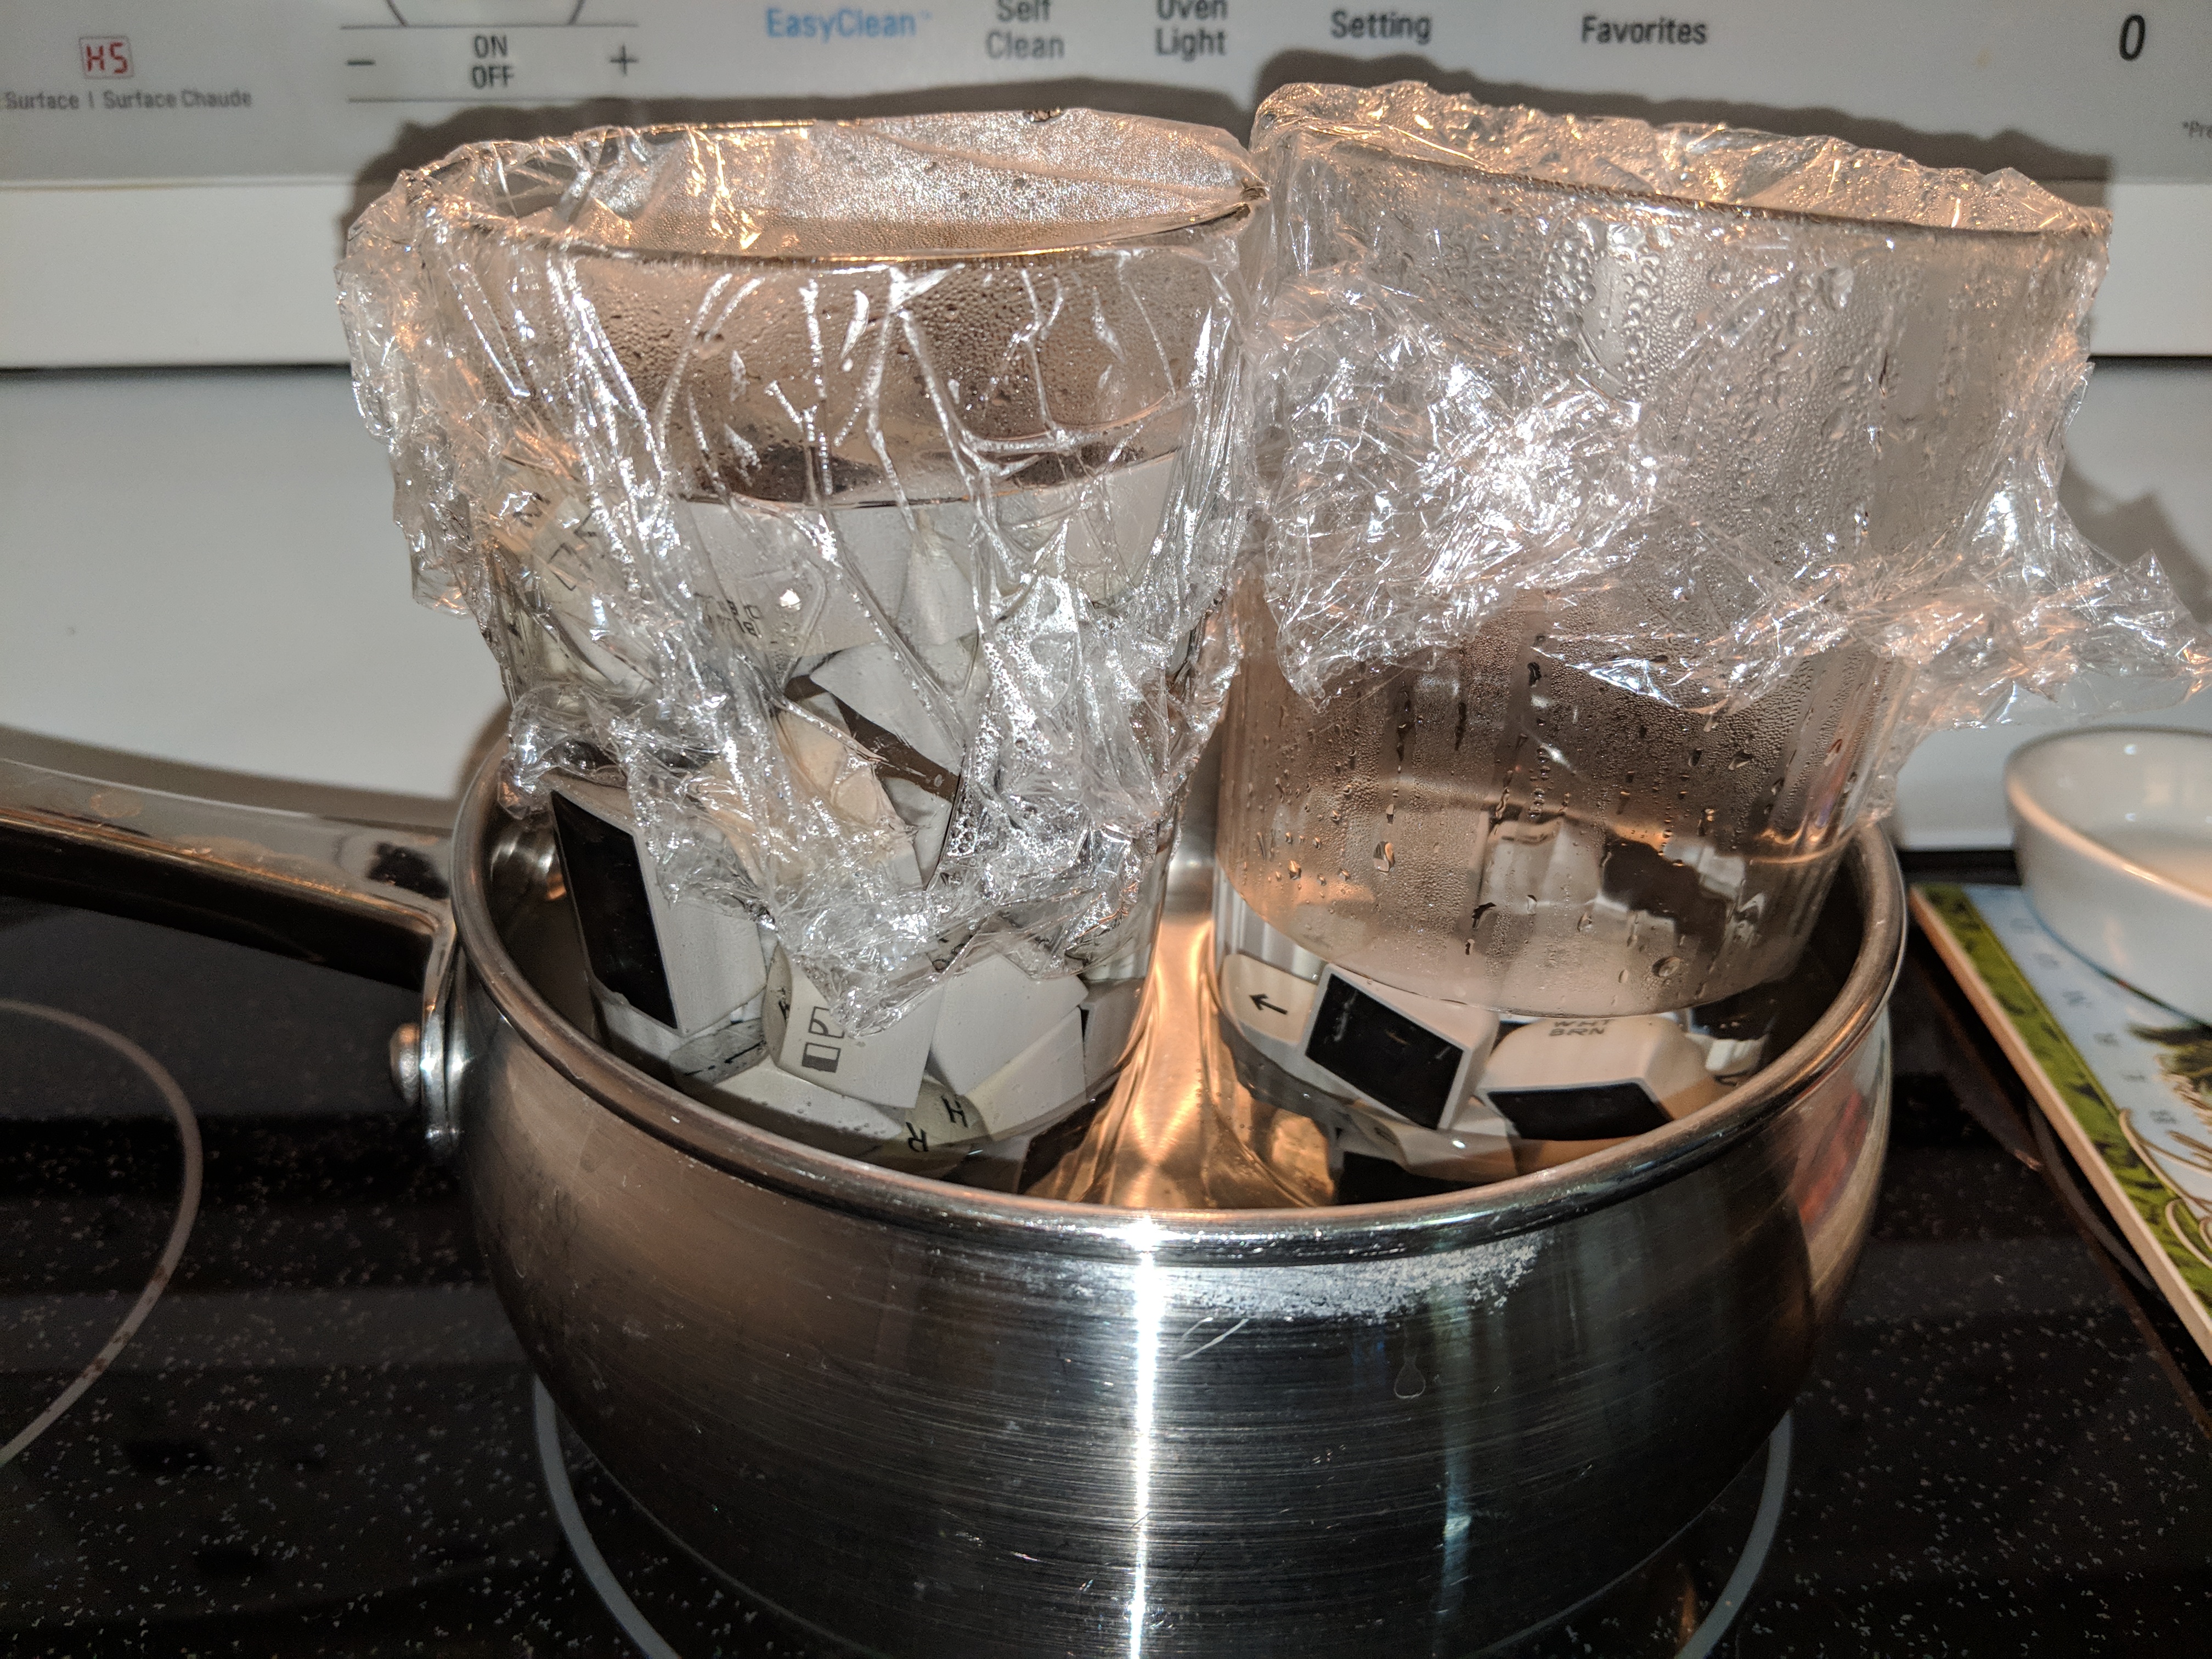 While the keycaps are doing there thing, I'll get the case cleaned up. 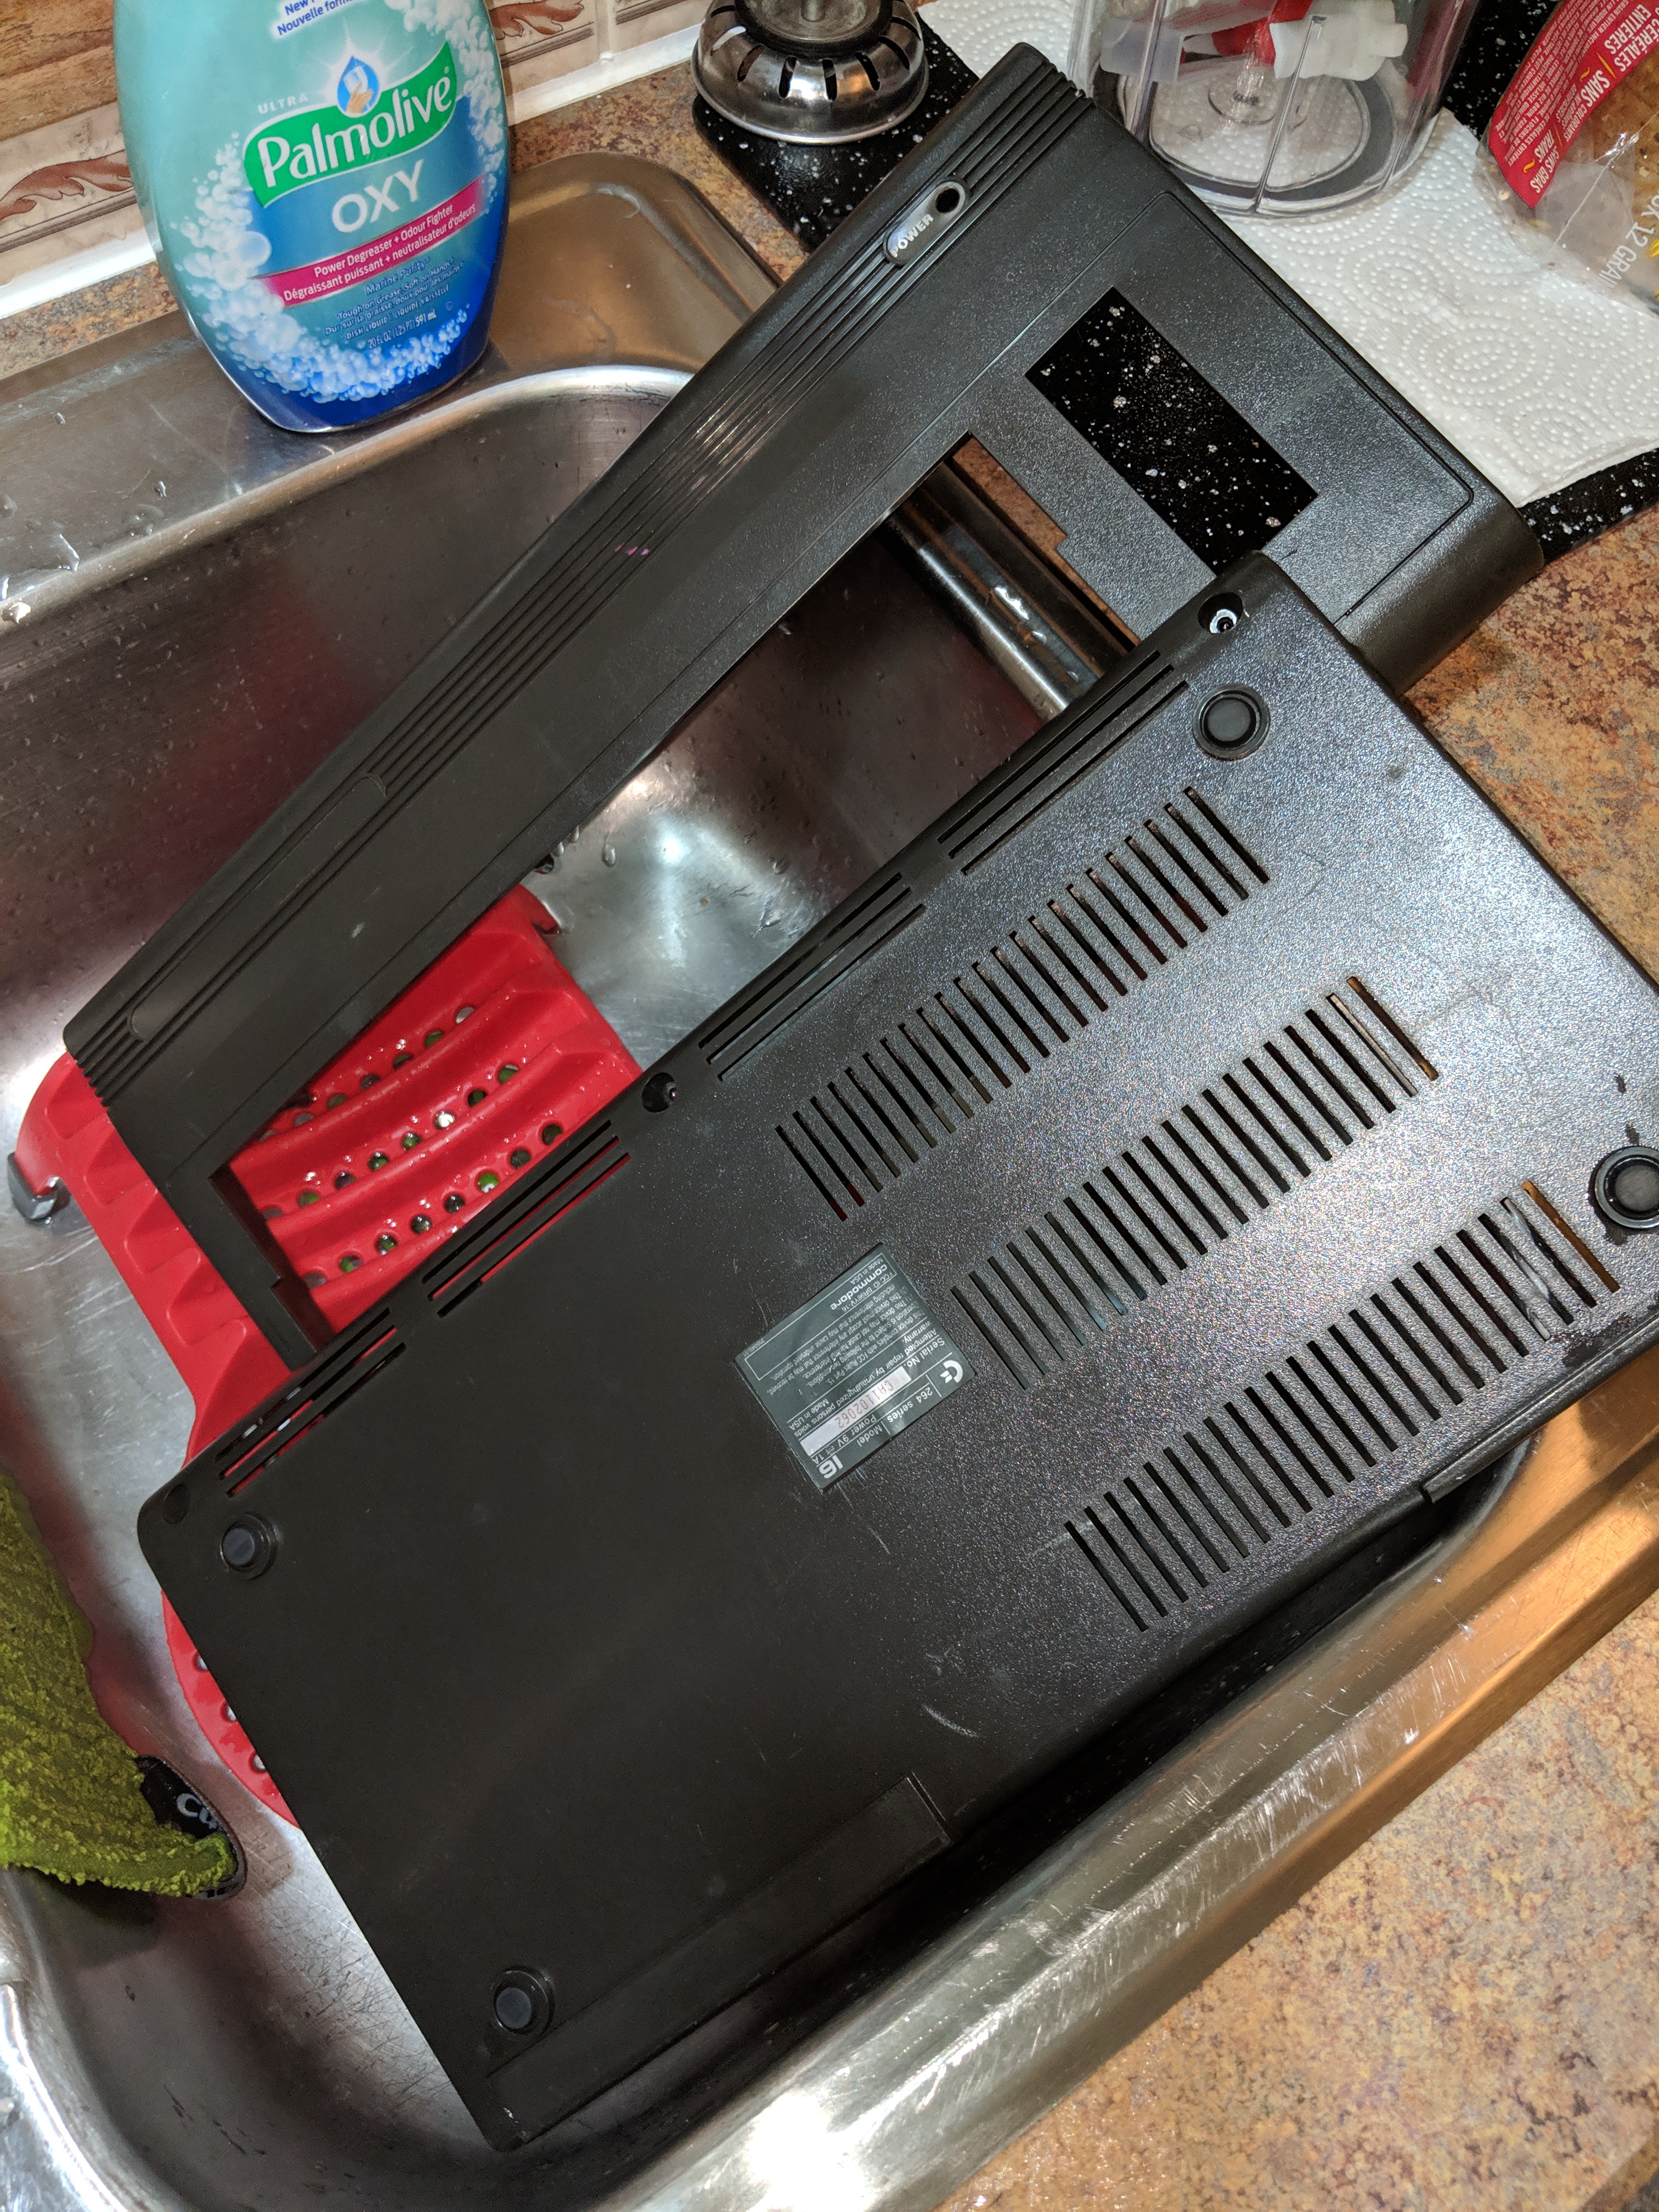 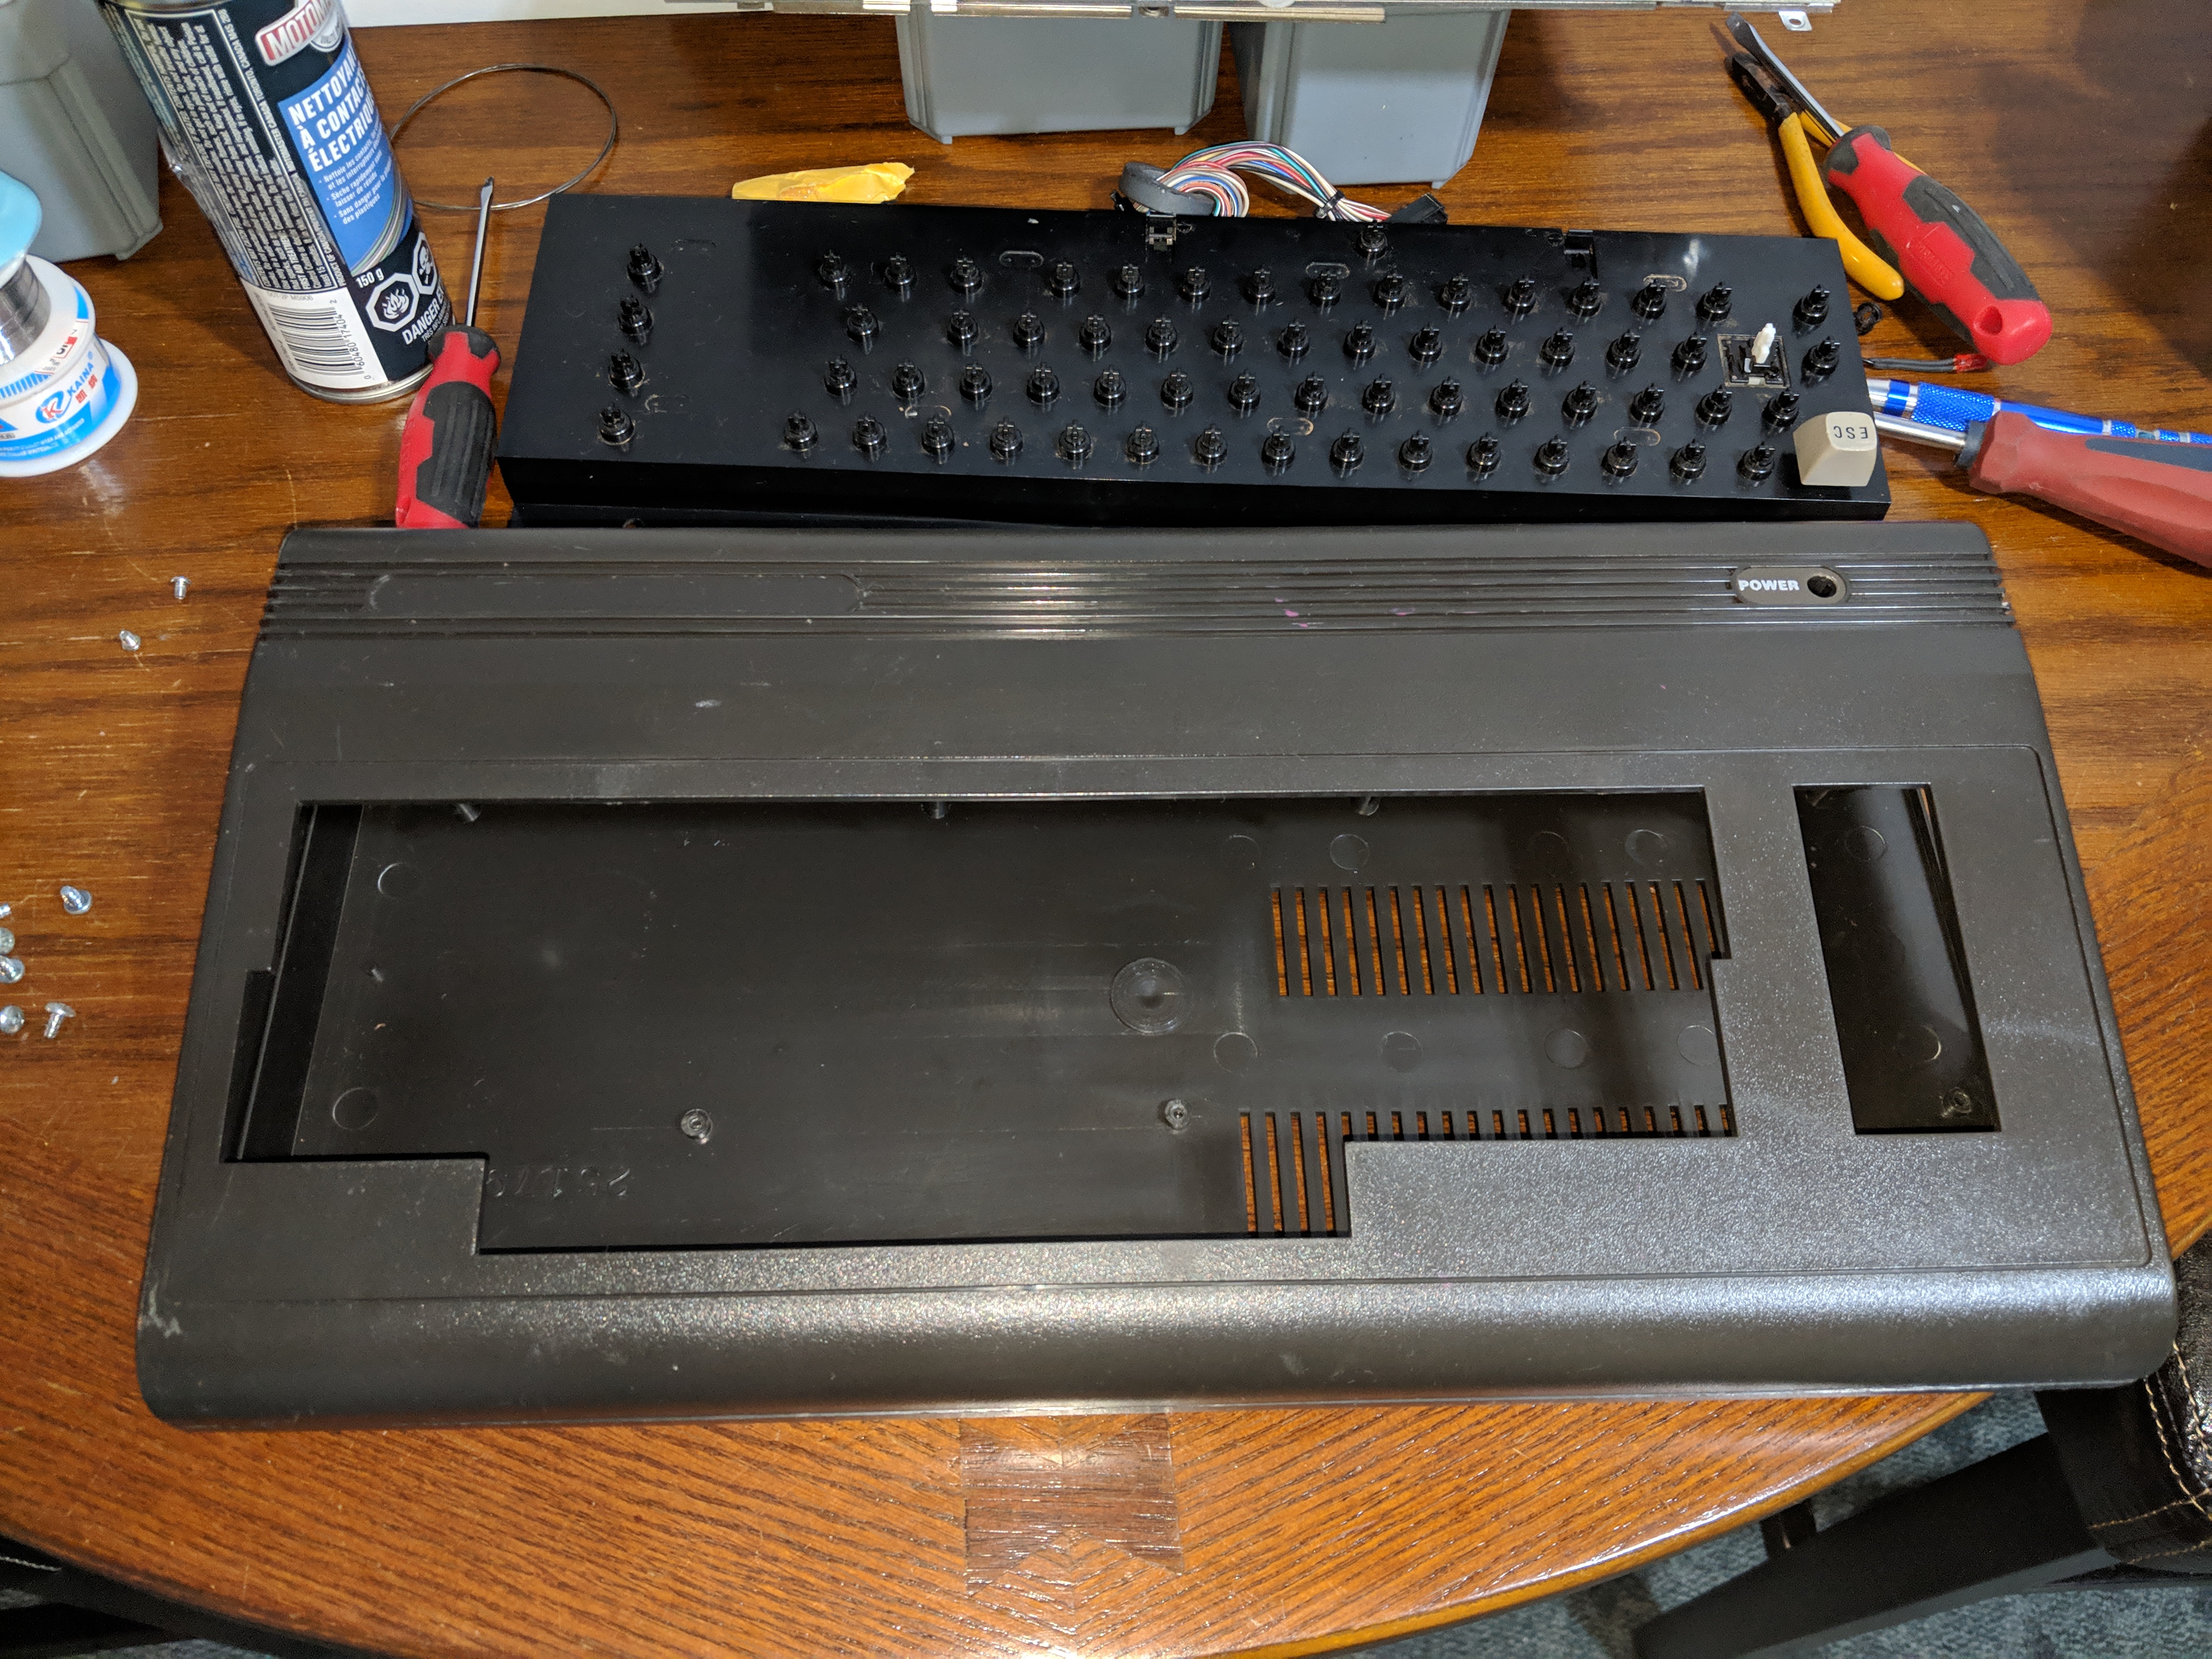 A little time in solution gets the keycaps looking pretty good. So now it's time to find the picture of the keyboard and start putting the caps back on. A gentle push and they click right on. 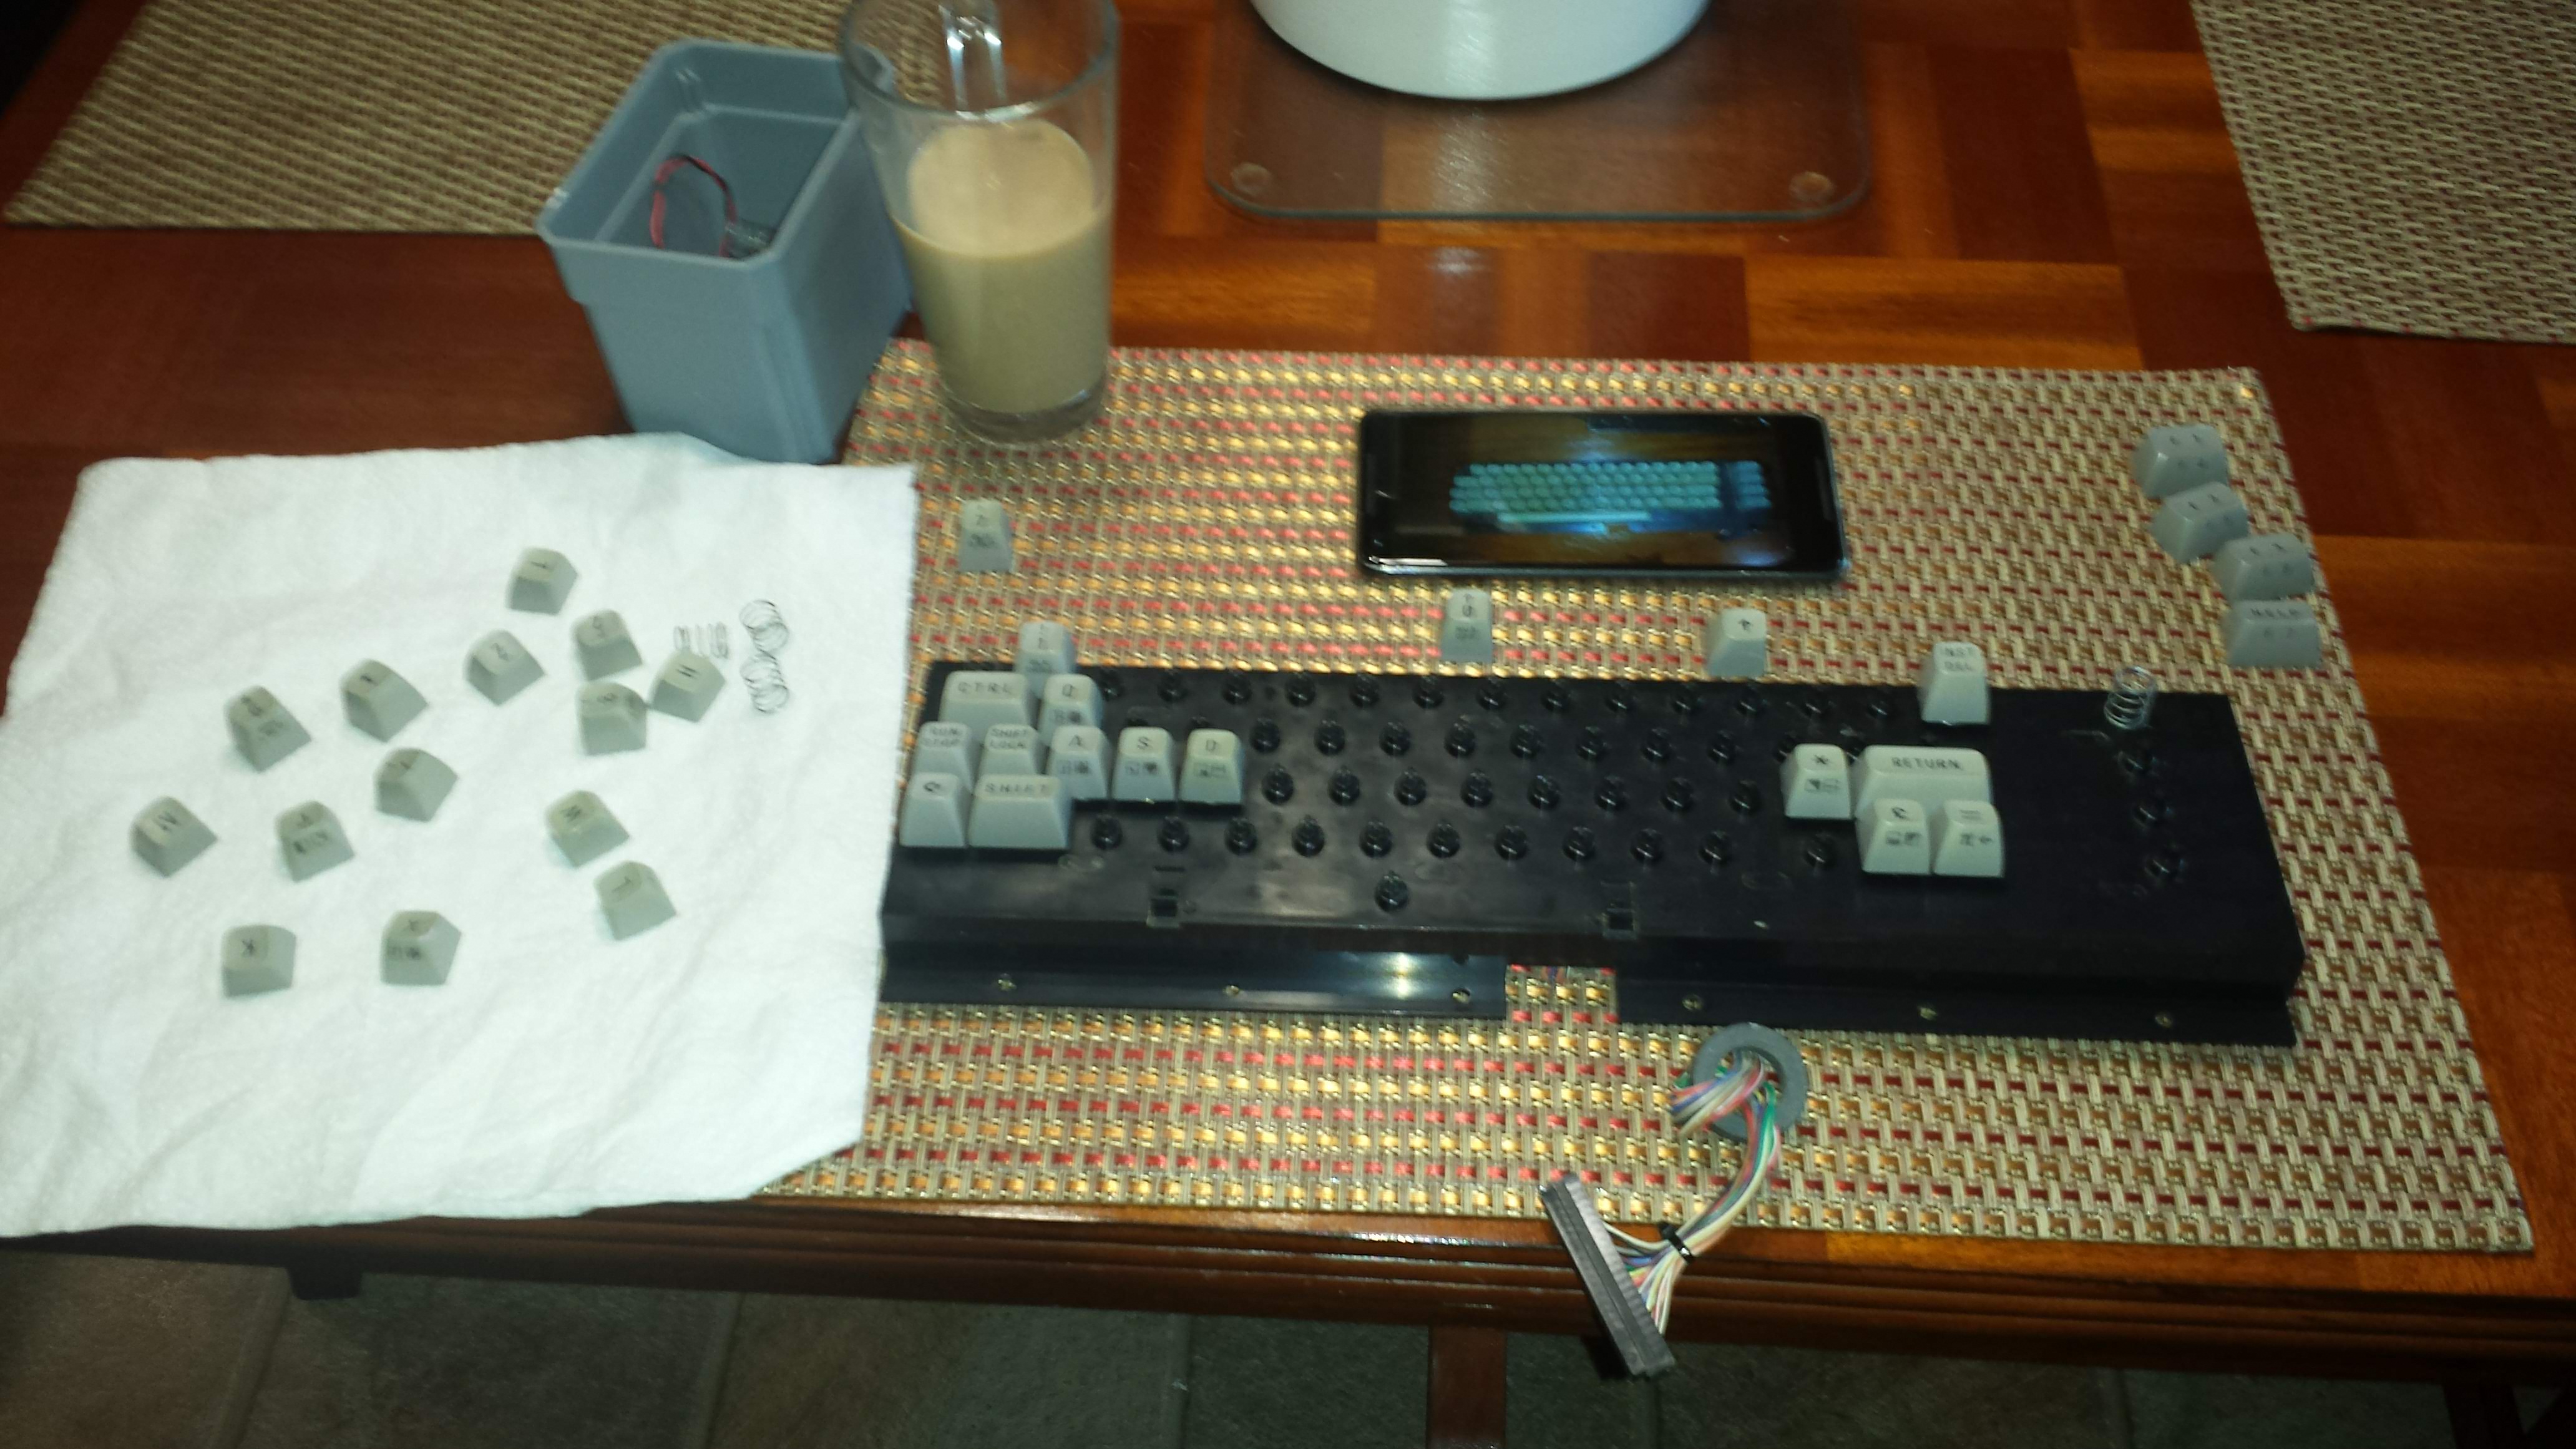 A fresh fuse on the motherboard, a little denatured alcohol and contact cleaner to get the motherboard looking clean. Then just a few screws to get things back together and tada ! 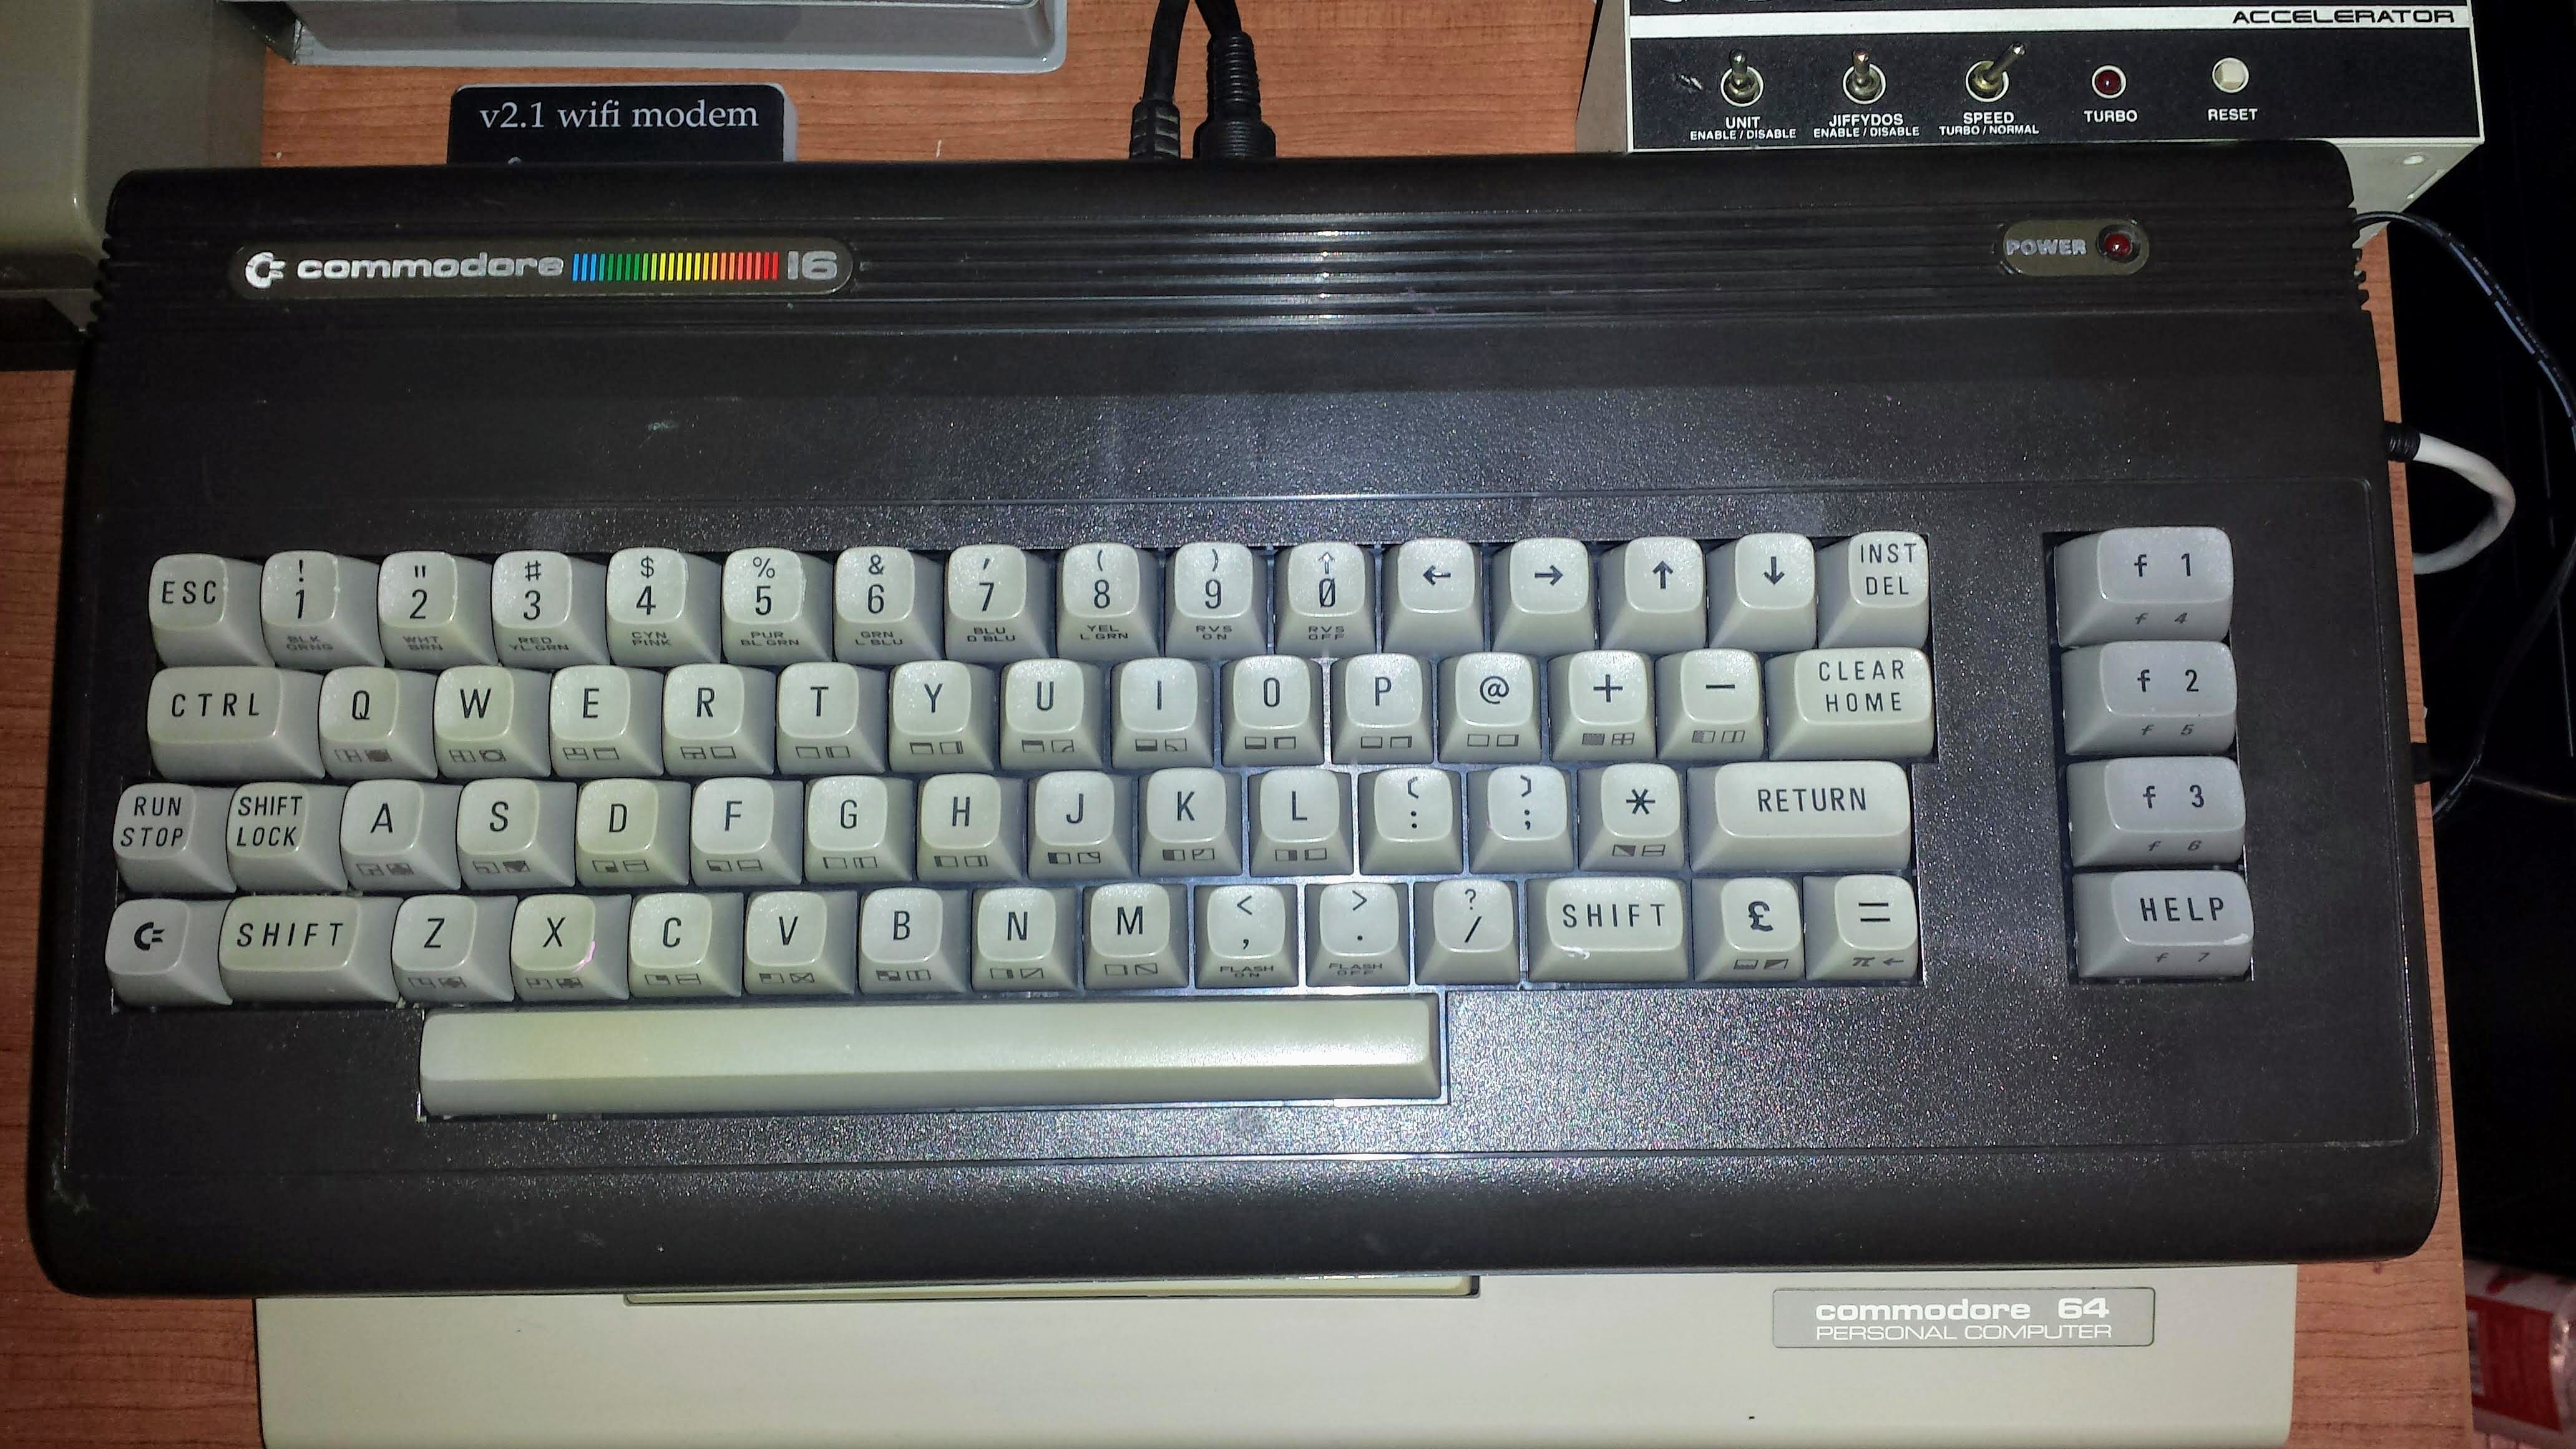 And still working ! 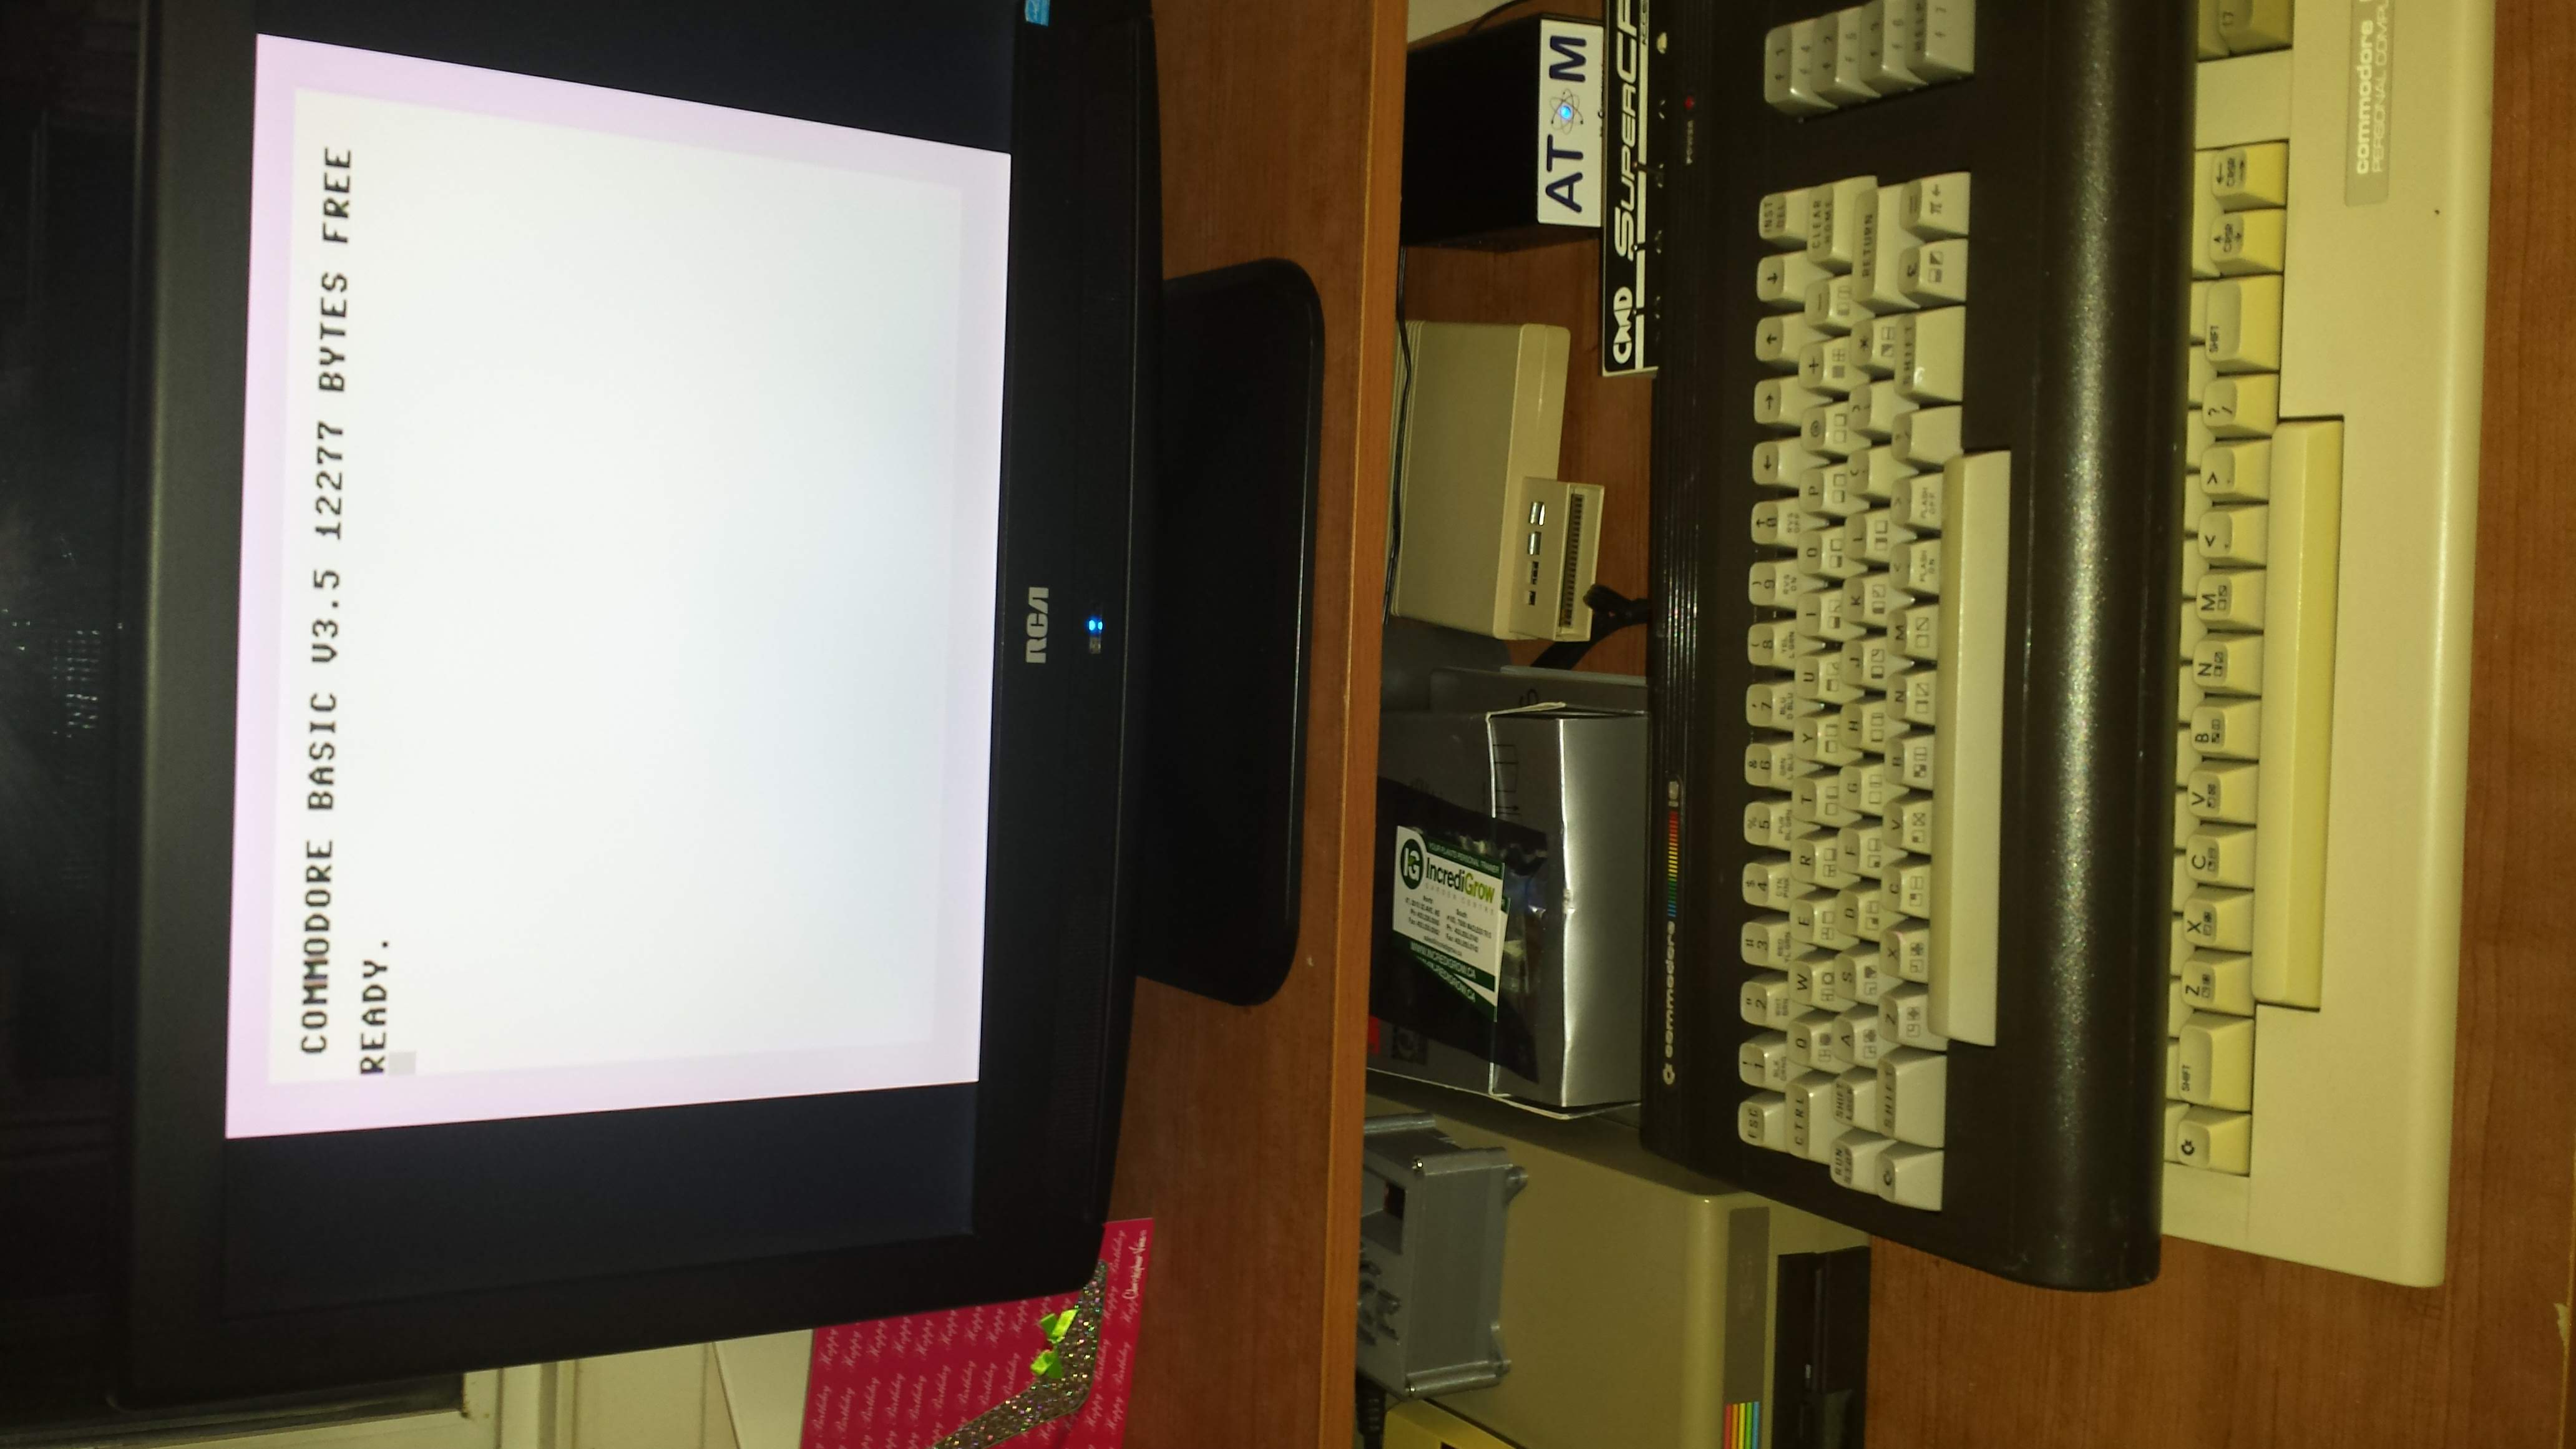 Still a few things to do, I've ordered some heatsinks for the chips, maybe JiffyDos. But for now, shiny clean and good working order will do. |
|


